
 Administrative note: I broke this super, super long article into 5 shorter ones. I didn’t want to bore folks to death or overload Internet servers from folks reading it. The “parts” will be:
- Introduction & raised bed soil
- Orchard soil – fruit trees
- Grass soil – yards
- Woodland soil – pine trees for the most part
- Extreme dirt build
Okay, maybe this article series should have been titled “How to Make Soil” but I thought the whole “dirt” thing was a little catchier. My bad. The whole point is how to make soil that will grow stuff…stuff like trees, vegetables, grass, etc. Now, if you live in many parts of the country you’ll think I am crazy because you have soil…some of you have nice rich black soil (chernozem). Sweet! Not us…our soil is mostly dead and dry as a bone, nearly hard as a rock, so we have to build our soil for it to be useful.
Why useful?
Two reasons; 1) I am a prepper and want to make sure I can grow food when needed, 2) I am a homestead person (technically, ‘glamstead’) so I want to pass along the info I have found along the way. And yes, that makes my dirt useful…meaning…you might learn what to do or what not to do from my experience.
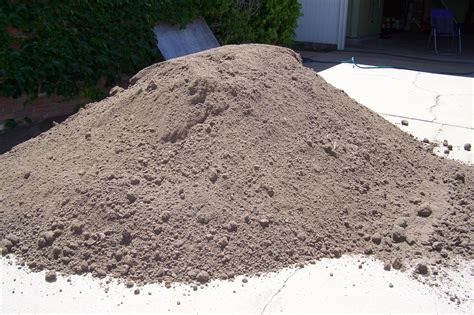
Most soil is made up of minerals (a.k.a. chemicals), water, air, and organic matter. The percentages of each varies depending on your local conditions. Our soil here is almost all minerals…mostly a fine red sand. For the most part there is no water, air, or organic matter. And to make matters worse…the minerals are packed very, very tightly. And that makes it tough for any water or air to be present. The organics…well, virtually gone over time. Yes, time…the weather & environment have been changing over the last 1,000 – 1,200 years. So no, you can relax, it’s not man-made climate change.
On our property there use to be vast grass pastures along with large towering pine trees, commonly referred to as pine  woodlands…with plenty of meadows. However, here the water table dropped starting about 1000 – 1200 years ago due to ever lowering annual rainfall. Then the grass started to dry up and blow away or wash away with erosion. As more and more grass disappeared more and more soil eroded due to not just rain but also due to wind. As the area got drier the weather patterns changed and winds increased dramatically, especially in the spring (April – June).
As the water table continued to drop the large pine trees lost the ability to draw sufficient water to sustain their life. They died out in droves. As they died out, juniper trees moved in…and further decimated the environment since they suck up huge amounts, inordinate amounts, of water.
Here in our area we get about 12” – 14″ of rain per year, most of it (about 50%) in a 30 – 60 day period called the monsoon season. An average juniper stand will absorb virtually all 13” of rain per year and deny grass, shrubs and other trees (such as pine trees) from utilizing any notable amount of the rainfall. And reduced rainfall moisture availability means less grass which means more erosion. The end result is a highly compacted surface and top layer void of humus (organic matter), water, or air. And since it is highly compacted less water can infiltrate the surface…and you get more erosion. An endless destructive cycle.
This all happened over the course of about 1,200 years or so. Yes, climate change at work. Sorry, not man-made for all you environmentalist crazies out there.
Amazingly, we actually have a couple of pine tree trunks and logs that are almost 18” in diameter! And based on the artifacts in the area, we know this general area was occupied by a decent sized village as late as 800 – 1100 years ago.
As we continue to develop the land as our “place of safety” (i.e. glamstead) we had to figure out how to make the land  suitable for growing vegetables, fruit, and grass. Our attempts at gardening for the first 3 years all ended up in failure. All original attempts were “in ground” attempts; some conventional, some not. But all failed. The surrounding native soil just leached out all the water and nutrients from the planted area denying the plants what they needed to produce.
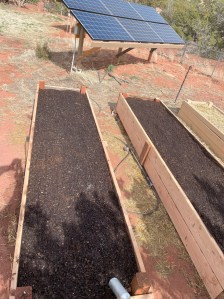
Last year we proved the “raised bed” concept of gardening…this year we proved it could be phenomenal! Fortunately, I had some experience with fruit trees so even our first attempt at it in 2021 has worked out just fine. We had fruit in 2023 and a bumper crop of both apples and especially peaches this year (2024). Being thrilled would be an understatement!
What I have learned over the last 4 years is this:
- Our soil sucks. It lacks water, organic matter, most nutrients, and air.
- I had to amend our soil with plenty of organic matter.
- I had to design a method to provide significant amounts of water during the dry season, and sufficient amounts of water at other times.
- The whole “methodology” is intensive and unforgiving.
And that brings me to this…how to build soil.
Just so it doesn’t sound too boring, there are four basic types of soil I have built that may be of interest to you. A primary important point to this task was cost. We simply don’t have enough money to pour into the soil no matter what the need may be. I had to do it on a budget in each case…and I did so successfully. Along with the cost, it also takes time…and some equipment/machinery helps as well.
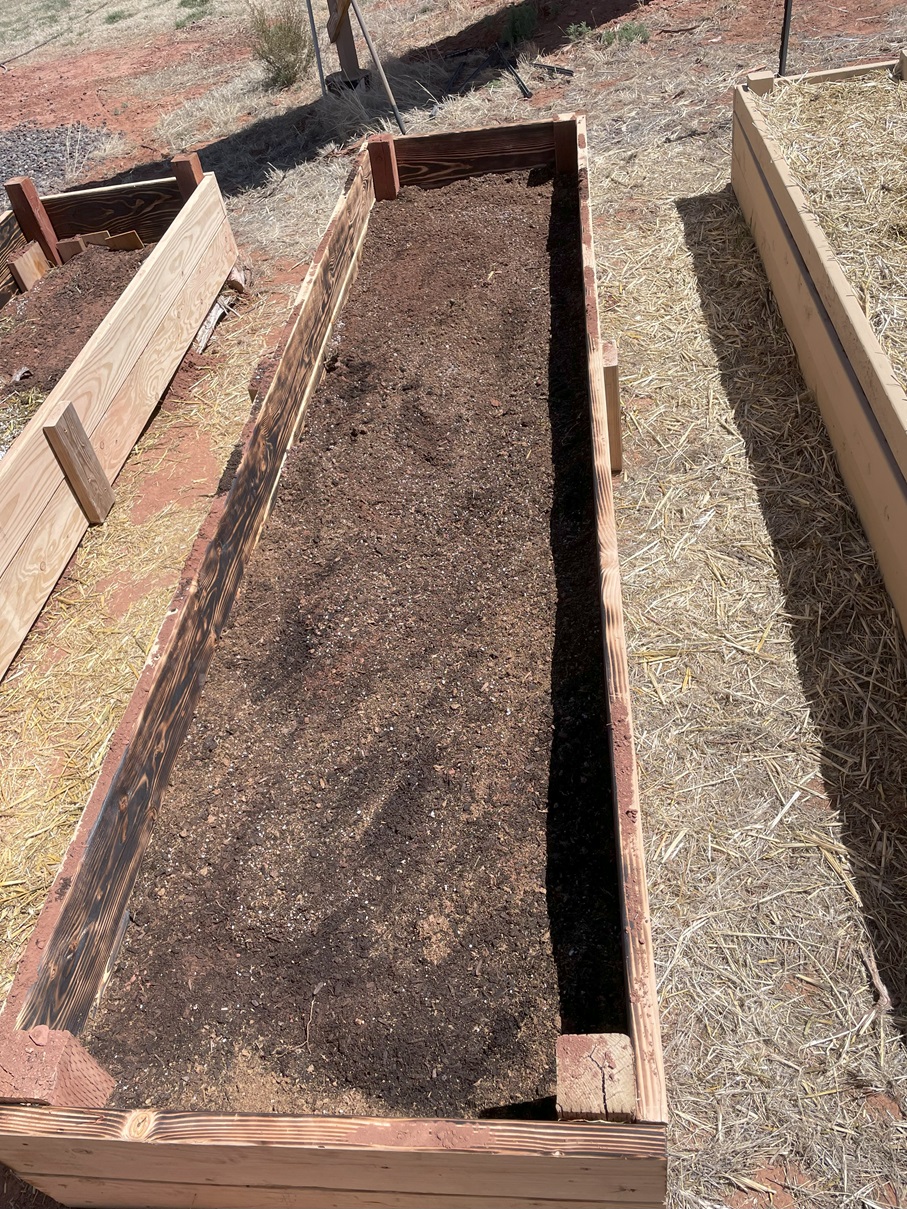
Raised Bed Soil –
Let’s start here…raised bed soil. I’ve written about it before in a couple different articles but let me do so again with a couple of years of success behind me. As a reminder, we ended up going with raised bed gardening due to the soil being so poor; actually parasitic, in that the native soil would steal all of the water and nutrients from any attempt to garden in the soil itself (in-ground). And that was regardless of how much we amended the soil where the plants were put into the ground.
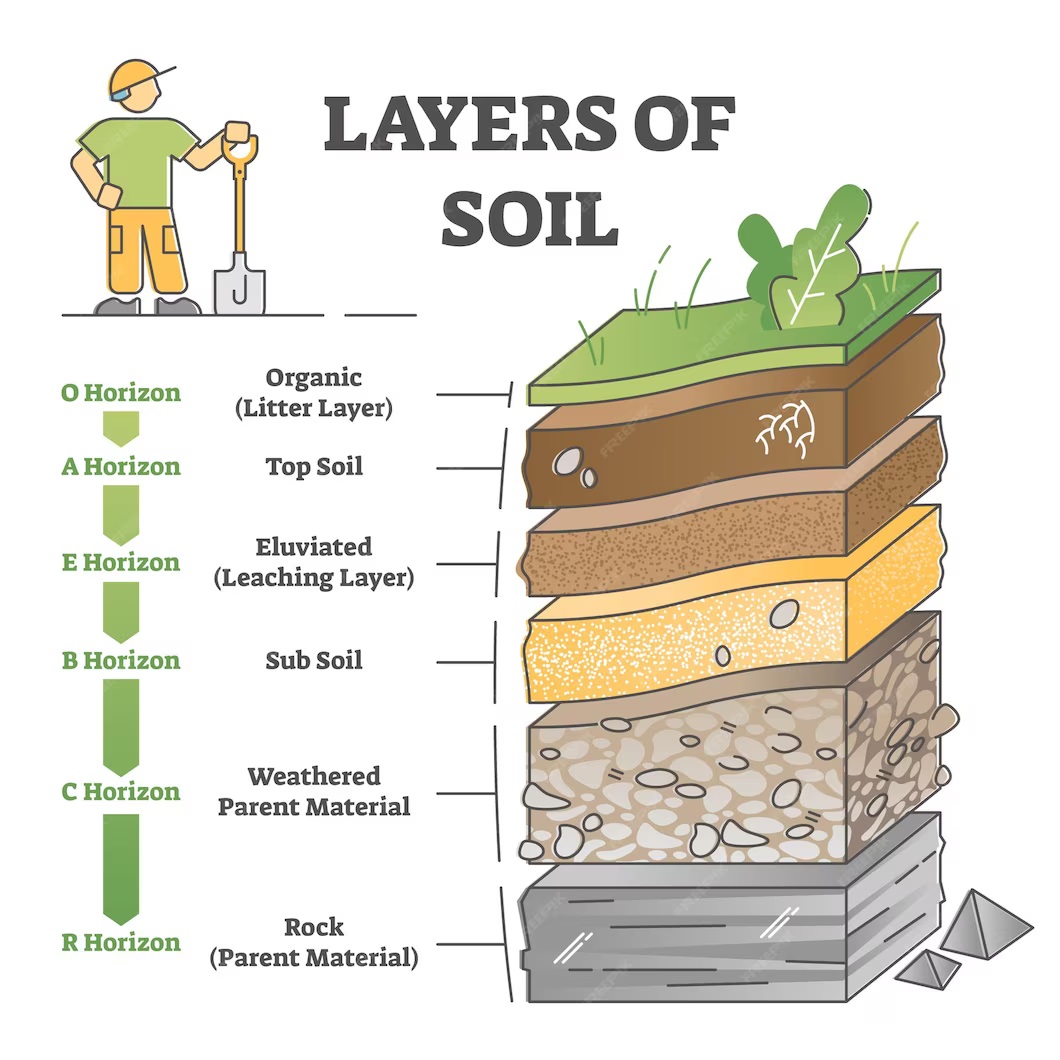
Most plant life in a garden exists in the humus, topsoil, and to a much lesser degree the eluviation layers. The humus and
right click image to enlarge
topsoil layers consist mainly of organic matter, giving it a dark color. Almost all of a plant’s root activity is in the topsoil layer which is rich in organic matter. And it is this nutrient and organic matter rich layer that you want to reproduce.
As for the eluviation layer, well, that is mainly the ground that the raised bed will sit on. I clear any vegetative matter from the spot before building my raised bed box. I do not use any weed barrier on top of the bare ground…personal preference and it hasn’t proven to be a problem for me. At least not yet. Some folks like to put down cardboard or landscape cloth that the raised bed sits on to prevent weed impingement.
When building the soil for the bed there needs to be a moisture balance…water retention vs well-drained. The soil must retain enough water for the plants to absorb through their roots but not so much that the roots are continually soaked. To achieve this balance I found it pretty easy…mimic a healthy environment that you find in nature.
If you look at the composition of a lot of good soil types you will find the top is fairly fine, then the soil get progressively coarse as it deepens. Each layer is approximately 1/3 of the bed depth. No, I don’t use a tape measure to ensure precision in each layer’s depth. So here is how I build my soil for raised beds:
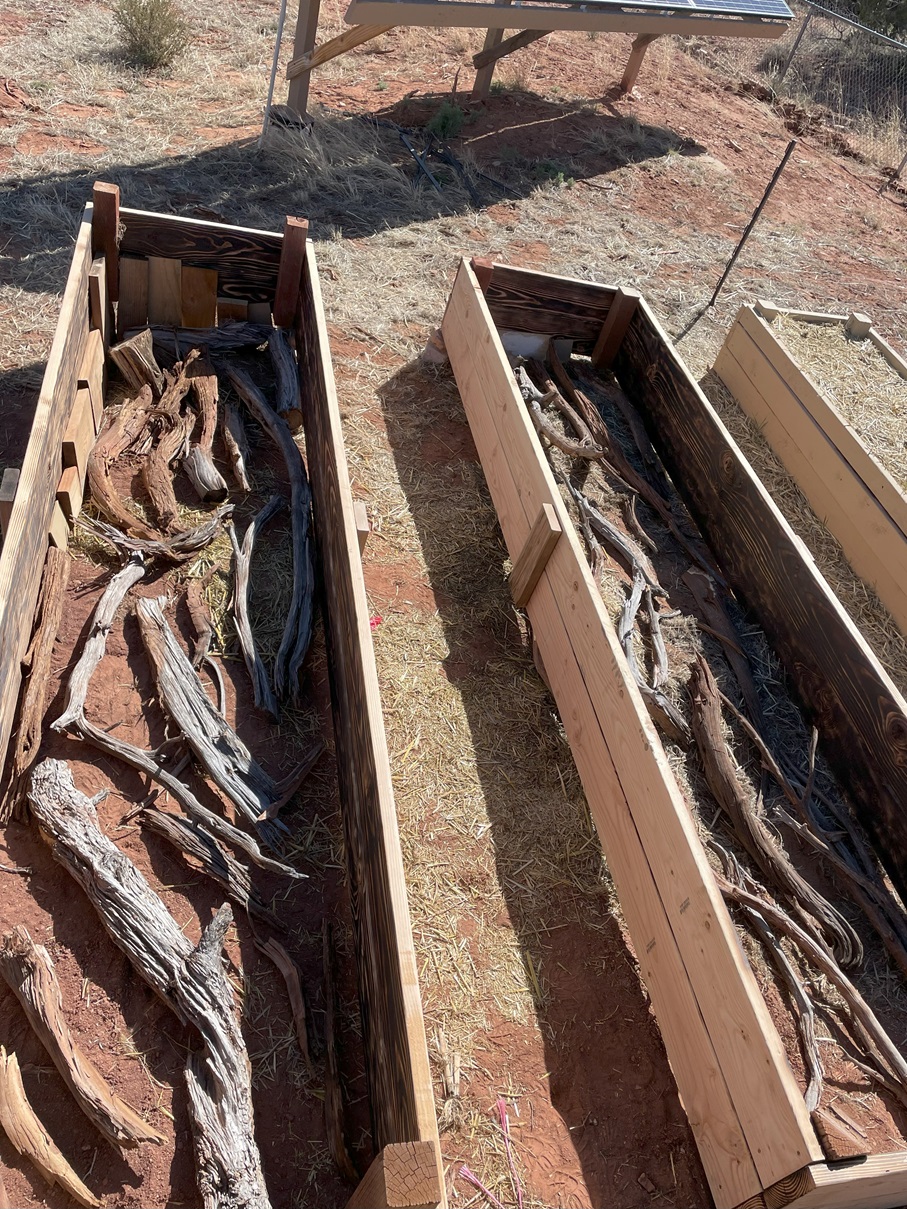
- The first/bottom layer consists of –

right click to enlarge
-
- Large diameter branches that have some rot to them, or at least some decomposition taking place.
- Medium diameter sticks.
- Small diameter sticks.
- You can also include some leaves and pine needles if you want to.
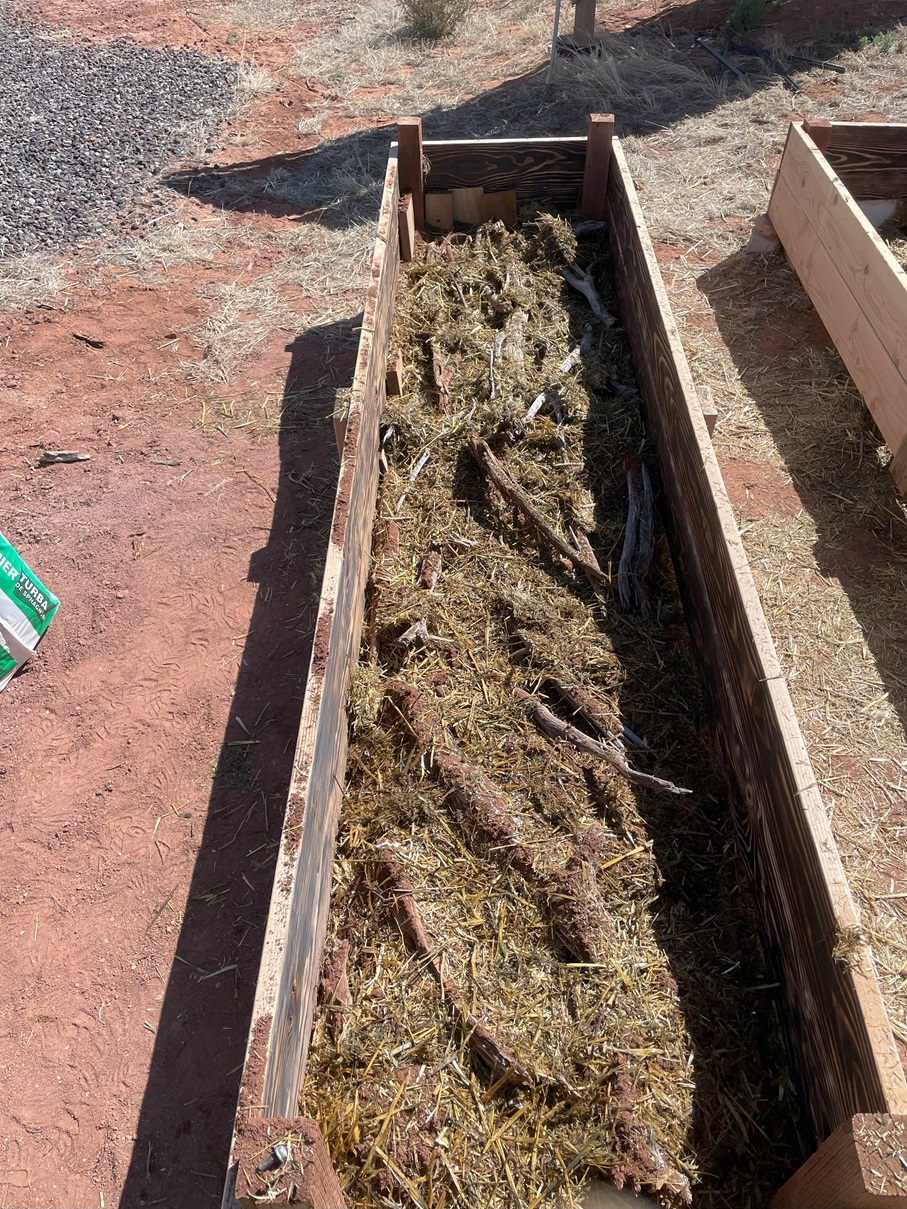
- That makes up the bottom layer. On top of that I put a thin layer of some native soil (i.e. sand in our case) mixed with some perlite. The perlite allows for a natural balancing of water drainage/retention. The added native soil mixes with the organic matter over time to create a decent-quality soil for deep rooting.
- This combination allows for additional organic matter as the sticks and branches decompose over the years while ensuring space for proper drainage.
- You can use straw as part of the bottom layer but only straw. NEVER use

right click to enlarge
hay. Hay contains seeds which will overrun your vegetable plants. And a lot of hay is treated in the field with GrazOn or GrazeOn Next. Those products are designed to kill about 100 varieties of weeds. But it will kill your garden!! If there is any of those two products in the hay you use, it will kill your garden for ever! Yes, I mean the soil will be unusable for gardening FOREVER!
- The next layer consists of –
-
- Coarse compost (70%), perlite

right click to enlarge
(20%), native soil (10%).
- The coarse compost will break down over time into a rich fine soil. “Coarse” simply means it is a little chunky. As an opposing example: peat moss would be “fine”.
- The perlite gives a little bulk to the soil as well as allowing for a natural balancing of water drainage/retention.
- The native soil gives some mineral content that will eventually mix with the compost to form a high-quality soil.
- Coarse compost (70%), perlite
- The top layer consists of –
-
- Peat moss (20%), coarse compost (50%), perlite (20%), native soil (10%).
- The peat moss gives a fine, rich, water retention organic material for a good bed for seedlings to start. It also provides a great layer for early
right click to enlarge
rooting and fertilizer retention and availability.
- The coarse compost will break down over time into a rich fine soil. In the mean time it provides space for air, water, and nutrients movement.
- The perlite gives a little bulk to the soil as well as allowing for a natural balancing of water drainage/retention.
- The native soil give some mineral content that will eventually mix with the compost to help form a high-quality soil.
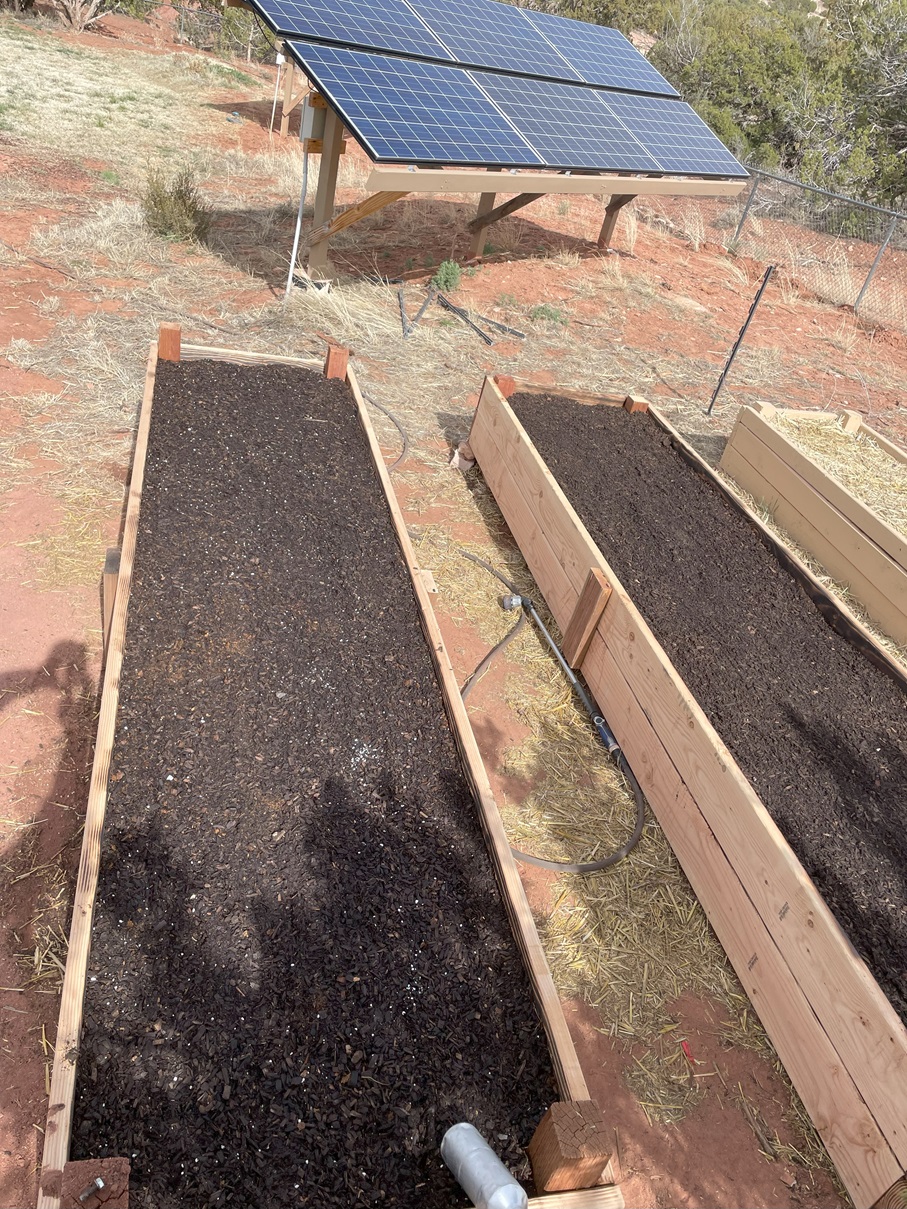
BIG Note: Why all the different layers and components? Basically it is the cost. If you have the money you can go buy bags and bags of raised bed soil that is already made for you. But for us, it was way too expensive…I mean REALLY way too expensive. And honestly, our soil that we made did just fine…we had our beds produce an amazing amount of food. How much? Well, in addition to all the fresh fruit and vegetables that we ate and preserved…we gave away about 400lbs to other families was well. So how is that for good dirt???
Note #1: I do add fertilizer to each layer. For raised bed vegetable soil I mostly only use organic fertilizers. When making the beds originally I use a product that contains a little more nitrogen to aid in establishing the soil and breaking down the organic material. When I plant I use a more balanced product to ensure the roots are properly stimulated to grow. I mostly use slow release organic fertilizers to ensure I don’t ‘burn’ the roots and also to make the nutrients are available for a longer period of time.
Note #2: When I’m done building the bed I try to ensure that I have at least 12” of soil for sufficient rooting of the plants. Over time, as in each year, I add more topsoil/humus to each box. This is needed as the soil settles in the box, especially around the sticks and branches; and the branches and sticks breakdown into soil vs bulky material. For this addition I simply use a top layer mix. My goal is to eventually have 15 – 18” of soil depth for plants to grow in.
Note #3: I use perlite vs vermiculite due to cost. Vermiculite is notably more expensive but is also a better product in my opinion.
Note #4: I use the bulkier sticks and branches in the bottom of my boxes to save money. I have not experienced any problems with the bottom 1/3rd of the box composing of these materials.
Note #5: I have used Grow King’s “Steer Manure” as my coarse compost before. I have no issues with it. Ironically, driving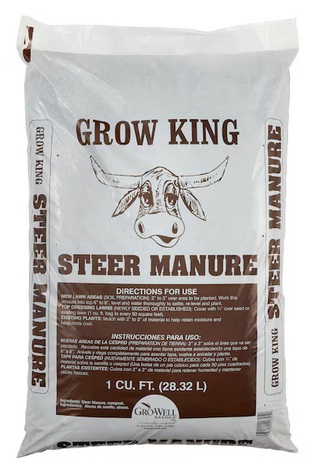 into town one day I noticed a small sign on the side of the road next to a dirt road. It said “Grow Well” green waste site. To shorten the story, it is a collection site of yard waste for Grow Well…who then turns it into…you guessed it…Grow King compost. Why is that important? Buying 1 yard of compost in the bags costs $84 when you add in tax. I bought the unbagged compost direct from Grow Well for $30. Yeah, I like to be budget friendly. And yes, a yard of compost sits just fine dumped into my truck bed.
Note #6: Also, as I build each layer I water generously. It helps settle the soil for sure. But, it also makes the soil ready for planting. Heavy watering after planting it not as good as having the soil already moist.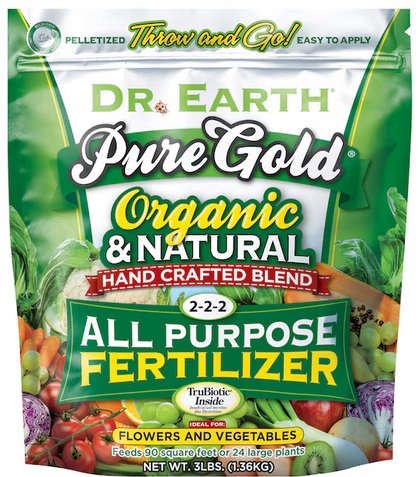
Note #7: For the organic fertilizer I like to use Dr. Earth Pure Gold 3-lb 2-2-2 Organic Natural Granules All-purpose Food from Lowes. I also use Expert Gardener Organics Vegetable & Tomato 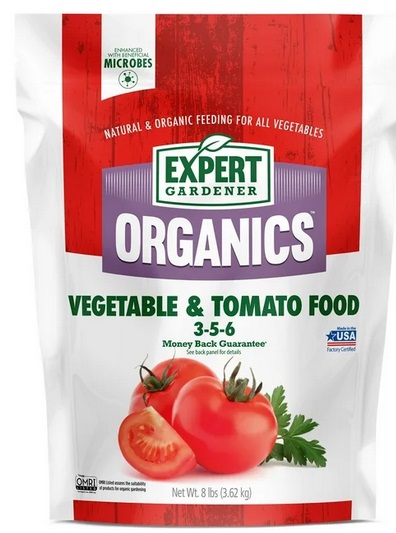 Food, 8 lb Fertilizer from Walmart, or Expert Gardener Organics All-Purpose Plant Food, 8 lb Fertilizer from Walmart. Normally I will buy a bag of Dr. Earth Pure Gold and mix it with a bag of Expert Gardener Organics. Why? Mostly cost. Dr. Earth Pure Gold is $4 per pound, Expert Gardener Organics is $1.62 – $1.67 per pound. I like the ingredients in the Dr. Earth Pure Gold, so I think it is worth
 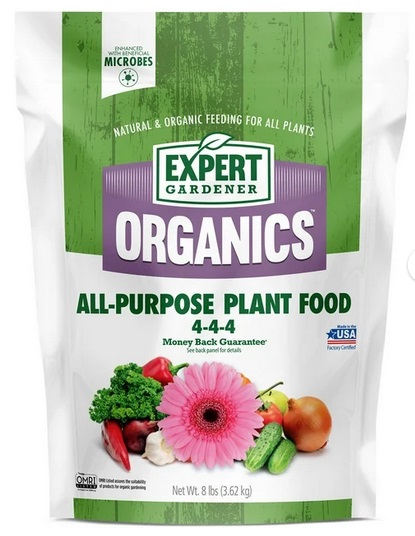 the added cost mixed in with the Expert stuff. If you can afford it…I would go with Dr. Earth Pure Gold exclusively.
Articles in this Series –
- How to make dirt – Part #1 (Introduction & raised bed soil)
- How to make dirt – Part #2 (Soil for fruit trees)
- How to make dirt – Part #3 (Soil for grass/yard/lawns)
- How to make dirt – Part #4 (Soil for woodlands)
- How to make dirt – Part #5 (Extreme dirt build) [not yet available]
Related Articles –
 2009 - 2024 Copyright © AHTrimble.com ~ All rights reserved
No reproduction or other use of this content
without expressed written permission from AHTrimble.com
No legal, economic, or financial advice is given, no expertise to be assumed.
See Content Use Policy for more information.

Pingback: How to make dirt…Part #4 | A.H. Trimble - Emergency preparedness information for disasters and grid-down
Pingback: How to make dirt…Part #3 | A.H. Trimble - Emergency preparedness information for disasters and grid-down
Pingback: How to make dirt…Part #2 | A.H. Trimble - Emergency preparedness information for disasters and grid-down