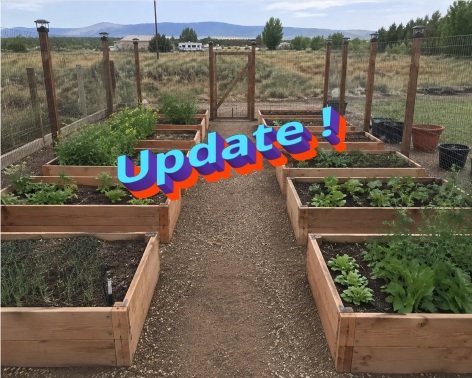
An absolutely gorgeous morning!!! It is crisp and cool this morning, a bit more humidity freshening the air, and just enough cloud cover to make it a little different than most mornings. And best of all…I took a walk through our little glamstead of paradise.
Let me share a few updates with you on the “State of the Glamstead”…
Orchard –
Yeah…a bust! That deep freeze killed off virtually all of this years fruit crop of every kind. A few late blossoms have set and we might get a dozen apples or so. We’ll see.
The 3 “gift” apple trees that I have mentioned before had ZERO blossoms on them this year. The trees look fantastic, very healthy and vibrant…but not a single blossom, ever.
I’m doing my research homework now. From what I can tell it looks as if I will be buying Enterprise, Haralson, or Liberty Semi-dwarf apple trees, on M111 root stock or Bud 118 if I can’t find M111. They will not go in the ground this year. I am looking to up-pot them for the rest of this season and plant them when they are dormant this winter. Wish me luck!!
Blackberry and Raspberry Patch –
The “leftover” raspberry bushes are coming on real nicely. They were the lower-end of the larger patch from last year. If you
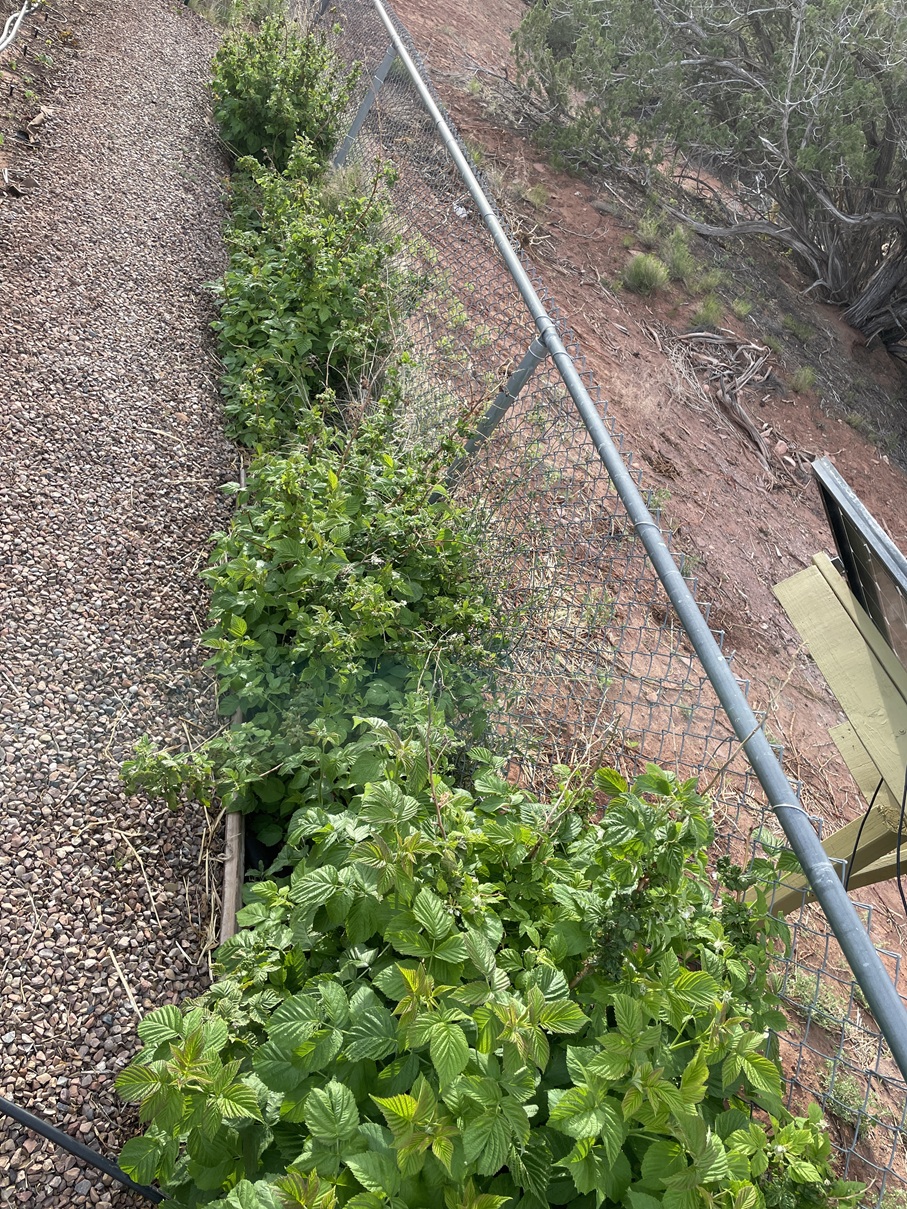
Raspberry Bushes
aren’t familiar…last year the raspberry bushes overtook an area and congested it with out-of-control bush growth. My wife got very worried about it being a snake haven and asked my to “uncongest” that area. Neighbors came over and gathered 30+ raspberry plants/starts to begin their own patches. The plants we didn’t take out became the “leftovers”. There are still a few stragglers coming up in the cleared area so more plant sharing with neighbors.
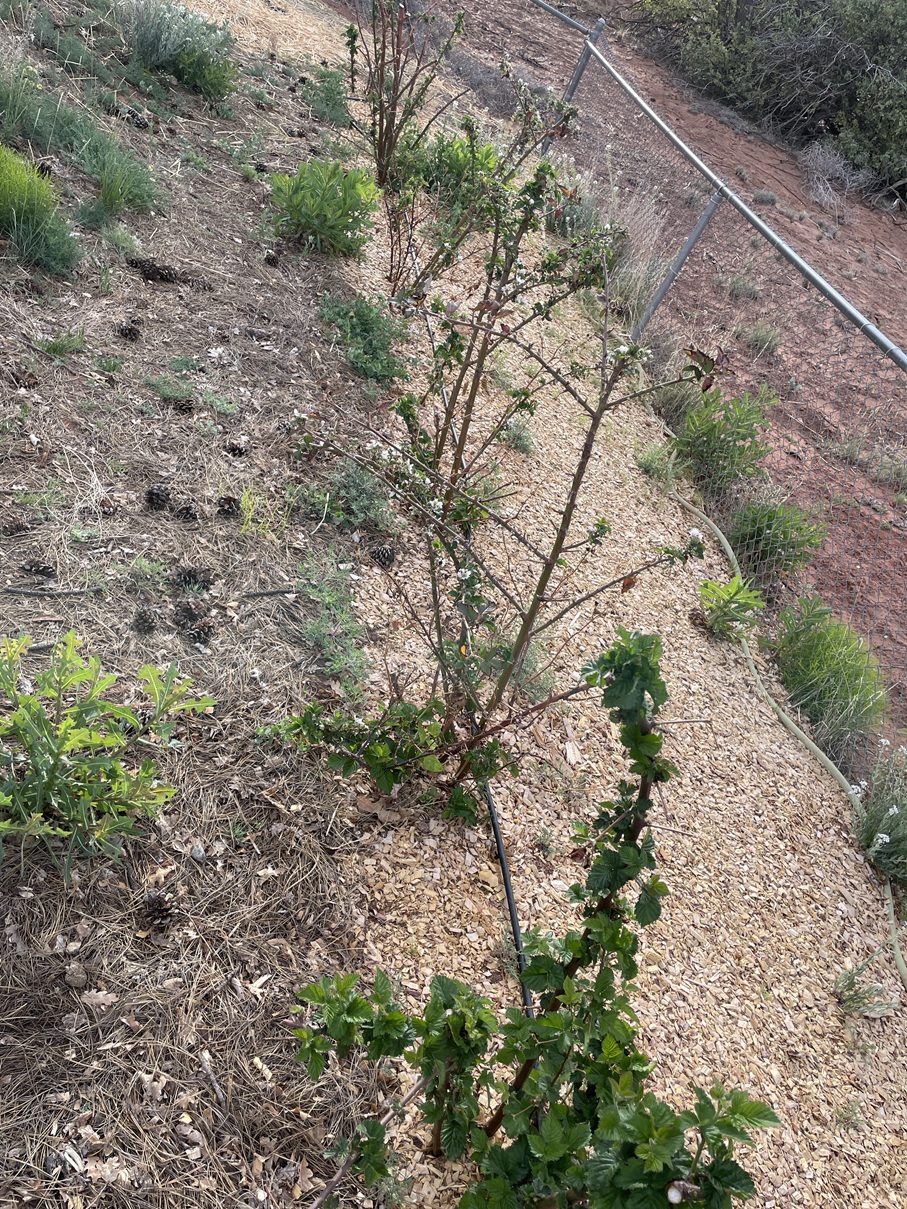
Blackberry Bushes
And then came the great blackberry relocation! I planted blackberry starts way too close to a row of raspberries. So wifey wanted them moved to another area…creating, another snake-free zone (hopefully). So 13 blackberry plants were relocated to another part of the yard. All of the plants are thriving in their new home.
Both the raspberry and blackberry bushes have blossoms on them already and if they keep coming on like they’ve started…Yea! Plenty of berries this year.
Blueberry Patch –
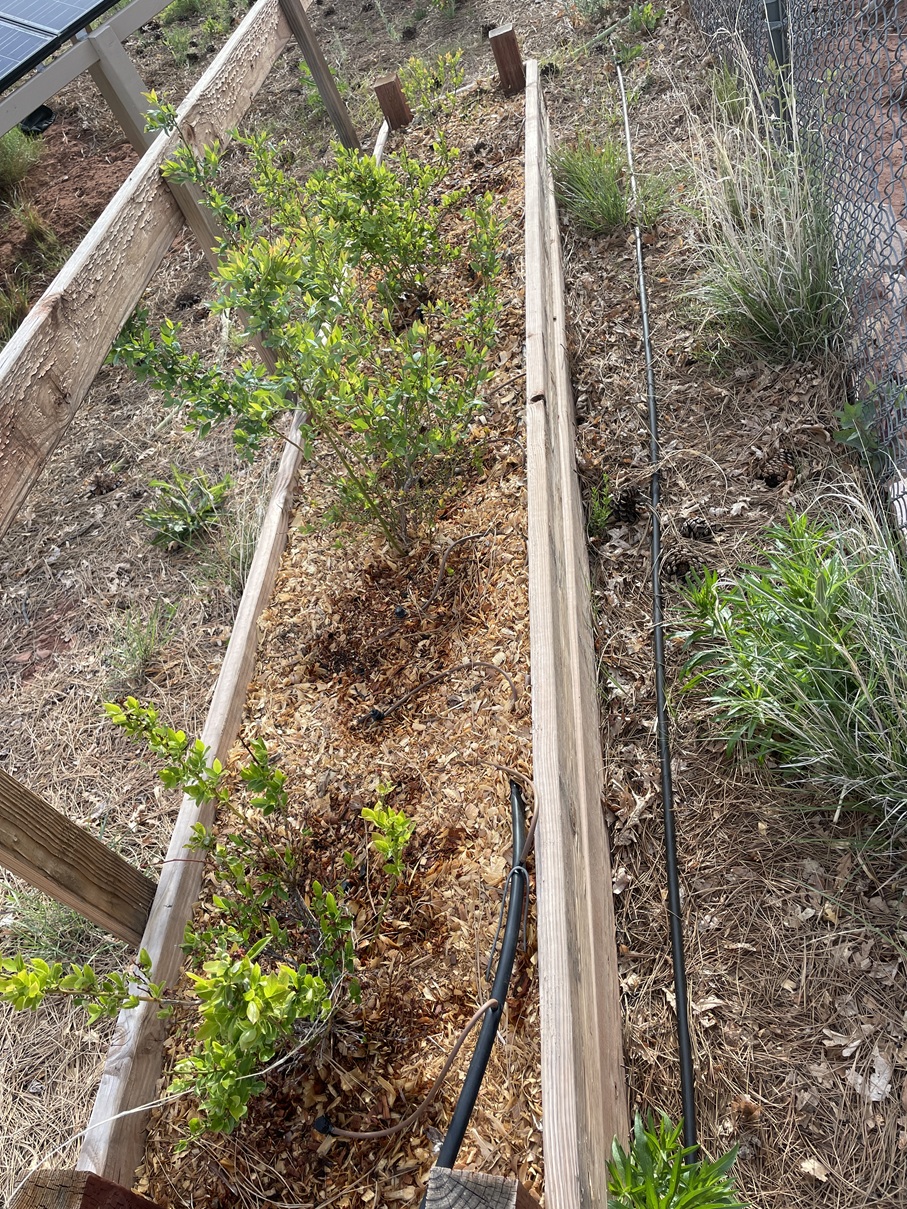
Blueberry Bushes
Well, they’ve struggled. The deep freeze back in early March wiped out the ton of blossoms that had set, even some small fruit that had showed up got hit bad. That kinda stopped that any hope of enjoying blueberries this year. And the newest bush I put in also took a huge hit…looked as if it was stone cold dead. Well, thankfully it came back and is looking just fine.
No blueberries this year…well, maybe a couple. So we’ll call this a “rebuild” year.
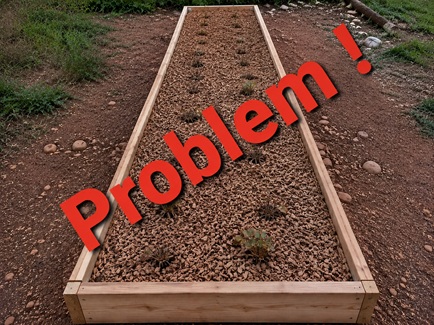
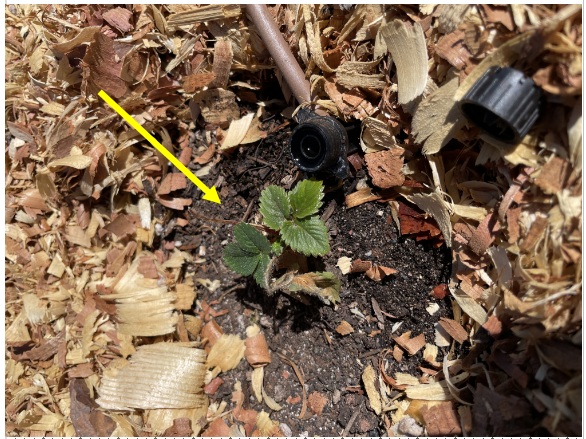
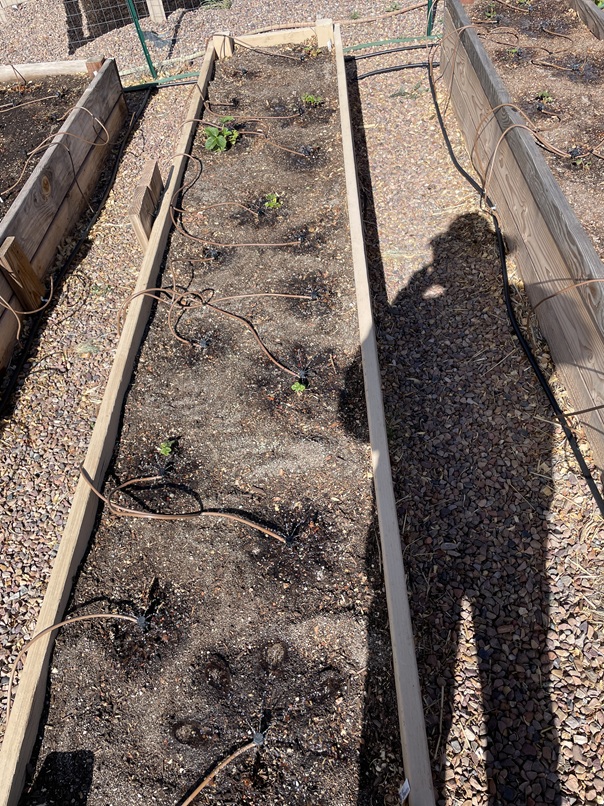
Strawberry Patch –
Sore subject. In all reality it is going as well as could be expected. Last year’s plants are going great, blossoms promising
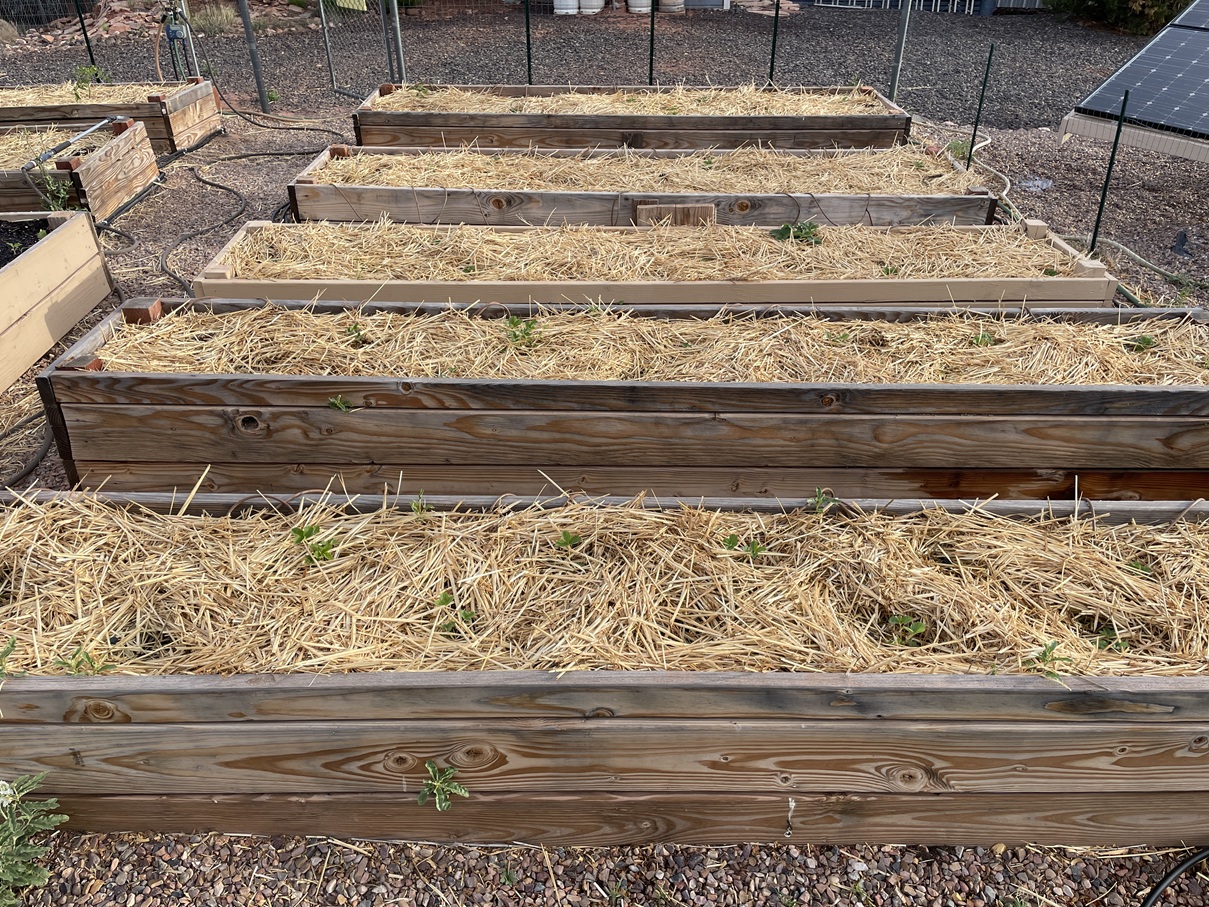
Strawberry Beds
fruit maybe within the month. Some of the new bare root and live plants are doing really well. Some are dead. Some are alive, small, and trying their best. We will have strawberries this year for sure. I’d say 1/3rd of the plants aren’t going to make it. But hey, that’s okay…I will bring along some runners and start enough daughter plants to fill in the blanks. So next
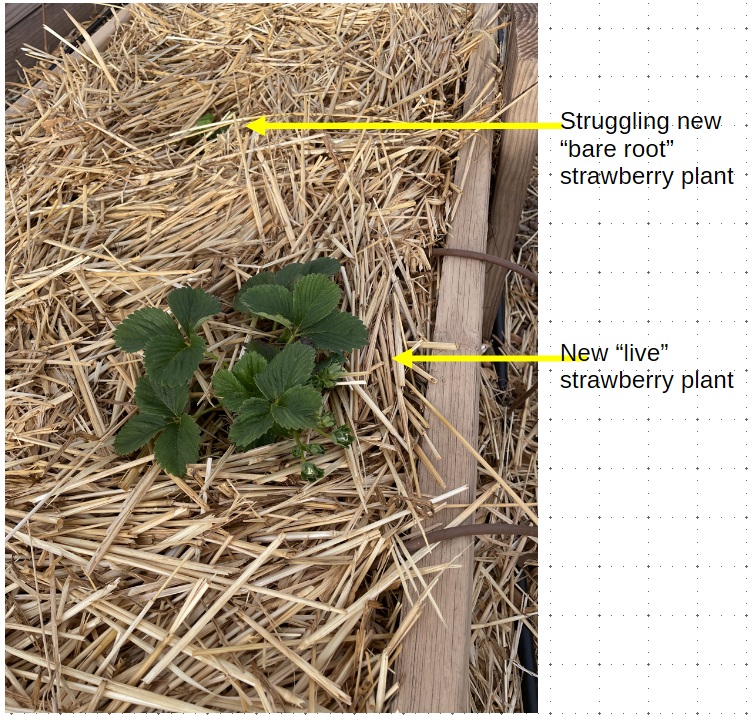
Great New Strawberry Plant & one that is struggling just a bit
year…Watch Out!
I will take the blame on this. I have never planted bare root stock before so I may have messed up on how I planted them. I followed their instructions but there is considerable conflict on the “right” way to plant them. It looks as if I did the best I could on the second round trying to save what I could. We’ll see.
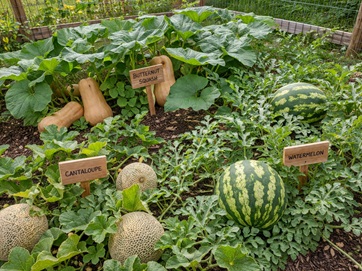
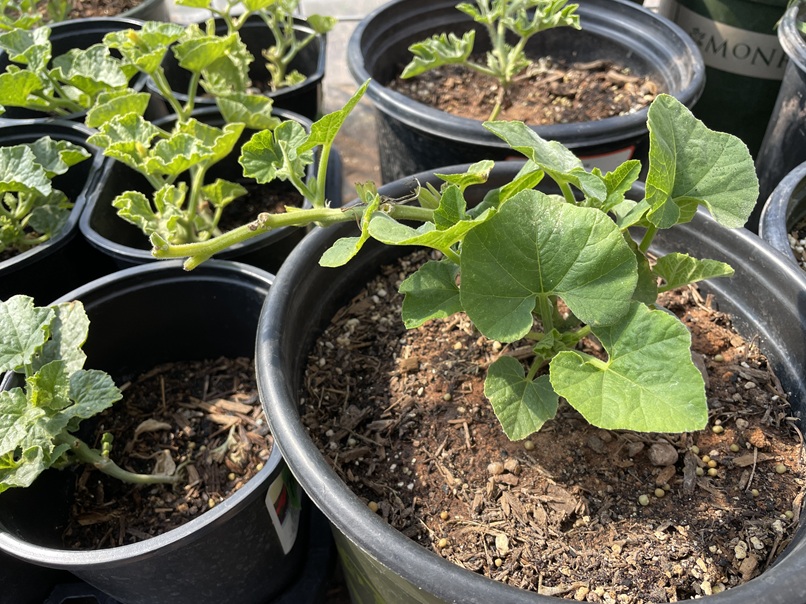
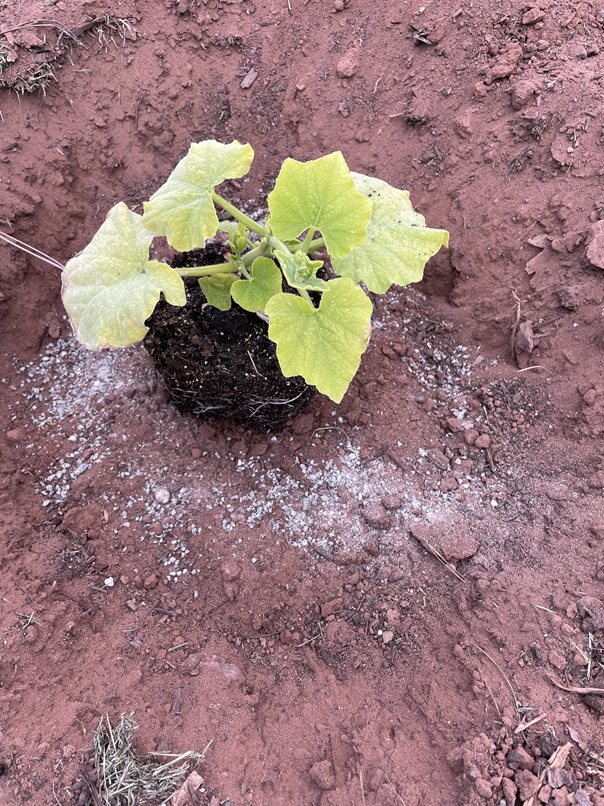
~ Melon Patch ~
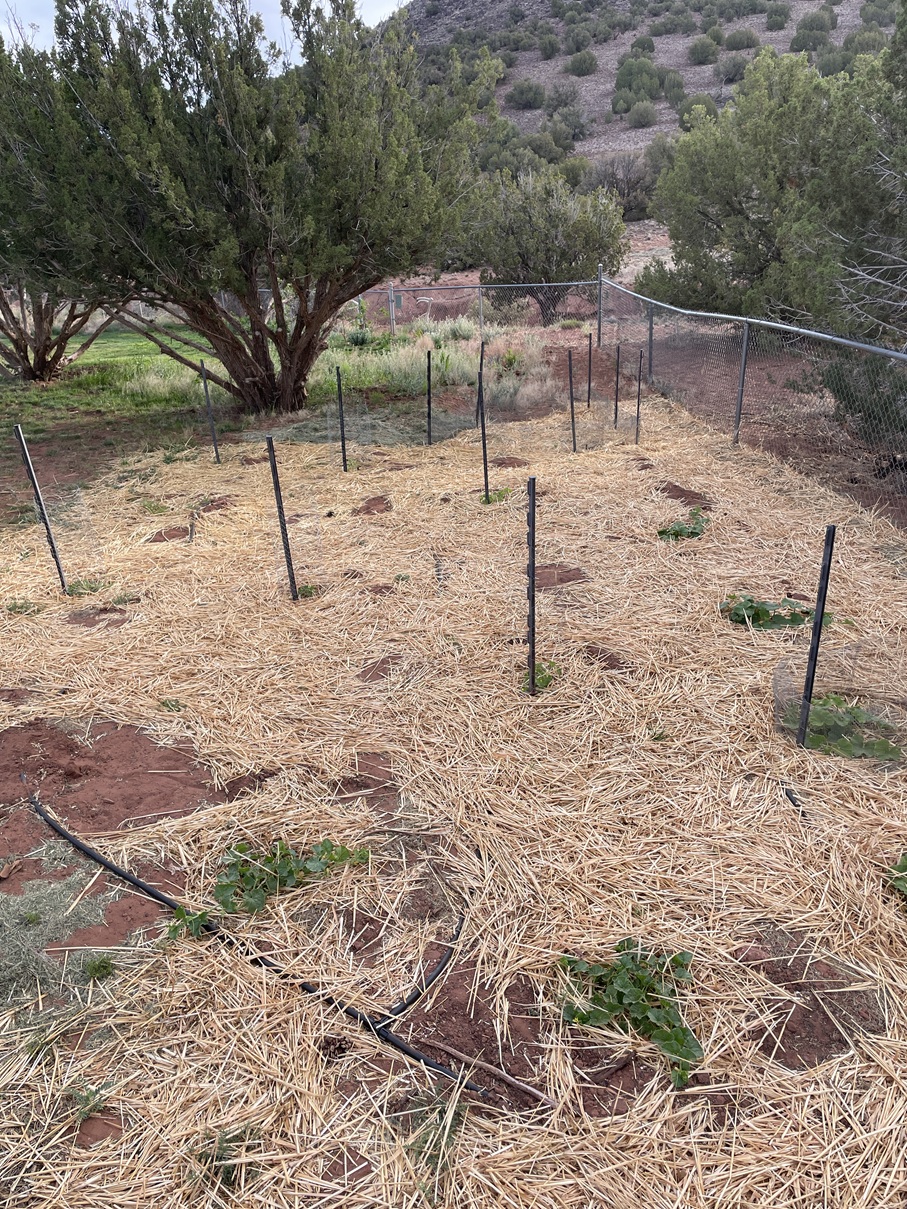
Melon Patch
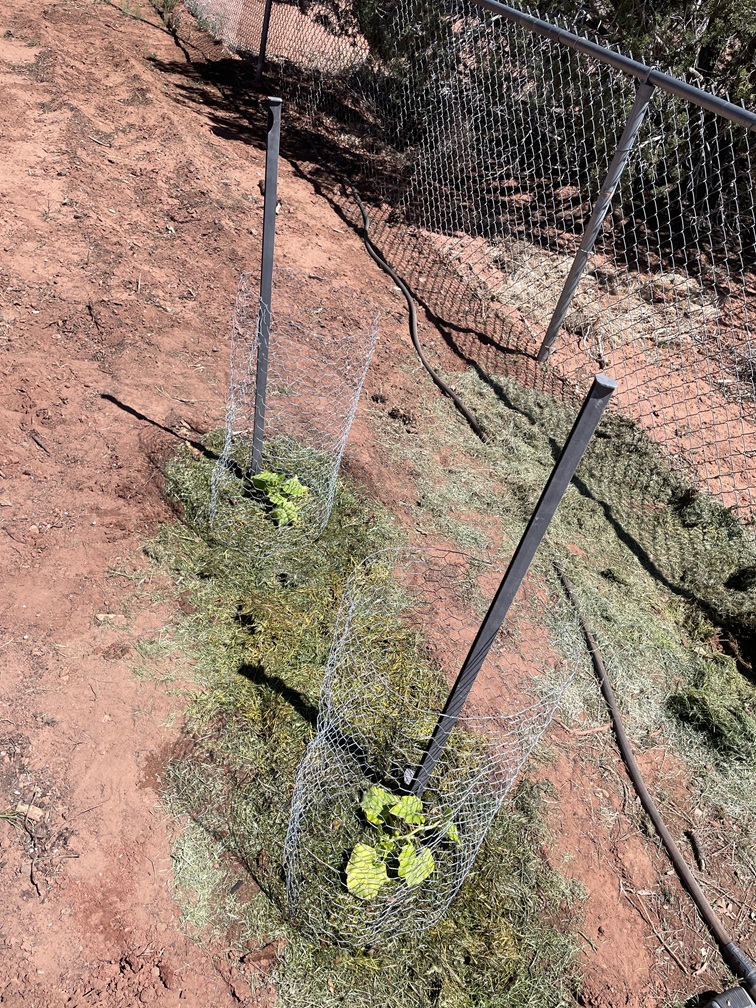
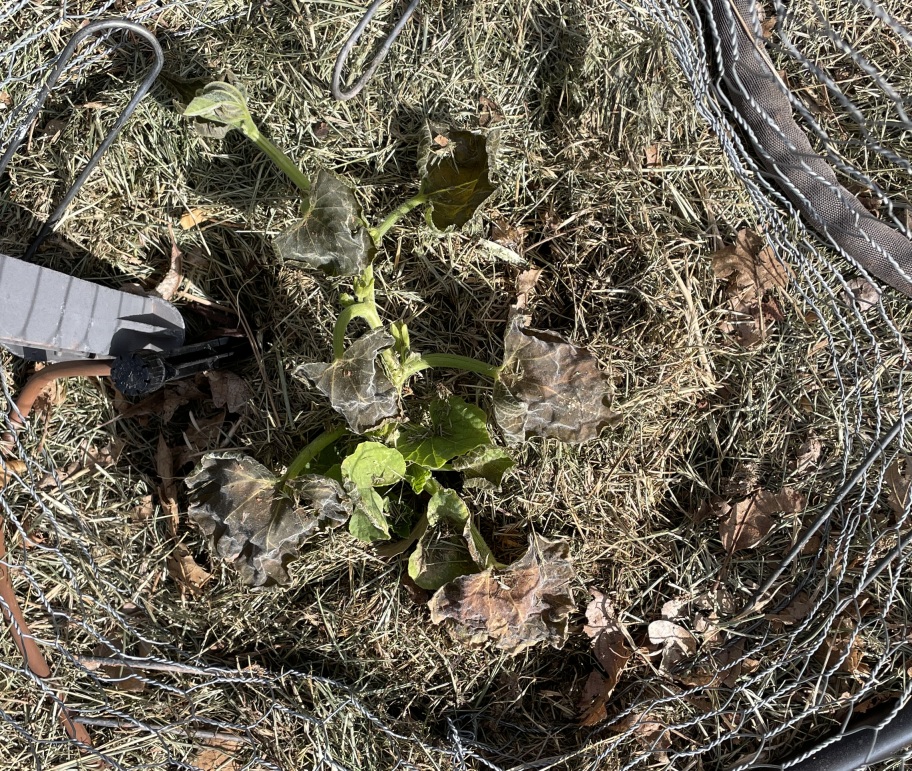
Butternut Squash : It’s all doing really well…some plants have blossoms. And if I am not blind, there is one plant that looks as if it has a tiny squash already started. I had to remove a couple of the protective chicken wire because the vines were outgrowing them: about 18” long vines on a couple.
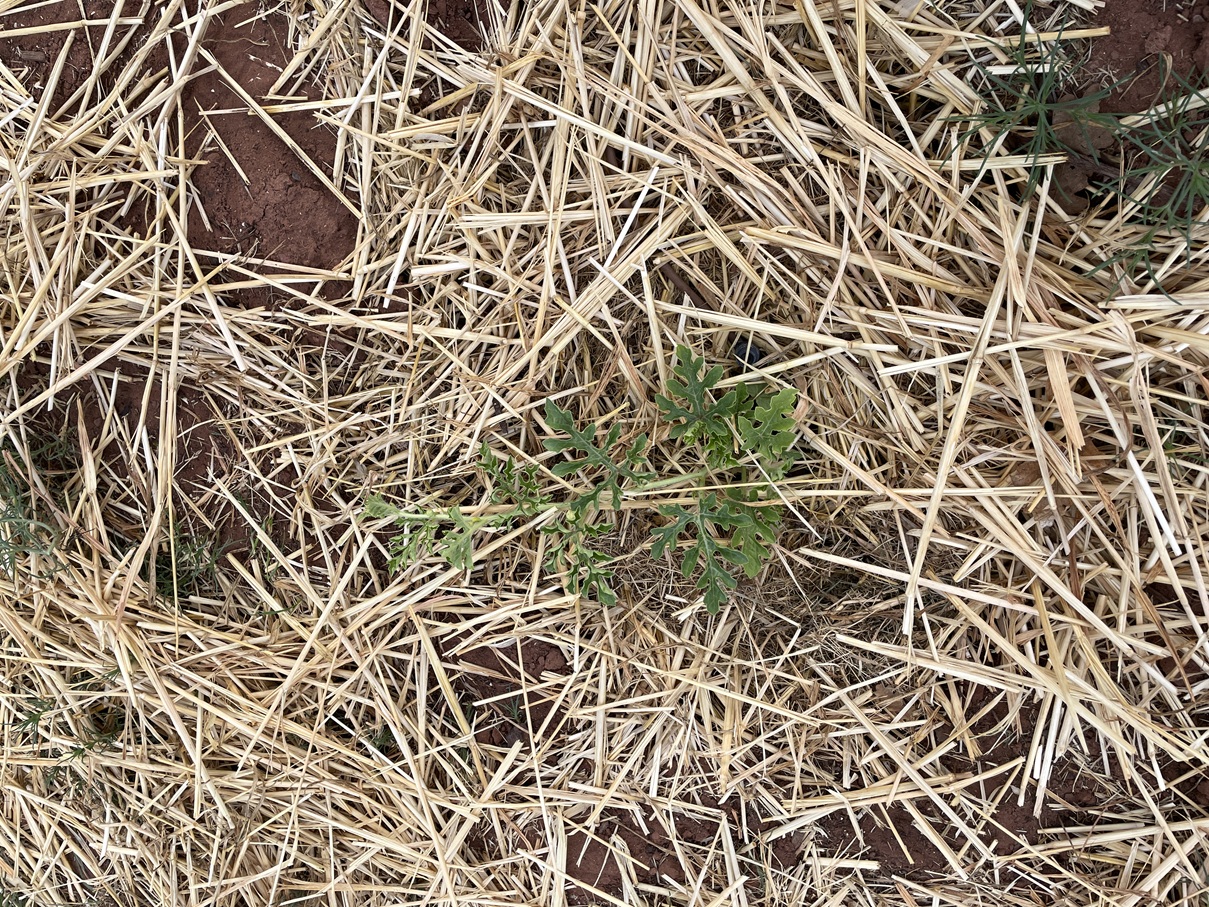
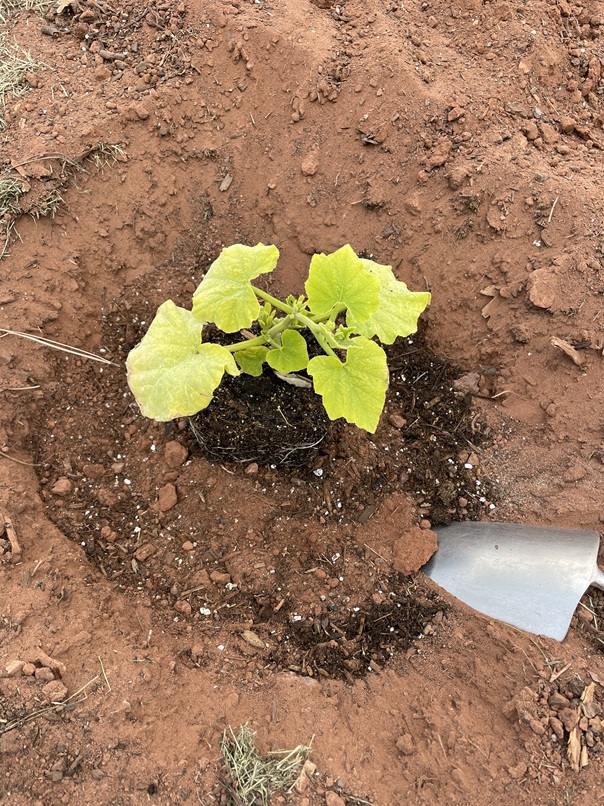
Watermelon
Watermelon : Doing well, a couple plants have 12” vines already. One plant has a blossom on it.
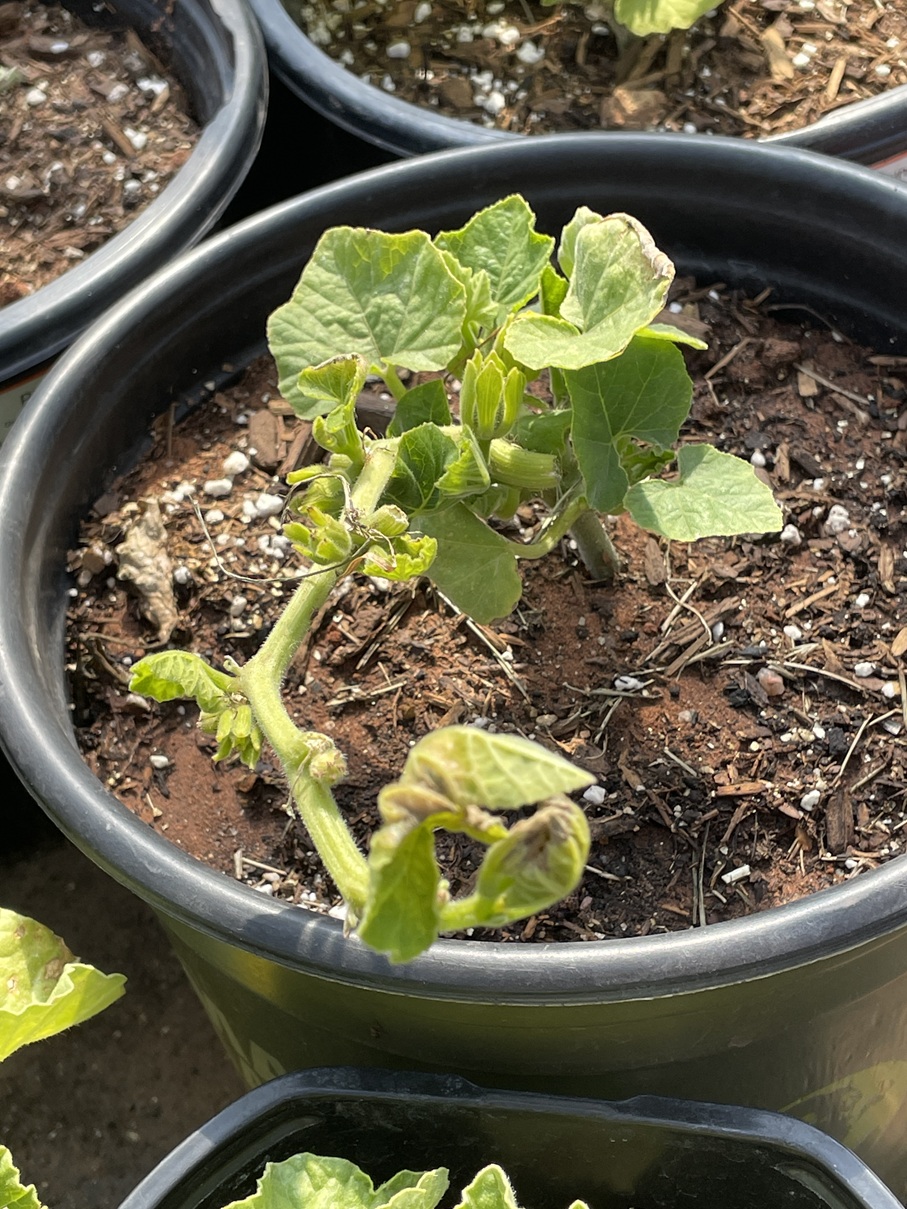
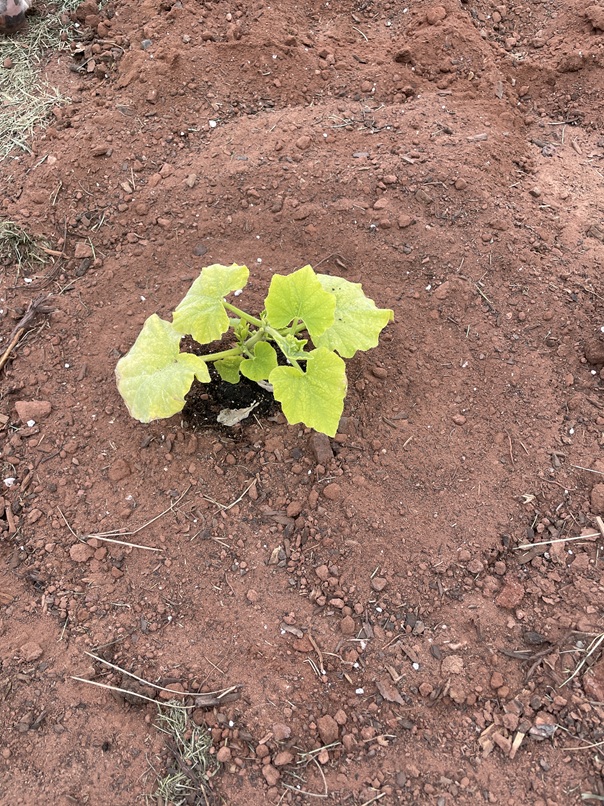
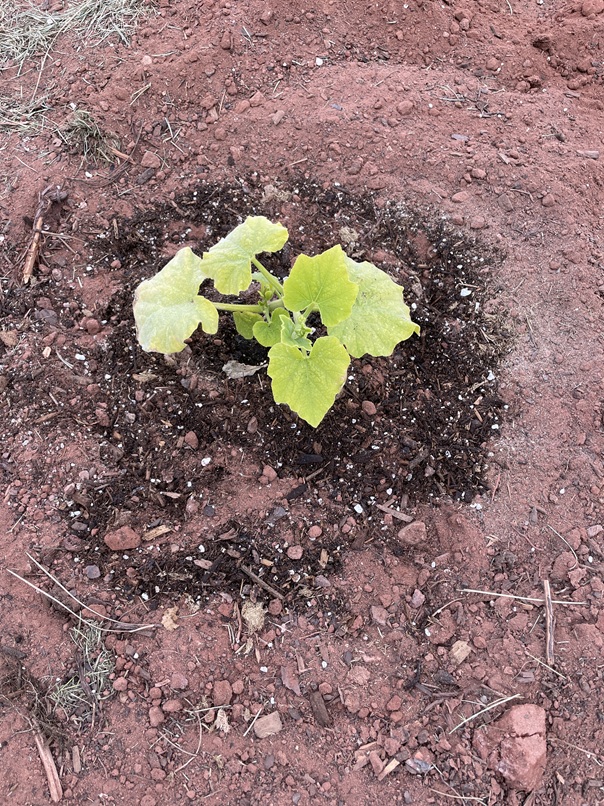
Cantaloupe : Whoa! Plants are doing really well with the exception of
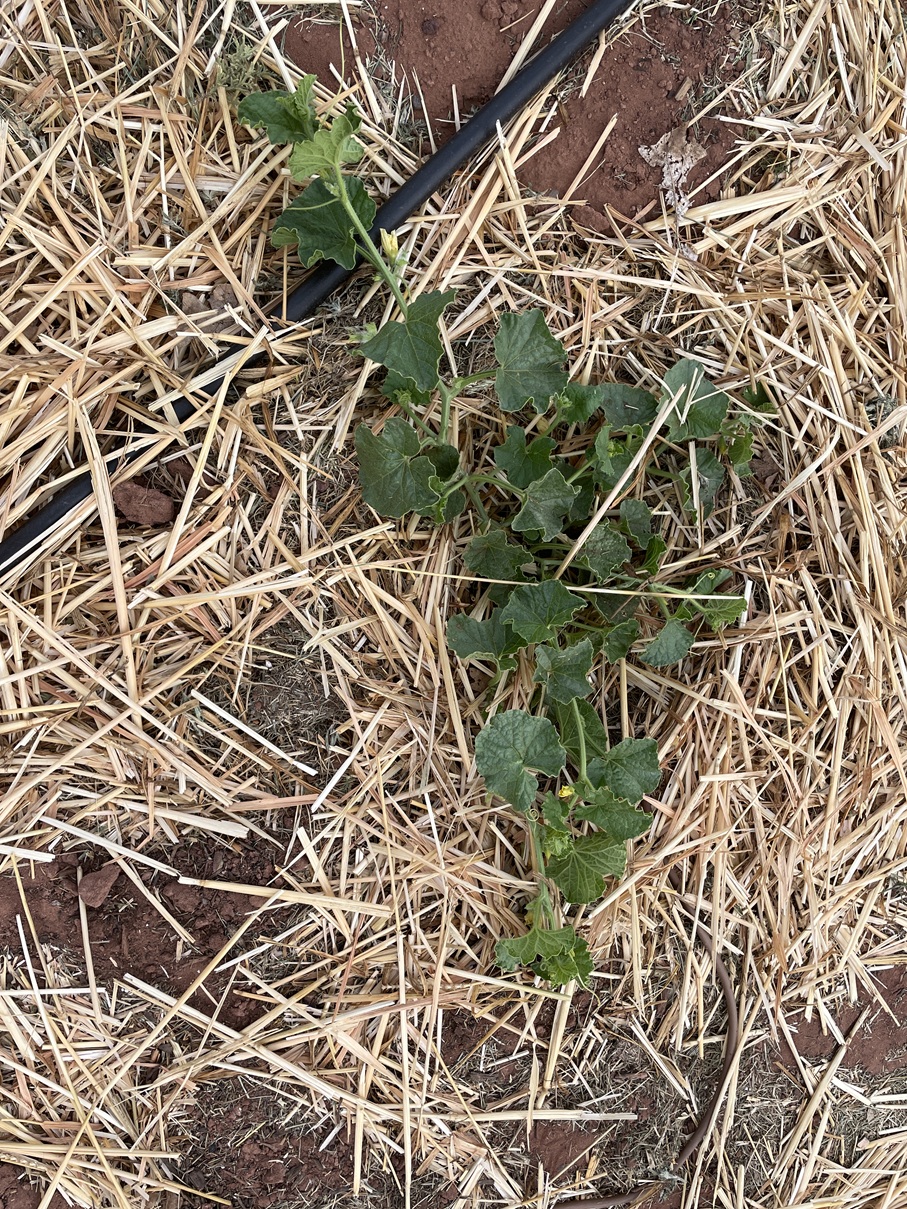
Cantaloupe Plant
one…looks a bit puny. A couple have 12 – 16” vines already. Plenty of blossoms!
Zucchini : Seeds are germinating and doing well. 5 of 9 seeds are showing, no true leaves yet. I will thin to 1 plant per each of the three hills.
Note: My fear that the dogs and/or rabbits would pose a problem seems to have been unfounded. I have 5 exposed plants now without disturbance. We’ll closely monitor.
~ The Garden ~
Tomatoes –
The “deep freeze” took out over half of my tomato starter plants in the greenhouse; that left me a bit limited on what I had left to plant.

Early Girl & Brandywine Tomato Plants
Early Girl (2 of these) : I’m sold!! These were very hardy, even in the freeze. They are in the ground and doing really well. Actually, I had to prune them already and a couple blossoms are showing. I got to get the new system of keeping them upright constructed. I had to put a basket on one already just to keep it vertical.
Brandywine (2 of these) : I am liking the plants so far. I’ve never eaten one but the plant so far is hardy and had to prune them already. I am expecting blossoms any day now…or at least before the end of the month. This is an experimental plant for me, never planted one before.
Rio Grand (3 of these) : This is a “Roma” substitute for our environment. I can save seeds and the saved seeds should grow reasonably true Rio Grand tomato plants…so it’s not a real F1 hybrid plant. Call it a semi-hybrid/heirloom. They are doing well…just not very big yet.
Arkansas Traveler (1 of these) : This was pure experimental. I was looking for a tomato that could handle the heat here. Problem was…the deep freeze killed off all but one of them. It’s in the ground, but real small, planted them in with the Rio Grands. I’ll see what happens…but I have great hopes for it.
Beefsteak (3 of these) : This is a love/hate relationship!! I love the taste and they can’t be beat for sandwiches. But for me…they are so hard to get started. Well, the seedlings held up fine. But, they grow real slowly and in the ground I never know if they will live or die. They look like puny midget plants at this point…but the same was the case last year…then BOOM! They explode with growth and produced like crazy.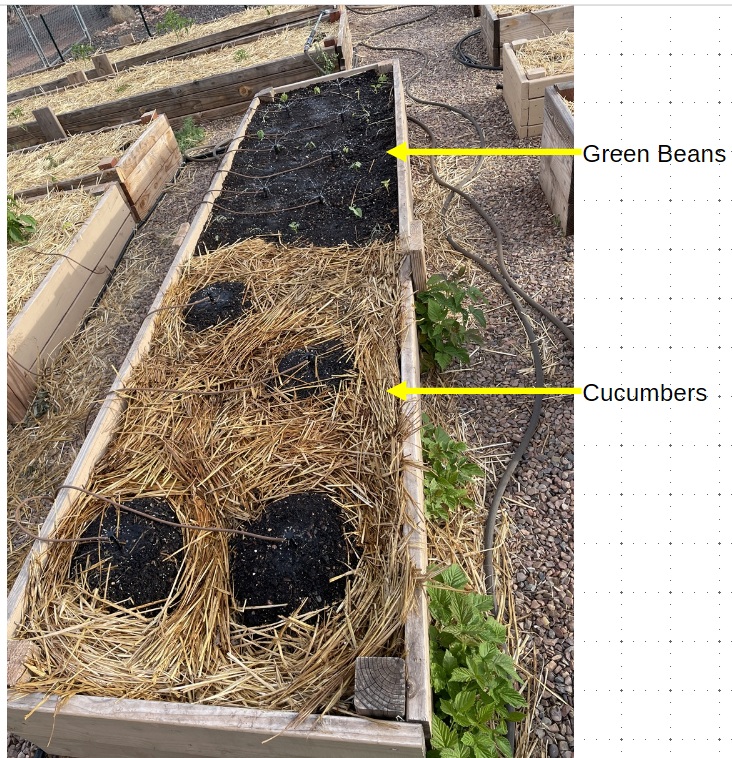
Boston Pickling Cucumber (6 hills / 18 seeds) – The seeds came in on Saturday, seeds went into the ground on Monday. Kinda screwed up a bit…only 2 of the 6 mounds have lots of room for vines. The others not as much. My wife makes the best, crunchiest pickles you can imagine! I gotta get up some shade cloth and hoops to protect them for a while. Another project…yea!
Green Beans (a bunch) : coming along nicely, sprouted quickly.
Wala-Wala Onions – Total disaster…again. I tried to start some “sets”. They sprouted, grew 4 – 5” tall…then stalled. I was ready to throw them away but thought, “What the heck!” They are now in the raised bed with the green beans. Just kinda stuck em in the ground Monday. Oddly, this morning some of them are standing up, the others aren’t
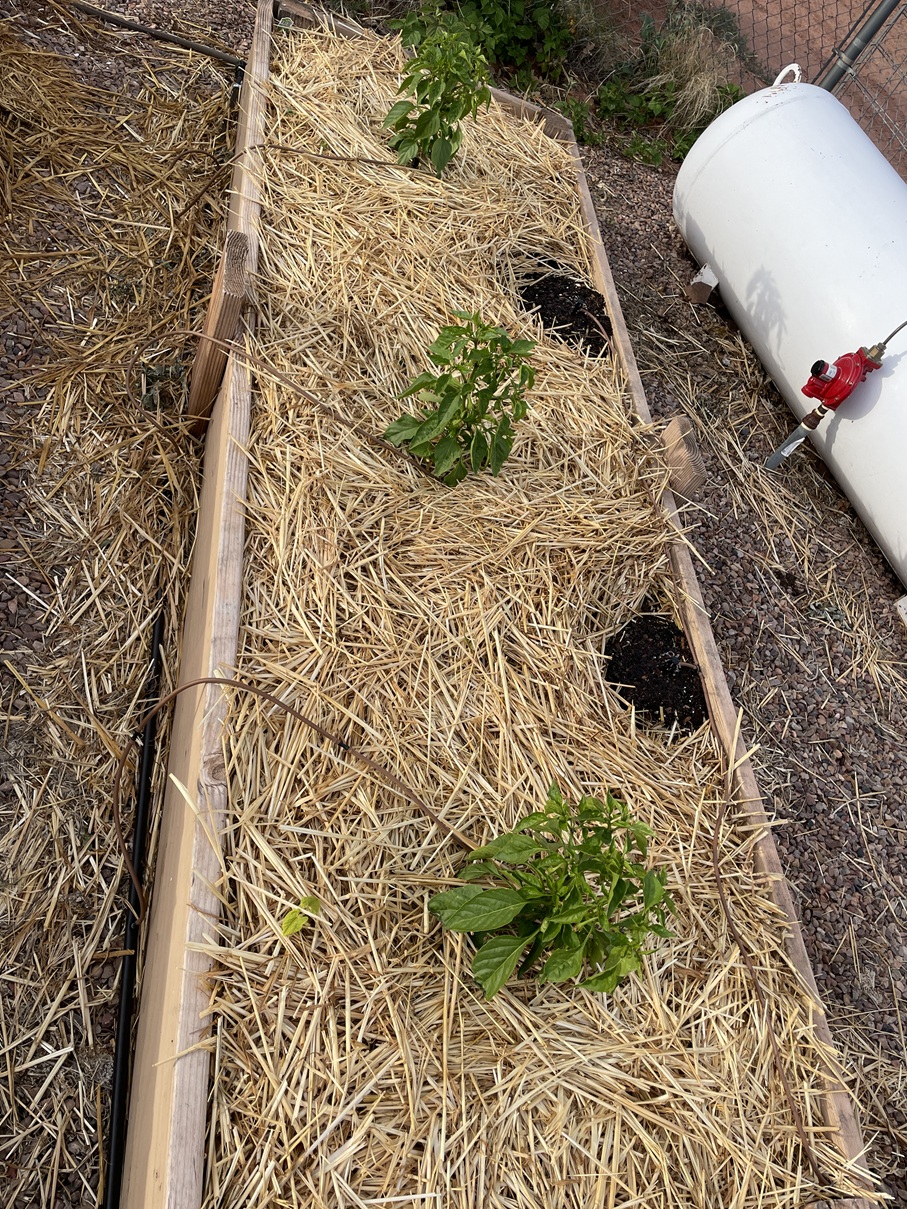
Green Chili Peppers
dead. We’ll see.
Green Chili Peppers (3 of them) : Wow!!! The plants all look awesome and there are a couple of chilies already on the plants, one is about 2” long. Yea!!!! We love them 🙂
Rattlesnake Beans : Planted 9 ‘hills’ of 2 seeds each. Nothing showing yet…but it’s only been a week. Keeping our hopes up! This was an experiment for this variety of beans. Supposed to be real similar to a green bean but more nutritious and better suited for this area.
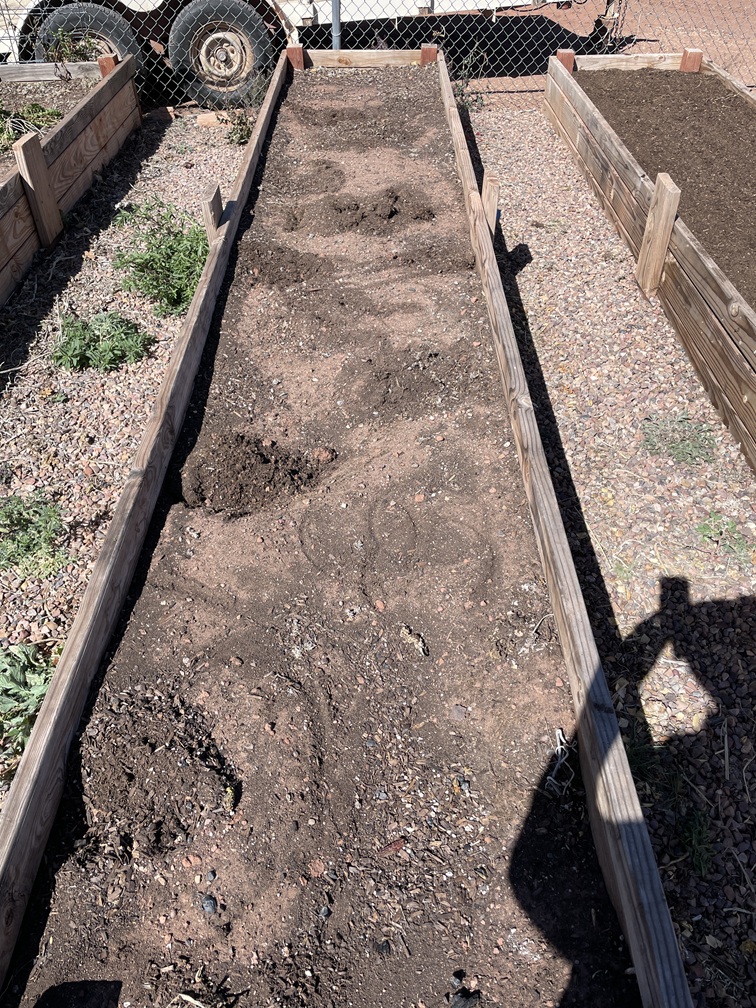
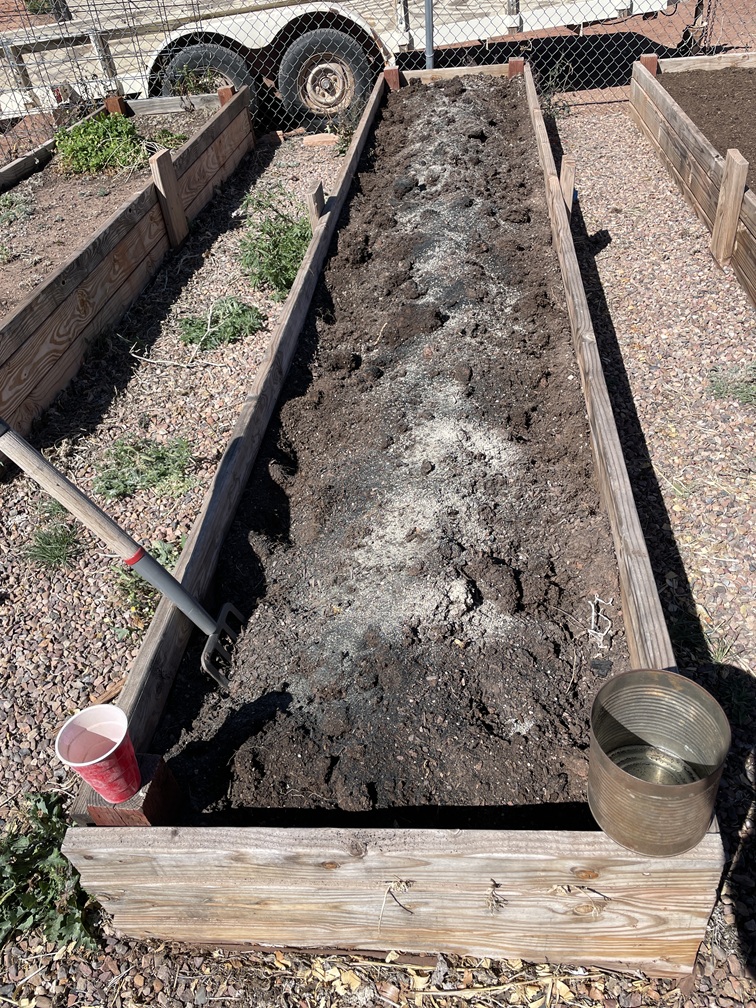
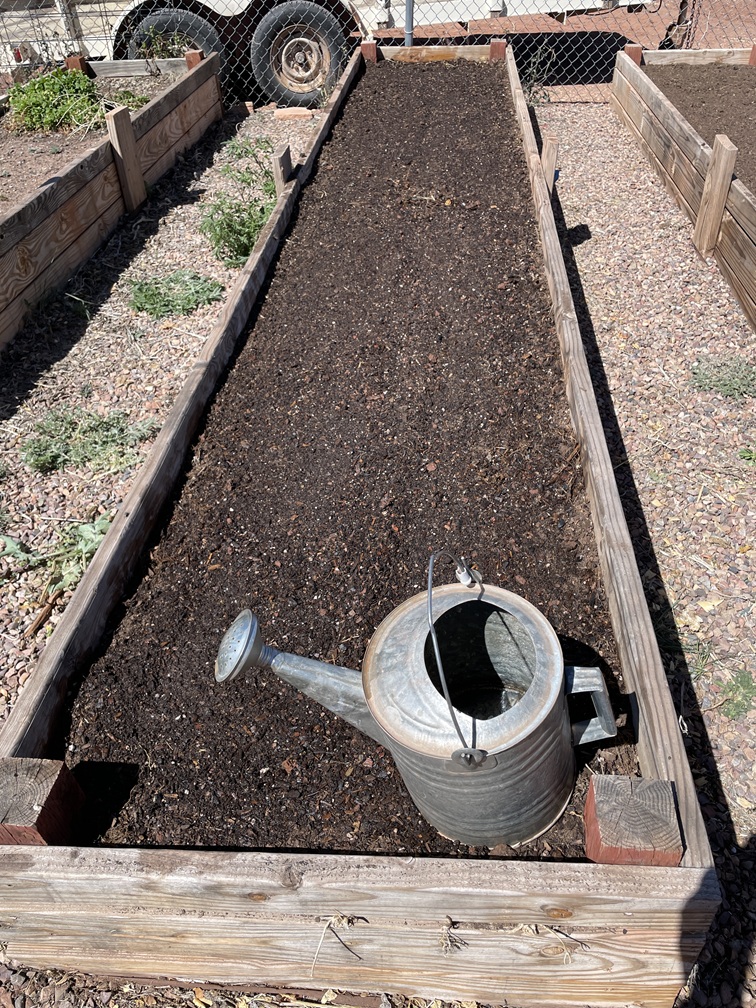
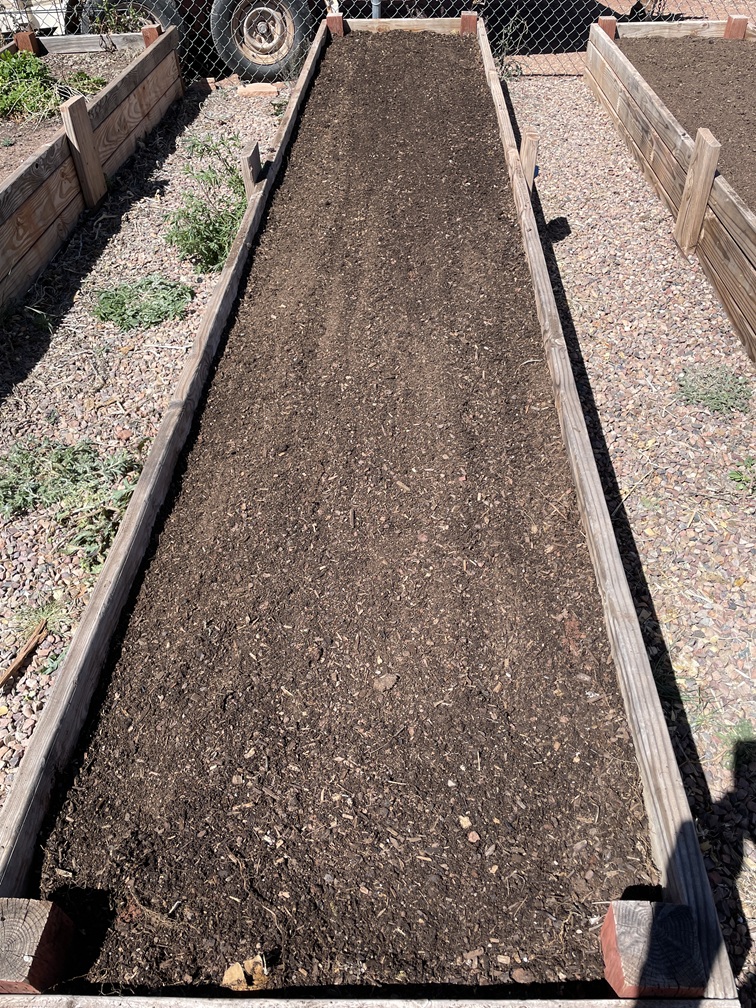
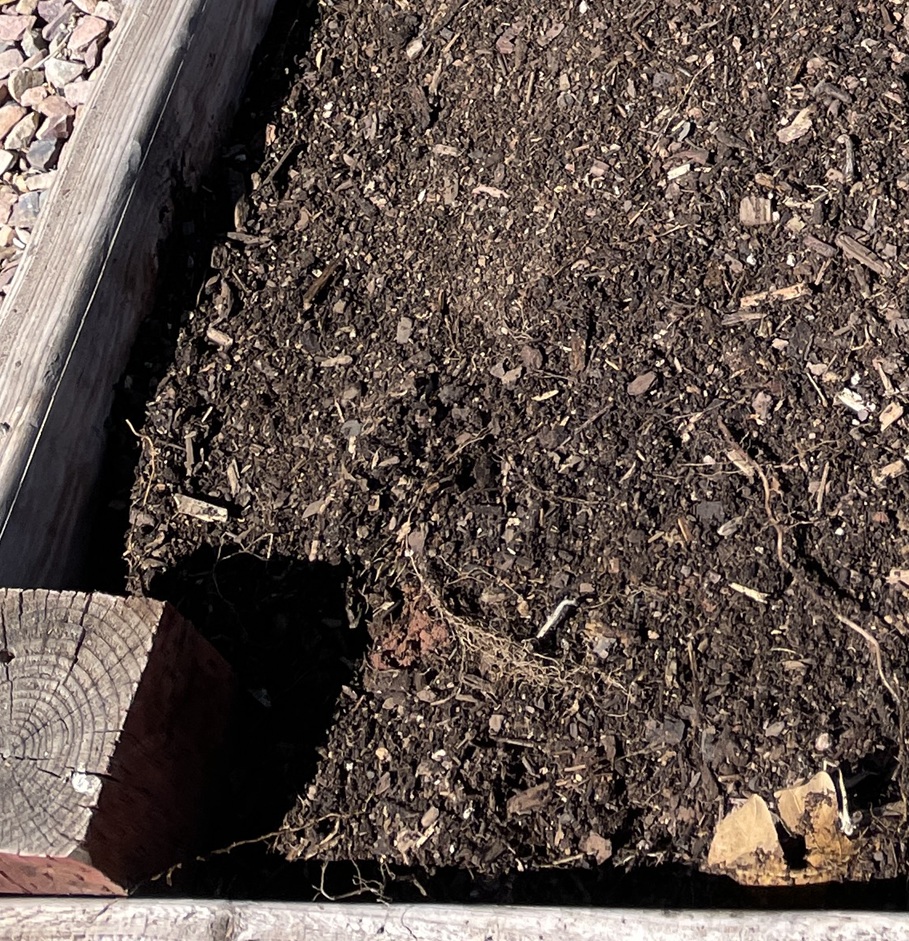
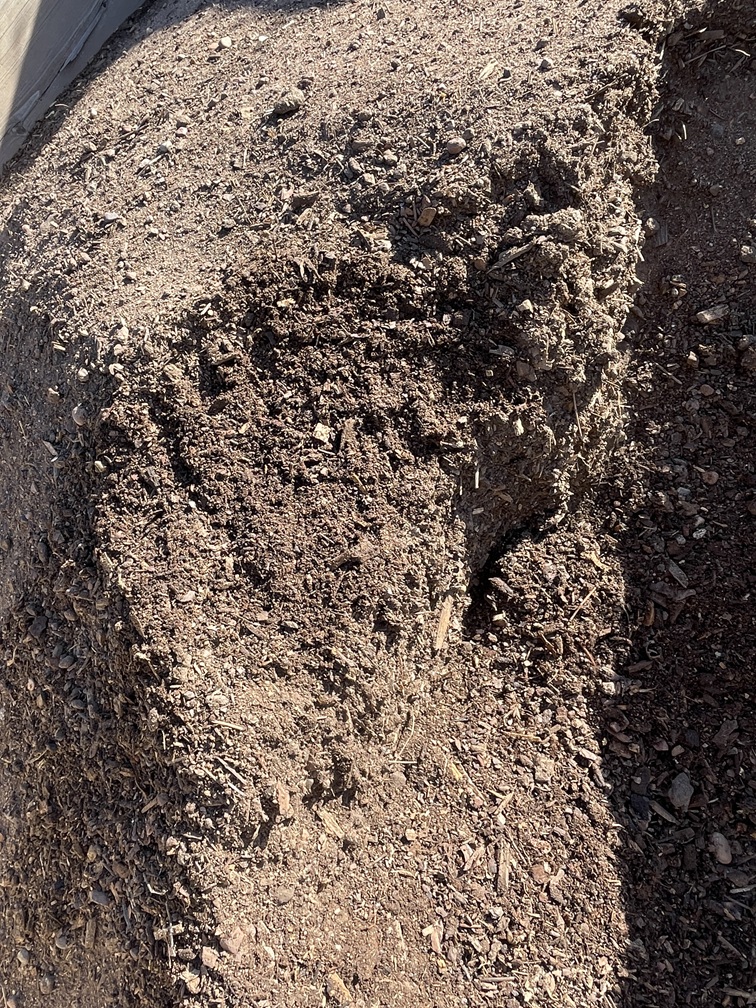
Anasazi Beans : Well, so far 36 plants are up and showing. I think maybe 5 – 8

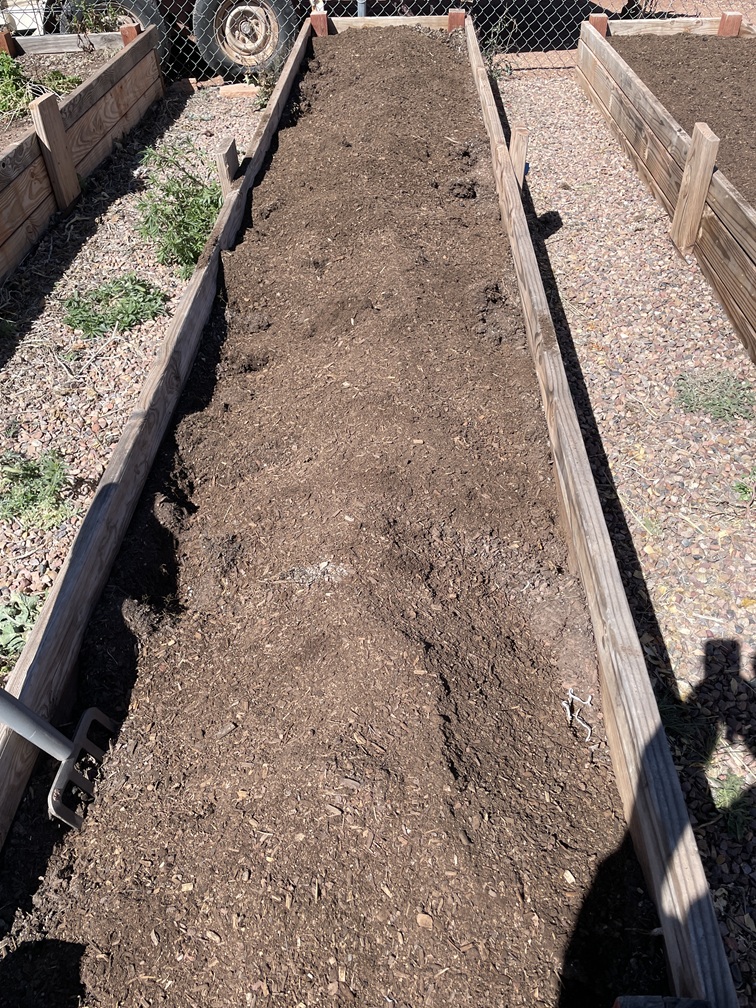
Anasazi Beans
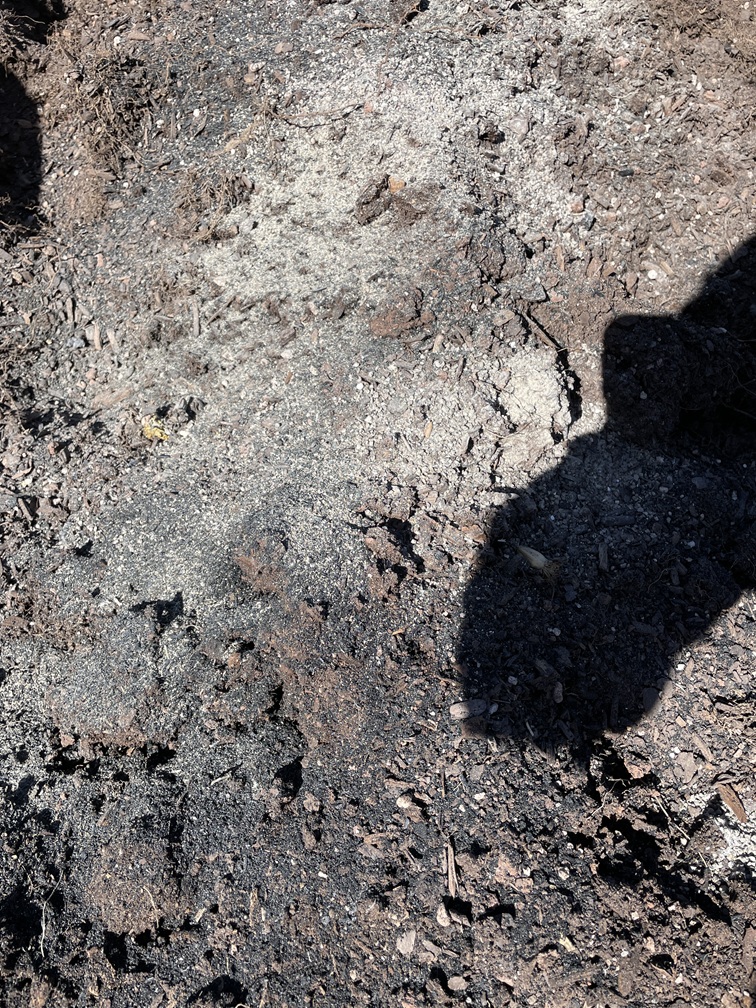
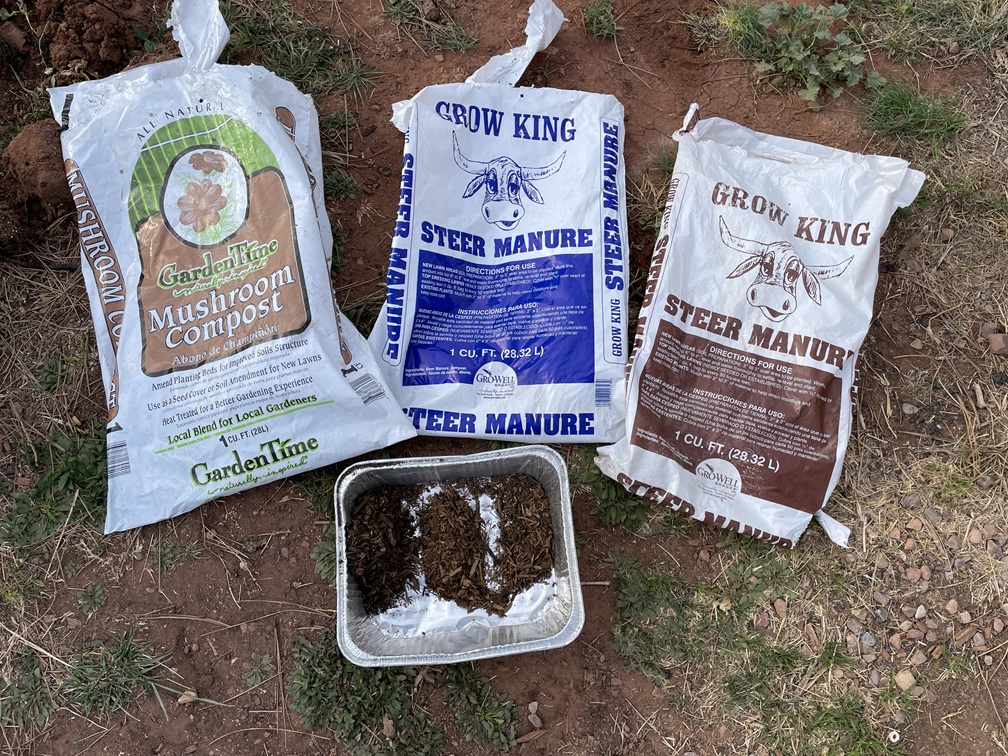
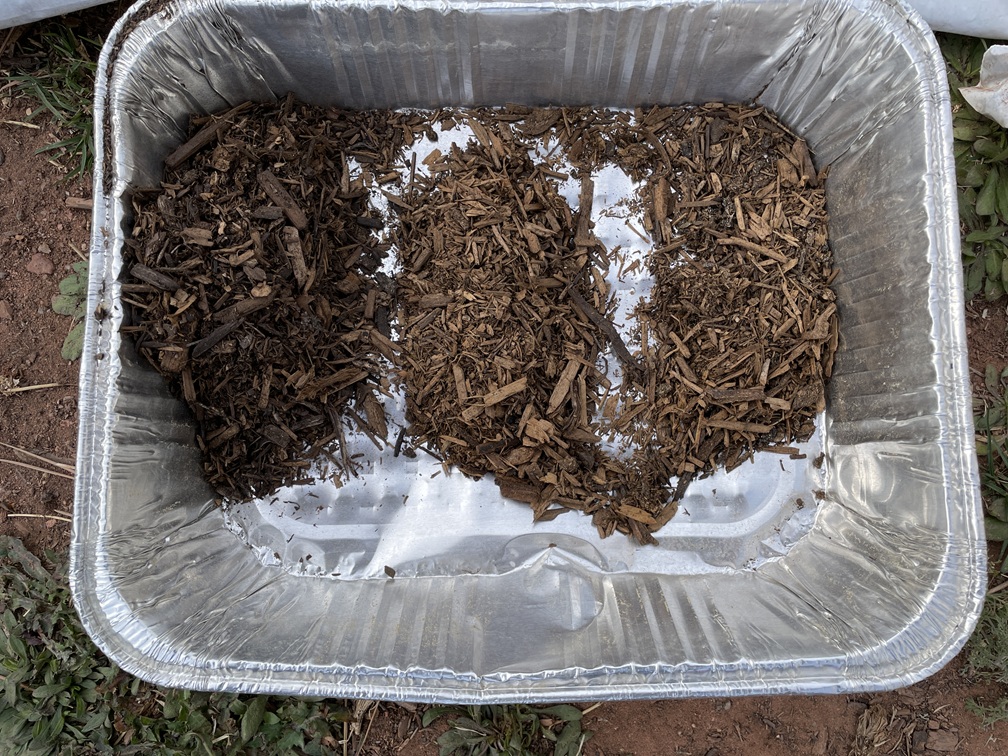
seeds haven’t made it yet. This year was a test for them. Last year I calculated that it would take 20 plants to produce an average year’s supply for one person. This year I planted 45 seeds (+/-). The seeds are great for this area’s weather, and using marginal soil. So when the blackberries came out…the Anasazi Beans found a new home. About 26’ x 18” or so for the row. I planted them double-row, staggered. The soil is pretty much marginal but I did add compost, soil conditioner, and organic fertilizer before planting about 8 or 9 days ago. I will keep you updated.
Summary –
That’s about it…you’re up to date. Garden is in and doing its thing. Irrigation is all in place. The shade cloth is ordered and will be here tomorrow. It might not get put up till Monday.
Has anyone else had the experience that raspberry and blackberry bushes could be classified an invasive species? Especially blackberries? I am thinking they are.
SPECIAL NOTE: It is not too late to plant a garden. In most areas of the country there is still plenty of growing season left…almost all of it actually. Go buy yourselves some nice vegetable plants from Lowes and get them in the ground…or in your raised bed. You can also go “container” as well. Just plant something will ya !!!
Ahhhh, Final Note: Yes, I still have to do my final weeding between the raised beds and around the blackberries…give me a break.
 2009 - 2026 Copyright © AHTrimble.com ~ All rights reserved
No reproduction or other use of this content
without expressed written permission from AHTrimble.com
No legal, economic, or financial advice is given, no expertise to be assumed.
I may receive compensation from advertised/mentioned products on this website.
See Content Use Policy for more information.