

This is the third in the making dirt series. If you haven’t already read Parts #1 & #2 you might want to:
We are moving on from fruit tree soil to soil I make for our yard.
Grass Soil –
This yet another challenge for us here…being able to grow grass. Remember our soil is baked dry, lacking water, lacking nutrients, and lacking the ability for water to penetrate/wick below the surface. Wind and soil erosion have removed most of the top soil and vegetative cover. The lack of water and the baking effect have also effectively killed any life in the soil…and most rain that does fall simply runs off into dry washes that become raging streams or rivers when heavy rains hit. Yeah, not a great situation.
 This is a picture of the back yard before I started working on it to replant.
First thing we had to do was figure out what kind of grass(es) could grow here…and there are not many. My first attempt a couple of years ago was a ‘dry pasture’ grass…fail! Then I tried a mixer of common lawn grass…fail! The final solution depended on the mission/usage.
For our yard I went with a local nursery’s own mix of yard/lawn grasses specifically identified for this area. And along with identifying the proper kinds I had to yield to watering as needed. But that was just the start. Along with regular watering I also had to accept that I would have to amend the soil where the grass would be planted, amend it a lot. But I wasn’t done yet. I also had to accept that I would be caring for the grass with fertilizers, nutrients, and other vital healthy soil components on an on-going basis. Building soil for my grass yard was going to be a major project…but it was worth it to have a decent yard vs blowing dirt or sticky mud.
Here was my dirt building process:
- Step #1 – Using my neighbor’s tractor to rip the existing soil with 12” deep rippers.
- Step #2 – Using my tractor with a disc to break up the clumps of soil and to break the soil down a bit.
- Step #3 – Spread native soil on low areas to even out the ground.
- Step #4 – Using my tractor with a disc to mix the soil and do some leveling.
- Step #5 – Using my ATV with a drag harrow I leveled the area to smooth it out.
- Step #6 – Spread 8 yards of screened compost over roughly an 8,000sq’ (+/-) area; About ¼” of compost.
- Step #7 – Using my tractor with a disc to mix the soil and do some more leveling.
- Step #8 – Using my ATV with a drag harrow I leveled the area to smooth it out and turn it into a seedbed.
 View of grass in the back yard before starting work.
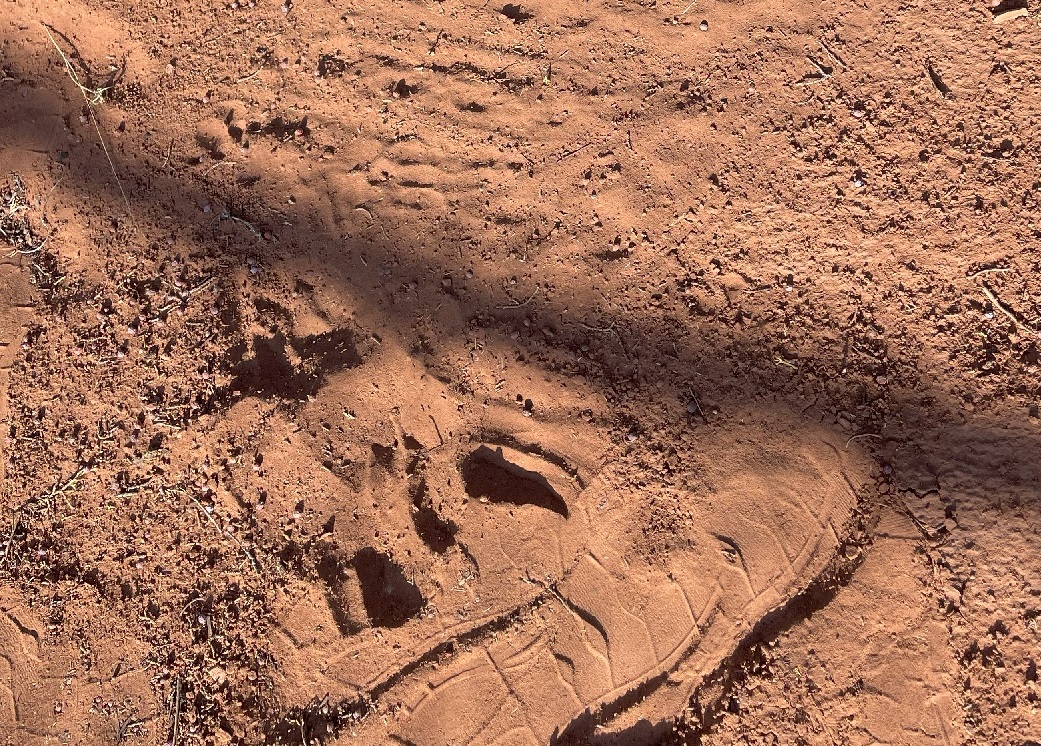 This is what the dirt looked like after I tore it up but before any amendments.
 This is what the dirt looked like after adding the amendments.

right click to enlarge
Once the amendment addition was complete and I leveled it, I put down Sta-Green Slow Release 16-0-10 Natural All-purpose Fertilizer. Then the grass seed went on. Finally, I put down a very light covering of a mix of peat moss and Grow King Steer Manure. Yeah…then plenty of water 3 times a day for a month, then watered 2 times a day till October.
 This what the back yard looked like after all the work…just waiting for the grass to sprout.
Was it successful? Yeah, kinda, mostly, not quite completely. Lessons learned:
- I should have at least tripled the compost or used pine needle straw as my first load, then 2 loads of compost. There simply wasn’t enough organic matter the way I did it. But, it did work…it just could have been done way better.
- Some of the native soil I brought in to do leveling contained too much clay. I thought I had all sand but I didn’t see that I had tapped into a clay seam. This has caused two areas of the yard to hold water longer than the rest resulting in poor drainage. The areas are prone to turning yellow as a result. I will fix that this winter.
- I should have applied a slow-release 10-10-10 fertilizer after Step #1.
- I should have applied water after Steps #1, #2, & #5.
- Instead of using Sta-Green Fertilizer plus Soil Conditioner after planting the grass I should have applied a ½ application after Step #7. Then a full application after planting.
Lessons Learned Narrative: The soil was lacking organic matter at all levels, I simply didn’t add enough compost. LL #1 would have solved that. When I had completed the soil building/preparation there simply wasn’t enough water or nutrients in the deeper soil. LL #’s 3 & 4 would have solved that. Adding the Sta-Green Fertilizer plus Soil Conditioner to the upper layer would have made a far superior seed bed for the grass seed. Bottom line…I could of, should of, done a much better job of preparing the soil. In my defense…I was somewhat limited on my budget and had to conserve funds. And I had never built a grass soil in these conditions before.
Here is a final thought on building soil for grass…roots average depth for some popular grasses:
- Rye grass – 5” (+/-)
- Bermuda grass – 6” (+/- for 80% of the roots)
- Zoysia grass – 2-6”
- St. Augustine grass – 6-12”
- Kentucky bluegrass – 6-12”
As you can see the top 12” of soil is vital for most grass to do well. I all but (mostly) ignored the lower 11” of the soil when it came to organic matter, nutrients, and water. Had I put more of all three in the full 12″ as I went, the soil would have been much higher in quality for the grass to thrive. As it was I had to apply double the amount of fertilizer/nutrients to the surface throughout the growing season along with watering twice a day.
Note #1: For the soil in our yard to do well the roots have to go deep. The custom grass seed mix we bought has a variety of seed, some of which will put down deeper roots. But, most the grass will be the more shallow root types which means plenty of watering…and that is OK. We have our own well so there won’t be a large monthly water bill. Over time, probably beyond my lifetime, the roots will find their way deep and that will significantly improve the quality of the soil.
Note #2: Once I started mowing the grass I never regularly mowed it shorter than 2” and mowed only once per week. And I caught the cuttings in a grass catcher bag, not mulching it as thatch. Leaving it a little taller at 2” also allows the roots to grow deeper. In retrospect I could have gone to mowing every 10 days to 2 weeks and allowing the grass to grow taller. That could have also assisted in root growth. I did wait initially until the grass was about 3” before cutting for the first time. Yes, taller grass means deeper roots.
Note #3: After the grass was well-established I mowed the grass down to

right click to enlarge
1-1/2”, aerated the soil, applied a full application of Sta-Green Fertilizer plus Soil Conditioner, along with some peat moss, to the lawn, and watered it in well. Aerating the yard allowed oxygen, water, and nutrients to get deeper into the soil…and that drastically helps roots to grow stronger and deeper. Going forward I will probably try and aerate 2 – 3 times a year if needed.
Note #4: Sta-Green Fertilizer plus Soil Conditioner…This product is a 16-0-10 natural all-purpose slow-release fertilizer. In contains blood meal, bone meal, and feather meal and sea kelp, humic acid, potash, sulfur urea, calcium, gypsum, along with other nutrients. This product goes well beyond simple fertilizer, it contains ingredients that actually improve the condition of the soil.
Note #5: Speaking of gypsum…gypsum is a soft white or gray mineral consisting of hydrated calcium sulfate. It allows for deeper water and roots penetration. The calcium composition in gypsum also aids in roots development and the absorption of other vital nutrients. I should have put a ton of it on the ground after having “ripped it” but before putting the disc to it. It would have made the soil far, far more conducive to a growing deeper roots and encouraging water penetration. Live and learn.
While I may not have done everything perfectly, I did a lot of the right things. Besides…my wife loves the lush green yard and that is really all that matters 😉
Here is a short video of the back yard the first week of October. I kinda like it 🙂
Articles in this Series –
- How to make dirt – Part #1 (Introduction & raised bed soil)
- How to make dirt – Part #2 (Soil for fruit trees)
- How to make dirt – Part #3 (Soil for grass/yard/lawns)
- How to make dirt – Part #4 (Soil for woodlands)
- How to make dirt – Part #5 (Extreme dirt build) [not yet available]
Related Articles –
 2009 - 2024 Copyright © AHTrimble.com ~ All rights reserved
No reproduction or other use of this content
without expressed written permission from AHTrimble.com
No legal, economic, or financial advice is given, no expertise to be assumed.
See Content Use Policy for more information.

Pingback: How to make dirt…Part #4 | A.H. Trimble - Emergency preparedness information for disasters and grid-down
Pingback: How to make dirt…Part #1 | A.H. Trimble - Emergency preparedness information for disasters and grid-down
Pingback: How to make dirt…Part #2 | A.H. Trimble - Emergency preparedness information for disasters and grid-down