
I got a couple of questions from my latest “glamstead” article…
< click here to read that article >
- What do you use for potting soil?
I’ve used different versions. I’ve also made my own before < click here to read about it >. I also came up with a different version/recipe…basically peat moss, some rough/large sand, and perlite…then a very, very small dash of organic fertilizer. This year I am trying Miracle-Gro. I’ve used Sta-Green before as well. They’re all good, price is the big difference.
Since I am just starting a small number of seeds this year, Miracle-Gro is a good choice; Sta-Green would be a decent option as well. If I am doing a large bunch of seedlings like last year I make my own < click here >.
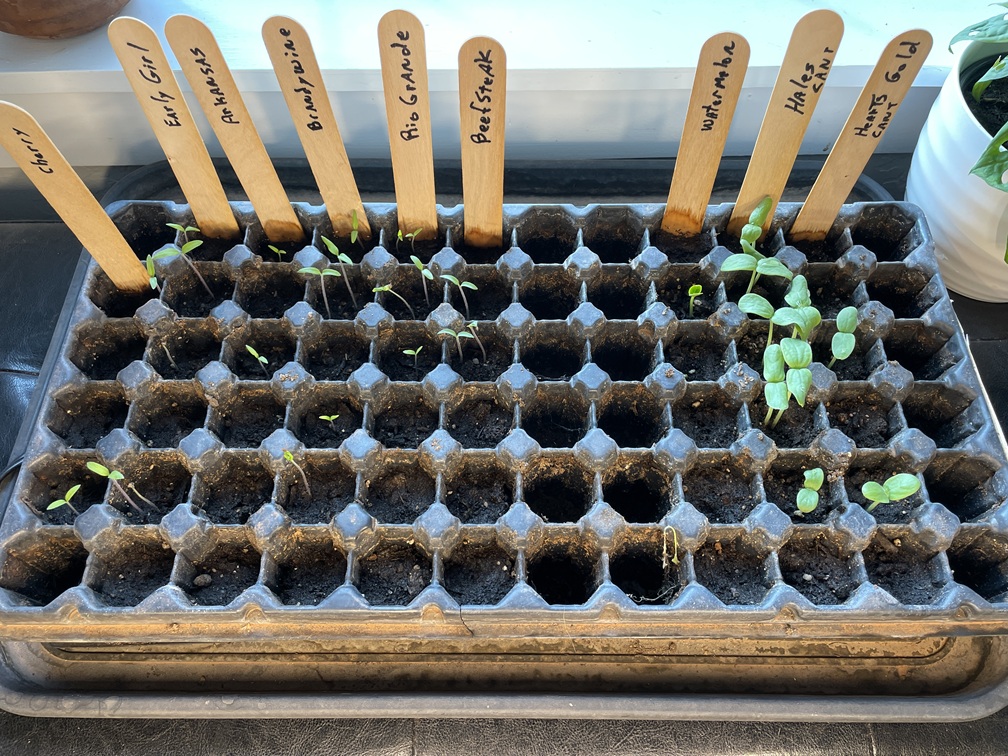
It is far more important how you treat the tiny little pots of soil with the seeds. I’ve learned not to overthink it and not to hover over them. I start out the potting soil damp with warm water. You shouldn’t be able to squeeze any water out of it but your hand should be wet. Then leave it be. Yeah, I’ve done the seed soaking before, it’s okay, not required. If the soil gets fairly dry I water it till its damp again. I try not to water it so much that it comes out into the drainage tray.
Yeah I know, some folks water from the bottom up, no problem, I don’t. I also don’t use a sprsy bottle to water.
I am trying something different this year as well. I use a seedling heat mat, but only during the day. I unplug it at night to mimic the outdoor environment that would be in-place if I had planted them outside in the right weather. I also only use my grow-light only during daylight hours. I also use a south facing window. And yes, I use an osculating fan to gently blow over the seedlings to strengthen them.
Lastly, I don’t up-pot them too soon. I let a good root system (not quite a ball) form and then up-pot them. I don’t go big on the first up-potting, I keep it relatively small and up-pot multiple times when the roots need it.
Oh, for tomatoes, I leave room in the pot. I only use about half the soil as normal. Then as the stem grows I gently add more soil till it’s full. I repeat that when I up-pot. Tomatoes love to put out roots from their stem…so I assist with that. For tomatoes you want as much of a root system as possible for growing great tomatoes and keeping the plant healthy. With tomatoes it is about how much water the plant can absorb and use vs how much water you put on them. I water them deep but water only once a day. That makes the roots go deep to keep the water being taken up into the plant.
- What grow light is that?
The one I’ve been using is an old one, 180watts, 420 LEDs, and full spectrum light. Has done fine. I just set-up a new grow-light this morning. 144 LEDs, 62watts, and full spectrum, different colored LEDs.
The key is not too much light…not too little light. Remember, seedlings in the natural environment would be sprouting in spring. Lower light days with fewer sunlight hours. So you don’t want to overpower your seedlings with the artificial light from a grow-light. The best way to calculate it is with “lumens”. Look up the word if you want…but, it is basically the power/energy delivered to the plant by the grow-light.
So you want at least 2,000 lumens but keep it below 8,000 (or so) lumens. For the most part each “watt” produces about 80 lumens. So this latest grow-light I bought comes in at 4,960 lumens…just about perfect. The old grow-light was “hot” at 14,400 lumens. So the old light had to be kept further away from the plants/seedlings.
At 2,000 lumens about 8” is good. For 14,400 lumens I had it at 24”. I would never put any grow-light closer than 8” to my seedlings. So if I chart it out…
-
-
- 80watts or lower = 12”
- 80 – 100watts = 15”
- 100 – 130watts = 18”
- 130 – 180watts = 24”
-
But watch your seedlings and adjust as needed. Don’t grow your seedlings too fast…slow, steady, & strong. If the stems are looking too spindly then move the grow-light back a few inches. Experiment…but don’t change things every day. Make a change, give it a few days to make a difference.
Here’s the last one I bought that I am experimenting with:
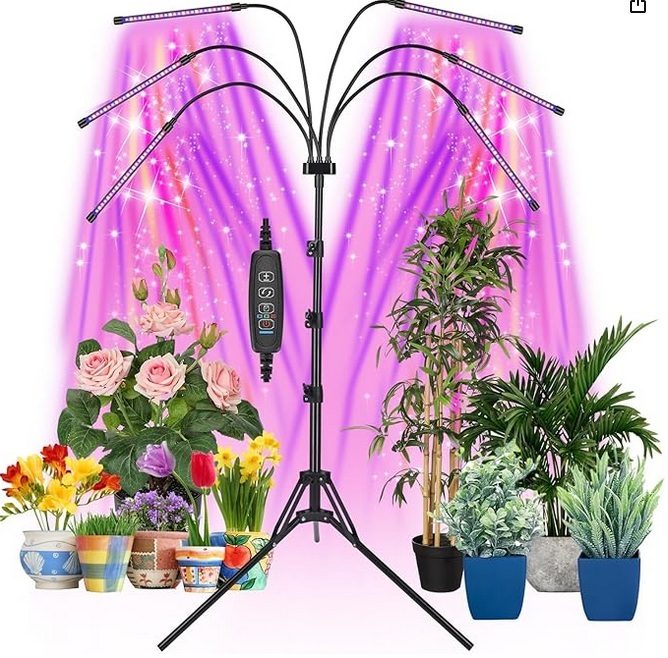 < click here to see it on Amazon >
Related Articles –
Q & A Time…Ask me a question or send me a message…


 2009 - 2026 Copyright © AHTrimble.com ~ All rights reserved
No reproduction or other use of this content
without expressed written permission from AHTrimble.com
No legal, economic, or financial advice is given, no expertise to be assumed.
I may receive compensation from advertised/mentioned products on this website.
See Content Use Policy for more information.

Just fwiw, we had trouble for years in our bavk yard because of a big pine tree. With other trees, with grass…. Just put this in the hopper and if you see any of these problems developing due to the pine needles you incorporated, you could address it .
Soil Acidification: Pine needles are acidic and decompose slowly, leading to a gradual lowering of soil pH. This italic acidification can inhibit the growth of other plants, as many species prefer neutral or alkaline soils. – Allelopathy: Pine trees release chemicals, known as italic allelopathic compounds, into the soil that inhibit the growth of competing plants. These chemicals, often found in pine needles and cones, can create a “pine barren” environment where only pine trees thrive.
On Wed, Feb 18, 2026, 3:19 PM A.H. Trimble – Emergency preparedness informati
LikeLiked by 1 person
I did a bunch of research about this, here is just a sampling of what I found from 3 different reliable sources…
“On the other hand, others think pine needles are too acidic to be used as mulch. We did our research, and it turns out the acidity of pine needles is a minor issue that you shouldn’t worry about. Why? First, pine needles have a pH of around 3.5, which is pretty low, but after they fall, they’re already dead or dying. When pine needles break down, they’re digested by soil microbes, and their pH starts to move toward the neutral range.”
“The Myth? Using pine needles as mulch will cause your soil to become significantly more acidic.
Reality: False.
Many gardeners believe this persistent myth, perhaps because people often find it difficult to grow grass under their pine trees and assume the pine needles are to blame. But Cooperative Extension educators have been trying to bust this myth for years. We took a look at the consensus—among horticultural extension agents, master gardeners, and soil scientists around the country—that using pine needles as mulch can be beneficial in several ways and will not significantly increase your soil acidity.”
” Can Pine Needle Mulch Acidify Soil? You’ve probably observed that little grows under pine trees. It’s a common belief that this is due to how acidic pine needles are. But according to horticultural experts, pine straw isn’t likely to have much effect on soil acidity. As the OSU Extension explains, “If you were to take the freshly fallen needles (before the needles decompose) and turn them into the soil right away, you may see a slight drop in the soil pH, but the change would not be damaging to the plants.”1
One study did find that amending containers of potting soil with pine needles or pine bark can drop pH “by as much as 0.48 units,” but it seems “unlikely that any of these mulches would substantially alter soil pH when surface applied at typical landscaping rates.”2 “
LikeLike