
 It’s getting close to panting time so that means getting my raised beds ready for all those new plants coming from my greenhouse. I built the beds a couple of years ago and here’s how I “built” the dirt for them < click here >. Last year I had to add a bit of dirt & compost to fill them back up due to some settling…which is normal. This year I have to do the same but it will be far less to add.
I wrote about mulch/compost < click here > which I will be adding today. The “fill” today will be the bulk compost from the local green recycler which also happens to be owned by Gro-Well.
Note: No, that first picture above is not of my raised bed. I created it with AI just because I could and I thought it would be cool.

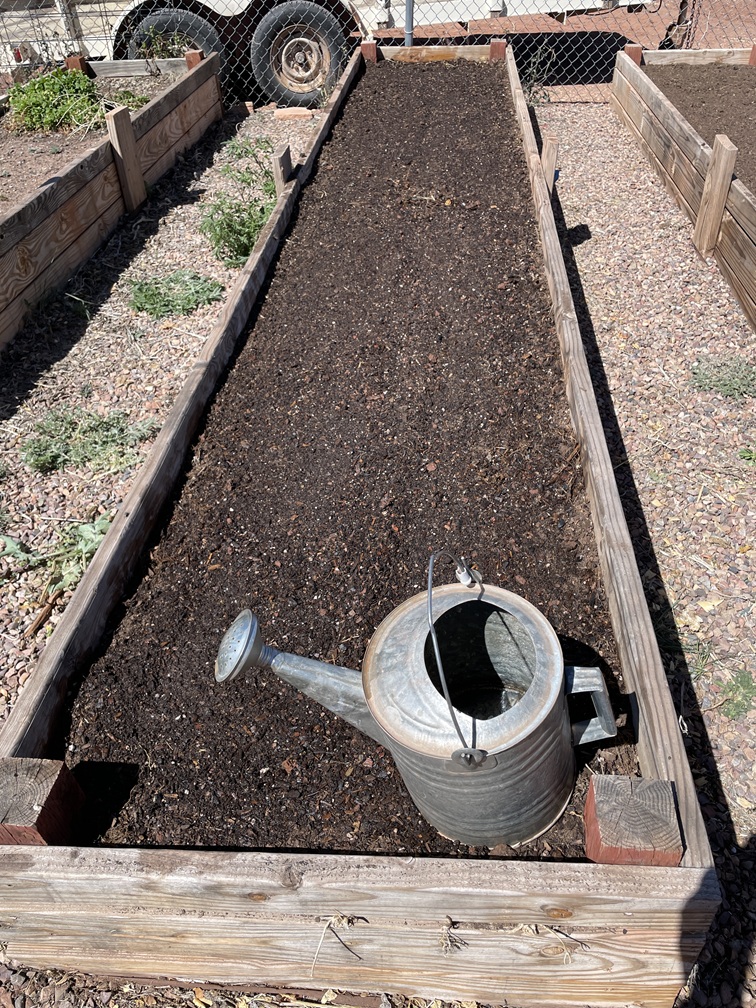
Starting out the bed doesn’t look all that bad, some weeds, but too much sand/dirt, not enough organic matter. Weeds are not bad at all. Yeah, you can see my garden/spade/digging fork in the background. I won’t be using a shovel…no need to. The “fork” does a much better job of mixing the soil and breaking up any “clods” of dirt.
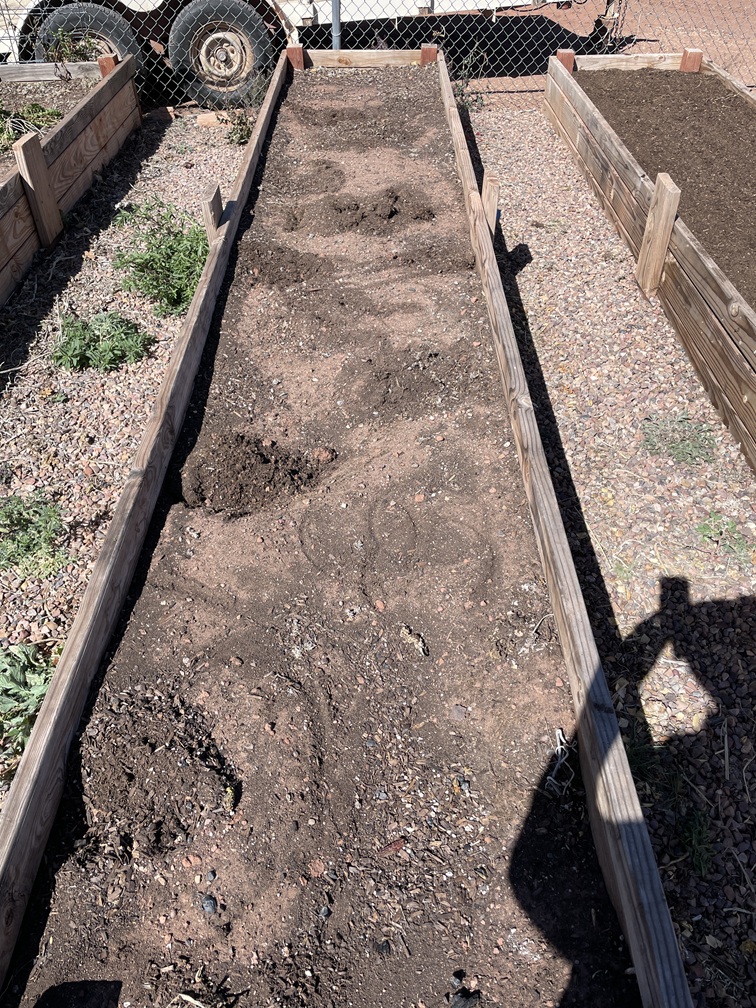
First pass is just taking out the weeds.

Then I go down each side and turn over the existing dirt. I don’t get too crazy, just push that fork in and turnover whatever comes up.
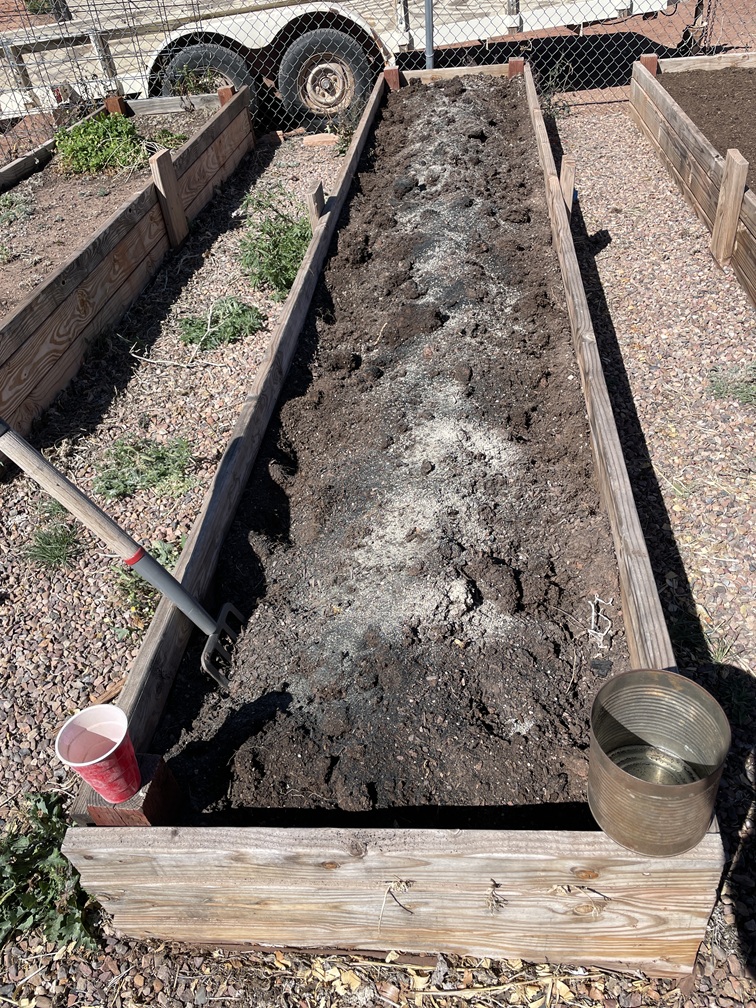
Then comes the “amendments”.
I sprinkle in about 2 cups of a 4-4-4 organic fertilizer to provide nutrients to the entire bed. This is about a 50sq’ bed, use your best judgement on how much fertilizer you should put in your bed(s)…yeah, follow the bag’s instructions.
Since this bed has a higher volume of dirt (and some clay), I am also adding about one #10 can of bio-char (I will post an article about bio-char later…in a week or so).
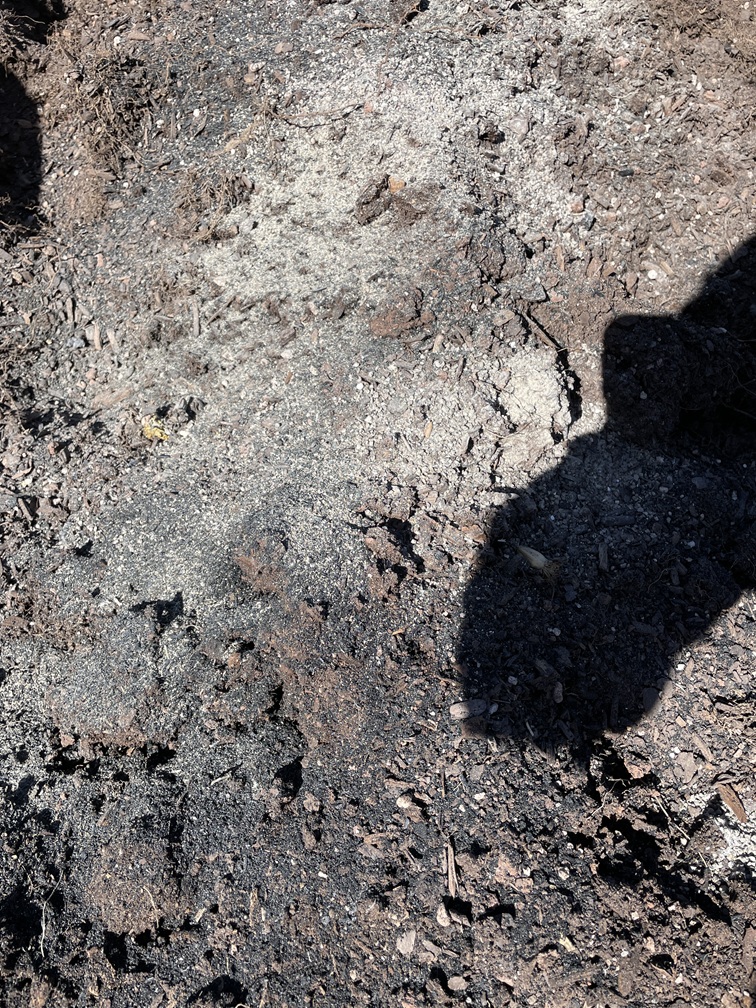
Here’s an up close picture of what the amendments look like.
I then added 8 5-gal buckets of the compost on top of that. Then that all gets turned in/over once again.
Here’s a “hack” for you…I then watered it with a pretty high concentration of 5-1-1 Alaska fish based liquid fertilizer.
Why?
Because the chunkier pieces of “compost” will take/borrow nitrogen from the soil to feed the microbes that will break those woody pieces down into fine/better compost. And that nitrogen that it uses will not be available to the plants in a week or two when I transplant…or for another couple of months, etc. So, the addition of the liquid nitrogen fertilizer will be used to feed the microbes and leave the nitrogen in the soil. Yes, once the microbes have used the nitrogen to breakdown the chunks, the nitrogen will be available once again for the plants to use.
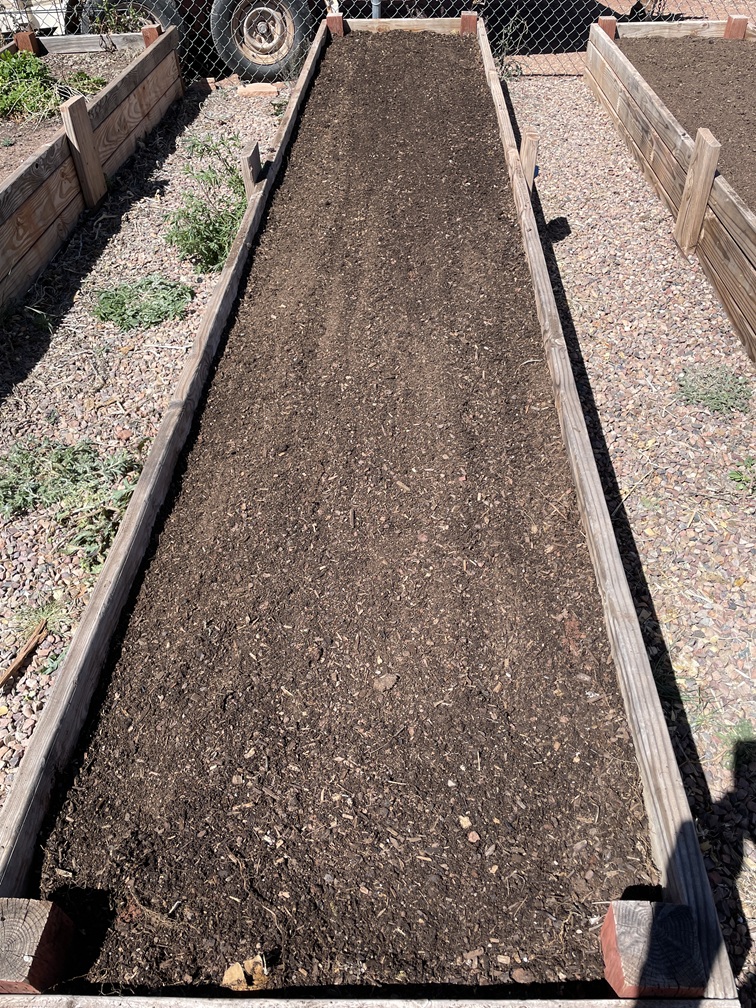
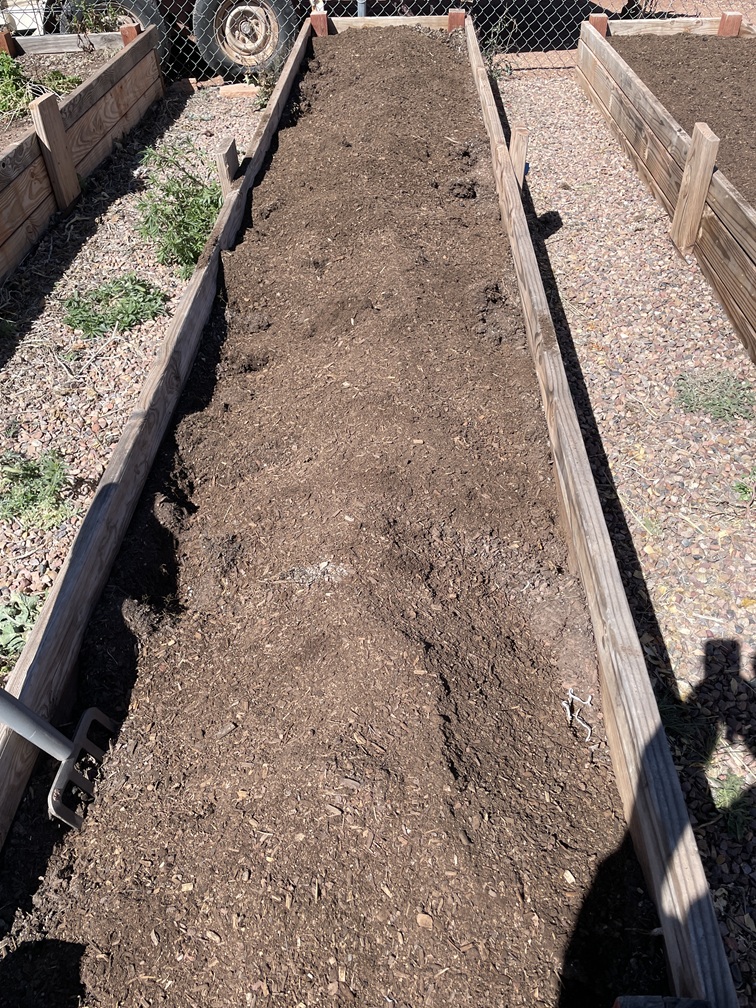
Finally, I raked it all out to a pretty decent looking bed. I will water it a couple of times before I plant to make sure the soil is at least damp and to help out the microbes. Also, it activates the organic fertilizer so it releases into the soil.
And don’t get carried away…I will turn it all over once more time, then rake it out before I do the actual planting. That ensures everything is well mixed in and ready to grow some amazing tomatoes.
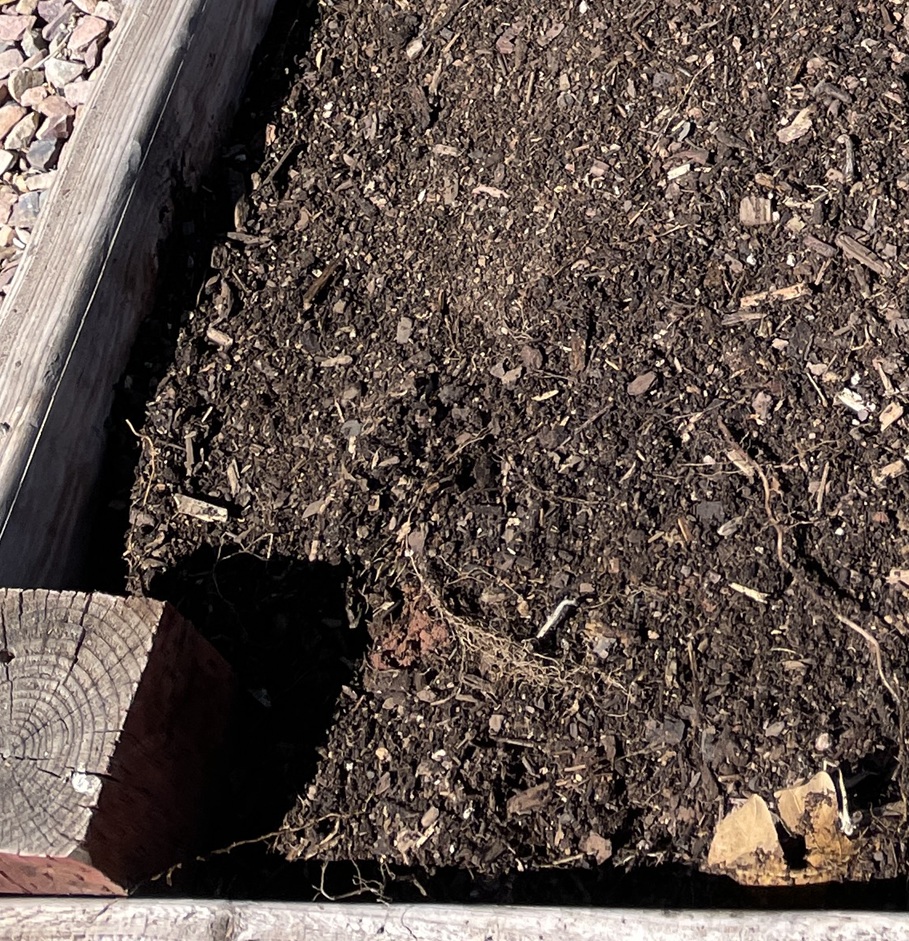
Here’s a close-up of what the soil looks like when I was all done. When I do the actual transplant I will use a “planting soil” mix that isn’t quite so chunky. But, I wouldn’t have to…there is nothing wrong with this soil for growing healthy and happy plants.
Couple Extra Notes –
- If I had too much clay soil in the bed I would add more bio-char, a healthy amount of perlite and more compost.
- If I had too much sand I would add a bunch of bio-char, a healthy amount of vermiculite and more compost.
- For any older bed or a known nutrient poor bed, but the soil had a good composition, I would use worm castings, bio-char, and an organic fertilizer such as 4-4-4 or 5-5-5.
- If I had too much compost in my bed then I would use perlite and coarse sand to give it more structure. If the compost is really dense, not chunky, then I would add in small, aged, wood chips. But remember, those chips will borrow nitrogen from the soil as the microbes break them down…so add a nitrogen amendment helper.
- If I was really worried that my soil wasn’t good enough then I would use a planting mix for the hole I put my plant in. That means fill in around my plant with worm castings. Then use it as a top dressing, about 1/4″ or so.
Related Articles –
 2009 - 2026 Copyright © AHTrimble.com ~ All rights reserved
No reproduction or other use of this content
without expressed written permission from AHTrimble.com
No legal, economic, or financial advice is given, no expertise to be assumed.
I may receive compensation from advertised/mentioned products on this website.
See Content Use Policy for more information.
