note: this article originally appeared in July 2015
In Part # 1 of this series I outlined the mission for this portable power box. Here it is to refresh your memory –
“Provide sufficient power to allow the limited use of a radio for at least 15% of any given 24-hour period. During which transmission power usage will be approximately 40% of that time period.”
In that article I also laid out the different parts that would make up the “guts” of this project plus the two options of solar recharging. < click here to read Part #1 >
In this article I will go over step-by-step of this build. I hope that this gives you the motivation to consider a project such as this. It can be invaluable when you need your radio during emergencies, disasters or especially during a “grid-down” event. Let’s get started…
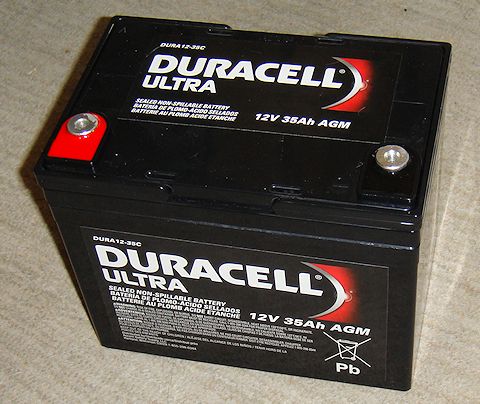
Step #1 – Securing the battery.
 It is of paramount importance that the battery be secured. Not that this is going to be rolled down a hill or placed upside down, but the battery shouldn’t move around too much. I also didn’t want to put a massive amount of weight or content inside the box either. On top of all of that, I wanted to make sure that it was relatively easy to swap out the battery. So therein lays the challenges.
So I kept looking at it trying to figure out what would be most  economical of material and weight. I had to secure it from moving up towards the lid and shifting lengthwise as well. First thing I did was secure one end of the battery that restricts its
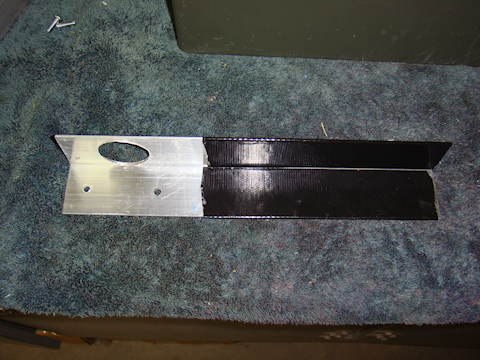
  movement towards the lid. I used a piece of 1-1/4” angle aluminum. I secure it to the box with pop rivets since this piece will not be removed from the box. Notice I used Gorilla Tape later to “pad” the piece of aluminum and to make it a bit more “sticky” helping to keep the battery from excessive movement.
Note #1: The pop rivets do not stick out further than the boxes hinge so I don’t see any problems with the pop rivets protruding a little bit.
Next I wanted to secure the whole length of the battery from moving towards the lid to prevent the battery from  being damaged, and especially to protect it from shorting out across the terminals. That led me to the long support. But I still had the sliding lengthwise movement to be concerned about. And I wanted to make sure I didn’t restrict the volt meter installation. Once again, notice I used Gorilla
  Tape to “pad” the piece of aluminum and to make it a pit more “sticky” helping to keep the battery from excessive movement.
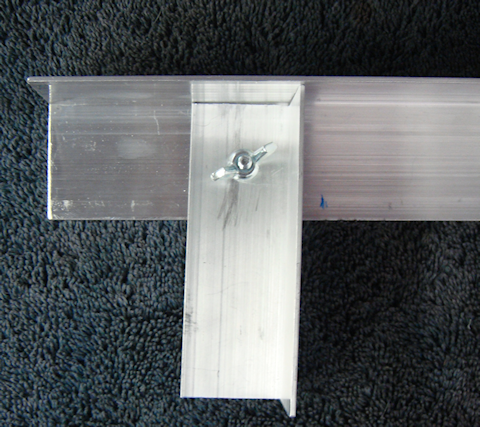
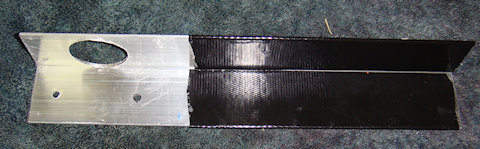
I decided all that was needed was a single, albeit tall, piece of angle aluminum to keep it from sliding lengthwise. And then I realized I could attach it to the long support to minimize the number of holes through the box. And to top it off I would drill my volt meter installation hole through the 1-1/2” angle aluminum so I wouldn’t have to fabricate an instrument panel like I  had originally intended.
I used Gorilla Tape to “pad” the piece of aluminum. Again, to make it a bit more “sticky” helping to keep the battery from excessive movement, but I also liked the more professional “look” it gave the overall fabrication.
The combination of the long horizontal retaining piece and the shorter vertical retaining piece are all held into place by two #8 x 3/4” bolts. And those are secured with star washers and wingnuts. The wingnuts make it a whole lot easier to remove when, or if, it comes time to swap out the battery.
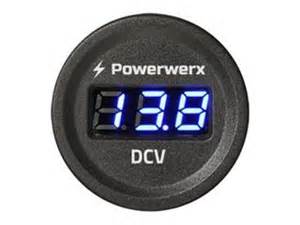
Step #2 – Installing the Powerwerx Panel Mount Digital Volt Meter.
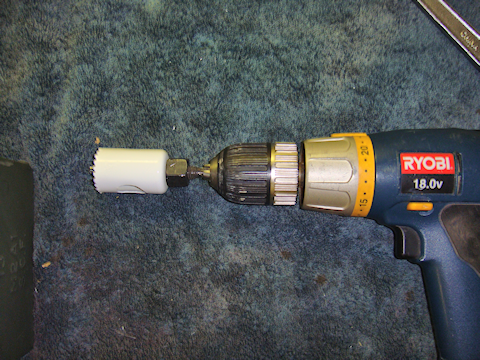
I had originally was going to fabricate an instrument/control panel for inside the box. I was going to mount the volt meter to it and have  a little room left over in case I needed to install something else. But after looking at the set-up I had fabricated so far I decided to mount the volt meter directly to the long horizontal support piece (1-1/2″ angle aluminum). I used a 1-1/4” hole saw and had the hole done in a couple of minutes, filed
  smoothed and Gorilla taped for looks but the tape also to help hold the volt meter in place.
Note #2: Make sure you leave enough room for the volt meter retaining washer that will fit on the back of the angle aluminum. If you get it to close to the angle itself then the washer won’t have enough room to fit.
Note #3: My hole saw had a real “wobble” to it. It is not the best quality hole saw, so you get what you pay for. I used the Gorilla Tape to clean up the hole and make it look more professional but I almost got the hole too close to the angle. I had to finesse it a little to get it tightened up. Measure the whole thing out really well before you start to drill the hole.
Step #3 -Installing the LVD (low voltage disconnect)
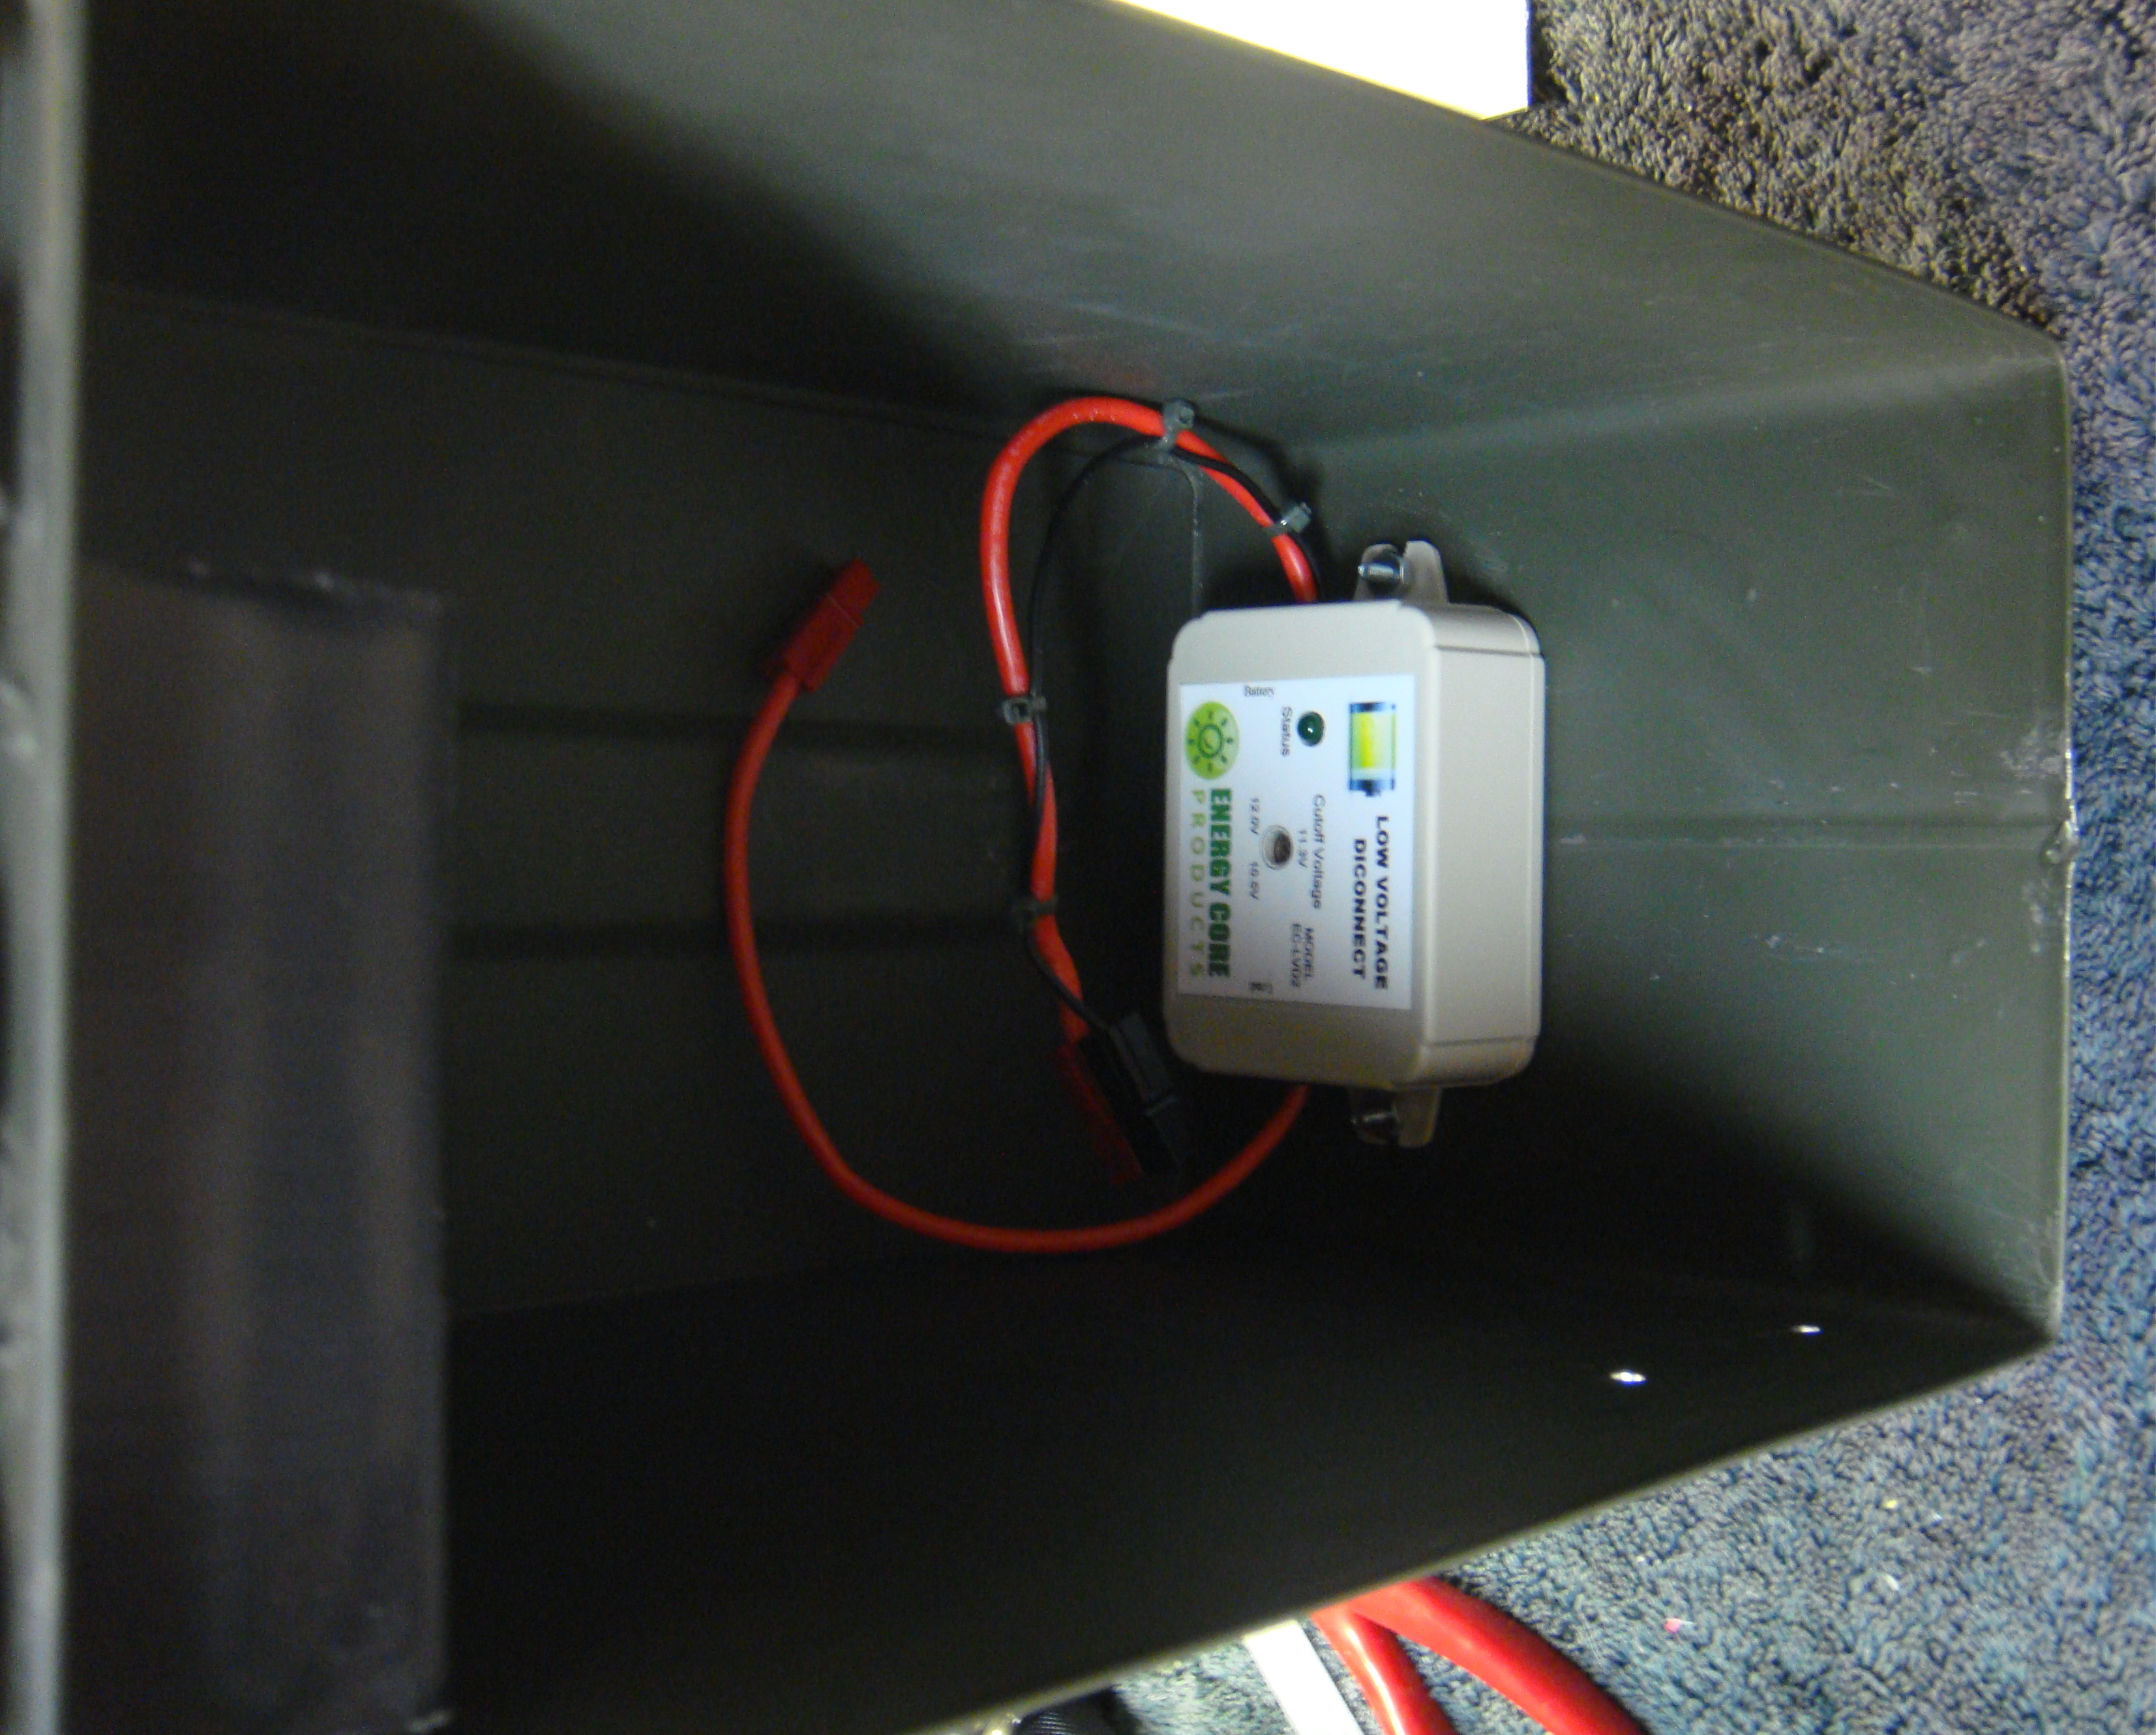
I had thought long and hard about installing an LVD in each radio box, but realized the proper location is the power box itself. I am using the Energy Core EC-LVD2. However, there is no temperature sensing by the LVD unit. So I will have to see how true to the voltage the cut-out point is. Also, I adjusted the “disconnect point” on the LVD to the highest setting it has to protect the battery, 12v. I did the adjustment outside in hot weather. Why? Because that is the most probable environmental condition that I will be operating the power pack in.
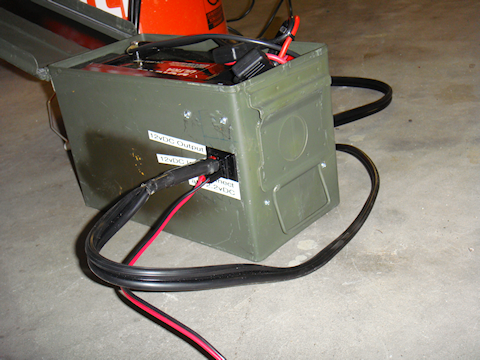
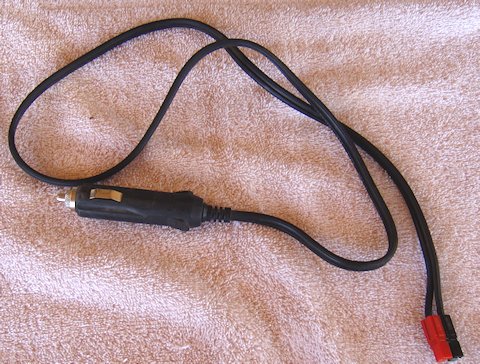
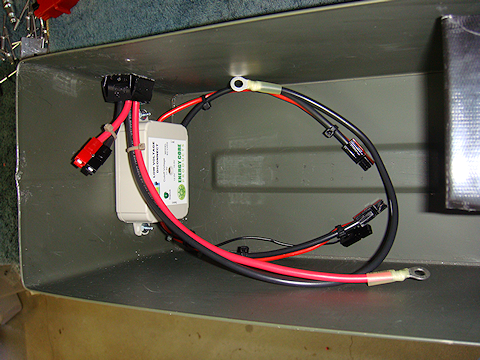
 Next was to wire up the LVD with Anderson Powerpoles.The LVD only has a positive (red) wire to install in the circuit. The black wire is only to ground the unit itself. The heavy black wire you see in the picture to the left is simply to keep the whole wiring project organized and easy to understand.
I connected the black wire to the LVD’s red wire via zip ties. I didn’t have to. But this keeps the wiring straight and reduces the chances of confusion later if the box needs some electrical or wiring work done on it. Notice the small black wire by itself? That gets connected to the Red-Dee-2 block and grounds the LVD unit itself.
The next step was to properly place the LVD in the box. I placed it on the outside of the box to clearly see where it was to be installed and how it would look in relation to the entire installation. I marked, punched and drilled the holes based on the positioning on the outside. Verified that is fit on the inside that it was good to go. Perfect  placement and fit.
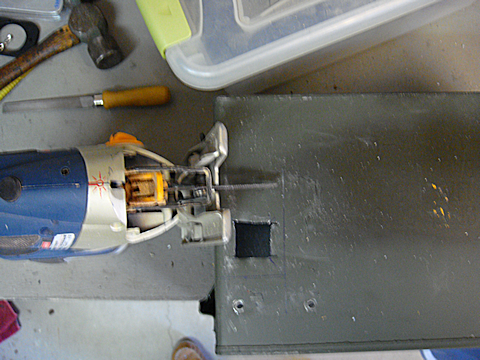
Step #4 – Installing the Anderson Powerpole Chassis Mount.
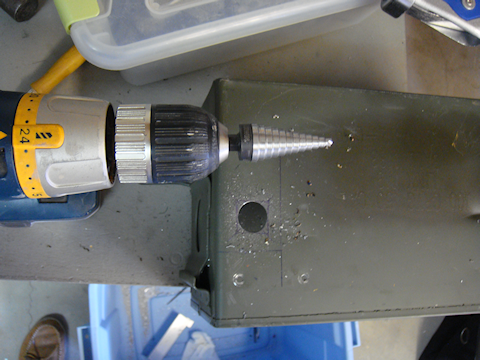
I am mounting the chassis mount on the opposite side from the volt meter to make sure I have enough room to get everything in the box without it being too jumbled up. The square hole that is required is slightly larger than 1″. I located the correct  position for the chassis mount to go through the box wall. I marked it really clearly, including the center of the square that was to be cut out.
I have a 1″ metal hole saw that works really well through tougher metal and figured why not use that to remove the majority of the metal from the hole.
 Once I had drilled out the majority of the hole I got out the saber saw with a good metal blade and squared off the hole easily. I used my flat file to clean up the edges.
 The chassis mount slipped into place exactly like it was designed to.
Step #5 – Wiring up the system.
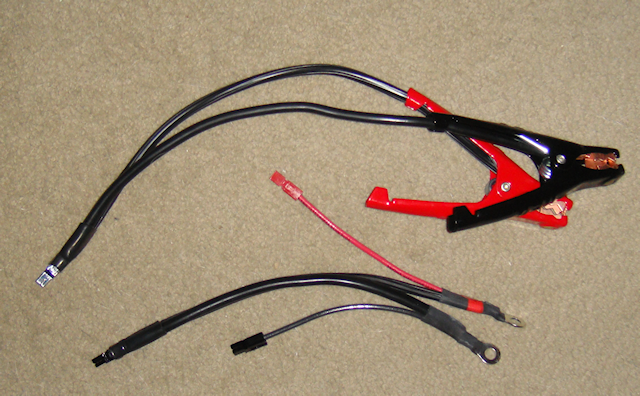
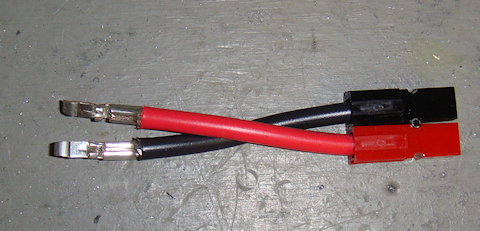
 The first step was to wire the chassis mount’s pre-installed Anderson Powerpole connections. I could have done a longer straight
  run to the LVD connection. However, I am absolutely committed to
  keeping everything modular and interchangeable. That being the case I used this short pair to connect the “power out” pair on the chassis mount to the Powerwerx Red-Dee-2 power splitter. See wiring diagram for more information.
The “power out” wires are wired to the top pair of the  chassis mount. The lower pair in the chassis mount is for “power in” purposes. Those “power in” purposes? The solar charger, 12vDC direct charger, or to allow the power box to be hooked in parallel to its brother power box creating a 70 Ah power source.

I wired the “power in” wire pair directly to the battery with ring terminals and Anderson Powerpole connectors directly into the chassis mount. I wanted any “power in” to be connected directly to the battery to reduce current loss since it would be for charging the battery or running a parallel operation.
The wiring in pretty cramped and crammed in the box, but I was going for the smallest possible and practical box I could get everything into. It doesn’t have to look pretty, it just has to have quality parts and workmanship. Oh, and it also has to work.
Tip #1 – Notice I am using zip ties? That reduces the tension on the wires and takes the strain off the Powerpole connectors.
Step #6 – Testing the system
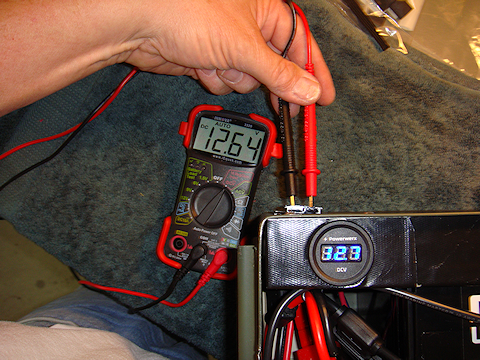
 As always, before putting the power box into operation I had to test the entire system. I test it one component at a time as I hook each piece up. I get a volt reading directly from the battery that becomes my baseline. Then a reading through the ATC fuse connection. Then hook that to the Powerwerx Red-Dee-2 power splitter and test each outlet of the splitter.
Then I hook up the volt meter and verify that it is getting the same reading my multimeter is getting. There was a .06 voltage difference. And that is only because the voltmeter only displays 10ths of a volt, whereas the multimeter displays in 100ths. Then finally I checked the connections in the chassis mount. All were good.
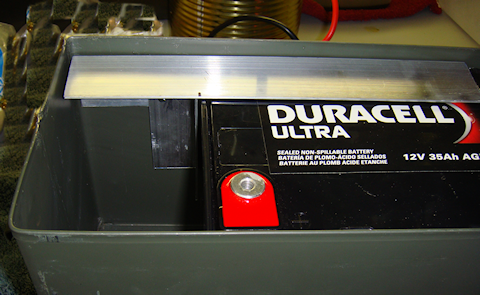
Step #7 – Protect the positive terminal.
There is a very minor issue that I felt I wanted to take proper precautions for. The positive terminal of the battery does not make contact with the box’s metal lid when the box is closed. But only by a small fraction of an inch. So I wanted to further reduce any chance of shorting the positive terminal to the box lid.
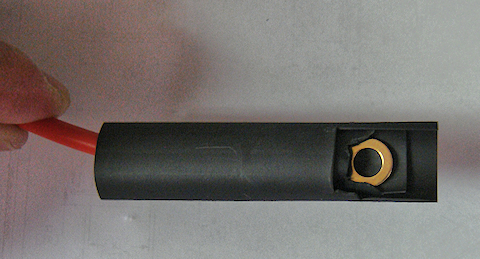
The way I did that was to cut two pieces of shrink wrap. One about 2″ long, the second slightly longer. I cut a notch out in the end of the first piece of shrink wrap to create a small “flap” that will cover the head of the bolt that is the positive terminal.
I then took the slightly longer piece of shrink wrap and did the same thing but made the notch larger to create a larger “flap” that covers more then just bolt head. So now I have two flaps of rubber that cover the head of the bolt that is the positive terminal of the battery. But I wanted to take it one step further. I took piece of my Gorilla Tape and ran it along the underside of the box. If the bolt head were to make contact with the lid, this is where ti would happen. So the layer of Gorilla Tape acts as an additional insulating layer.


bolt head (battery terminal) is covered with two layers of shrink wrap
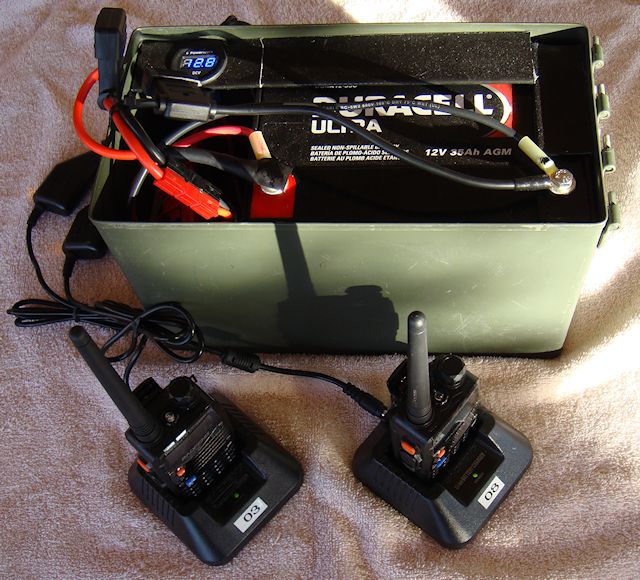
Final Product !

Looking at the box from the right rear corner

looking at the box from the left front corner
Final Note : Yes, I put the labels on there at an angle on purpose. It was a little flair, some dramatic license, to differentiate the purposes for the two sets of Anderson Powerpole connections.

2009 - 2019 Copyright © AHTrimble.com ~ All rights reserved
No reproduction or other use of this content
without expressed written permission from AHTrimble.com
See Content Use Policy for more information.

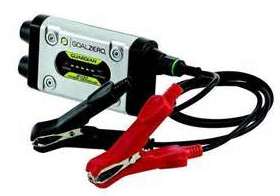
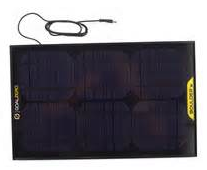 The first large(r) solar system that I purchased was a GoalZero Boulder 30w Solar Panel with a GoalZero Guardian 12v Charge Controller. It came already packaged and ready to put into service, which I did on Day 1. That system has not disappointed me since.
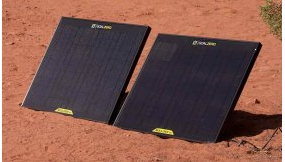


 This is a great combination of GoalZero equipment that provides 30w solar power or combine it with additional Boulder 30 panels to beef up your power delivery. Yes, you can buy 30w panel systems cheaper, but you can’t get cheap and GoalZero quality.