This is the fourth in the making dirt series. If you haven’t already read Parts #1, #2 & #3 you might want to:
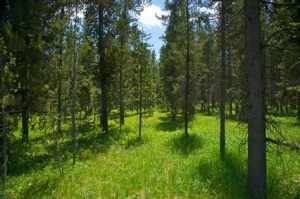
We are moving on from grass/yard soil to the soil I make for our woodlands…a pine meadow.
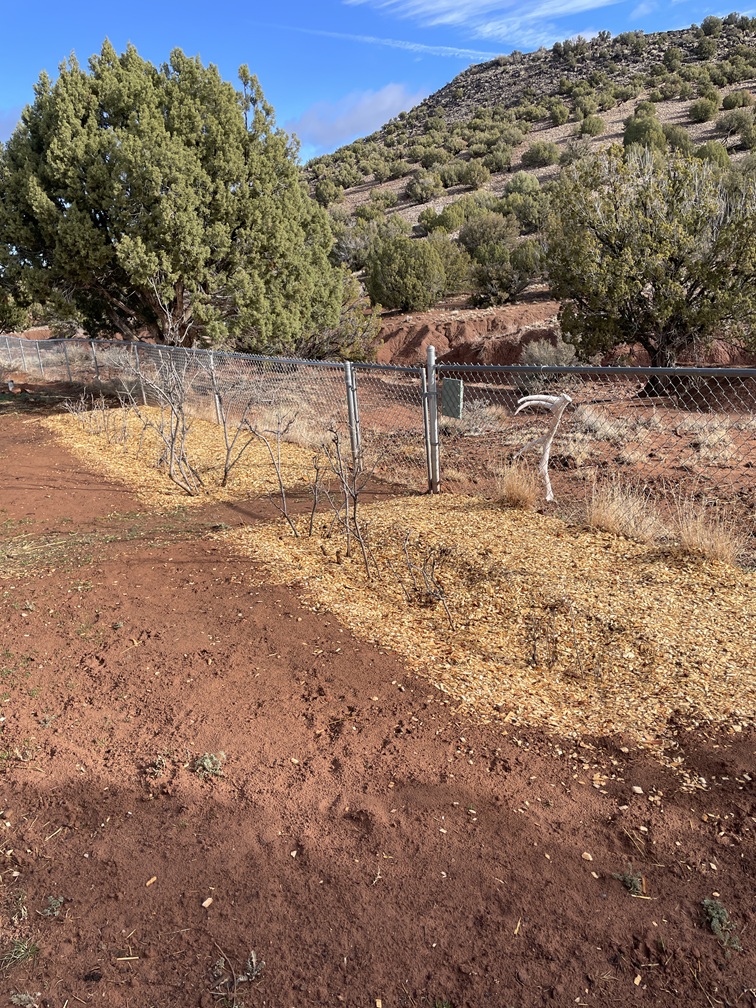
Woodland Soil –
This may sound like an odd category of soil to build, but here in my area, on my property there is a need for this category. Let me explain…the patch of soil I am referring to is roughly 1/4 – 1/3 of an acre. The soil is fine sand soil that is compacted tight, void of organic matter, dry as a bone and it sits on sandstone. There is some clay involved as well. The soil is basically baked dry. Yeah, not too conducive to growing anything other than sage brush along with the occasional cactus. Okay, truth-be-told, there are a few tufts of native grass and plenty of juniper trees.
As mentioned earlier there are some old pinyon pine trees on the property hanging on for dear life…barely. So this general
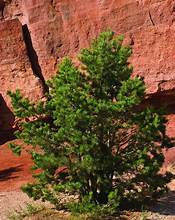
Piñon (pinyon) Pine Tree
area can support pine trees…with some luck…and supplemental watering. But here again, all those pine trees from days-gone-by had good soil to get started in and they were able to establish a great root system. Remember some of those old pine trees were 16 – 18” in diameter according to the trunks I’ve been able to find on our property. So I am right back to the need of making good soil. But, it is a little different with ‘woodland soil’. Why? Coz I need some grass to protect the ground in between the trees…but I don’t need another yard to mow.
The healthy natural environment for woodlands is…trees, maybe 2 – 15 per acre (depending on the types of trees and specific ecosystem), with plenty of grass in between. The grass captures more of the rain preventing it from just running off and the grass roots keep the soil broken up to allow that rain to wick deep(er) into the soil. The grass also keeps the soil cooler in this higher altitude intense sun…basically keeps it from baking. The grass over time also add humus (organic matter) to the soil. In the wild the grass also burns when low-intensity natural fire takes place. Once the fire is out it leaves behind nutrients that are introduced into the soil increasing the soil’s fertility. And let’s not forget that the fire removes unwanted invasive plants and destroys unwanted new trees from sprouting up. That being said…hopefully we won’t have any fire on our property.
So my challenge is making soil for both grass and trees. For the most part I build a widespread lower quality “Grass Soil” and then build a lower quality “Orchard Soil” for the immediate area where I plant my trees. Why lower quality? Nothing complicated…the pine trees and Buffalo Grass don’t need the better quality soil as does orchard tress and yard grass.
Let me touch briefly on the types of pine trees I am planting:
- Afghan Pine Trees – fast growing (1 – 2’ or more per year), very drought and heat tolerant. They tend to struggle and/or die at -5 degrees. Gorgeous tree! Grows to 30 – 60’ in height.
- Southwest White Pine Trees – moderate growth rate (1’ per year), drought tolerant, adapted to SW heat & sun. Withstands sub-zero temps. Very pretty tree! Grows to 30 – 60’ in height.
- Scotch Pine Trees – moderate rate of growth (1’ per year), drought tolerant once it is established. Very hardy in weather (native to Scotland). Very pretty tree! Grows to 20 – 100’ in height.
- Piñon (Pinyon) Pine Trees – very slow rate of growth (<=2” per year +/-), very low water need (10 – 12” per year), perfectly adapted to the desert and our altitude (<7500’). Pretty tree if pruned. Grows to <=20’ when mature. Can live 600 years even in the most harsh conditions. Now comes the really good part…this pine tree produces piñón pine nuts. They can be added to meat, fish, salads, and vegetable dishes or baked into bread. When dried for eating, pine nuts are 2% water, 13% carbohydrates, 14% protein, and 68% fat (almost all unsaturated fat). Rich source (20% or more of the Daily Value, DV) of numerous micro-nutrients, particularly manganese (419% DV), phosphorus (82% DV), magnesium (71% DV), zinc (67% DV), copper (65% DV), vitamin E (62% DV), vitamin K (51% DV), and the B vitamins, thiamine and niacin (29–35% DV).
I purchased five 12” Afghan sapling trees to give the area an immediate pine tree presence that is beautiful and will show good progress in the short-term. However, should we get an abnormal weather system that pushes the temp below -5 for a couple of days we could lose those 5 trees. I planted them last January, they are now 15 – 30” tall. Yeah, the shortest one got eaten down by rabbits.
I purchased a combination of 1 & 2-year old Southwest White pine saplings because they were a fraction of the price of the Afghans. I planted them late in the summer so they are still just getting established. And yes, the jack rabbits got to some of those trees as well.
I purchased a couple 3-year old Scotch pine saplings to give some moderate height between the SW pines and the Afghans…and they were reasonably priced for the height and quality. And once again…the jack rabbits got to one of the trees and trimmed it for a late night snack.
I transplanted several 12” Pinyon pines from other areas of our property. I wanted to get them into better soil because they were growing in basically sandstone. They are my long term investment in a hardy tree that can provide a source of food down the line…maybe to my great-great-great-great grand kids 🙂
I also found a 2’ tall Pinyon already in place and simply added a growth ring to it, improved the soil immediately around the trunk and added wood chips. I removed an oak brush that was growing right next to it. I also found a 4’ Pinyon already in place and did the same. While it didn’t have an encroaching oak brush, it does have a juniper growing around about 2/3 of it. This winter I will will start cutting back the juniper…maybe about ½ of it. And then cut back the other half of the juniper next winter.
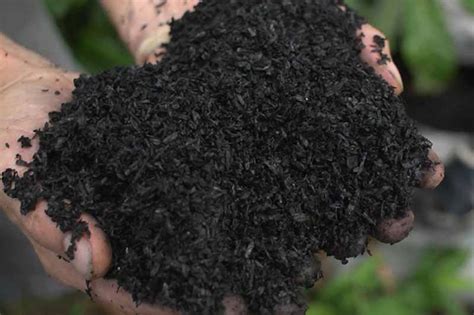
So what exactly is lower quality orchard soil? Well, for this situation it is very similar to orchard soil…but I am officially calling it “pine tree soil”. It is a combination of:
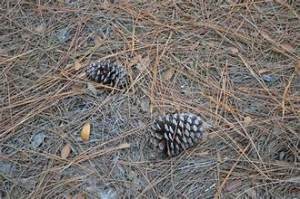
Pine Needle Straw and Pine Cones
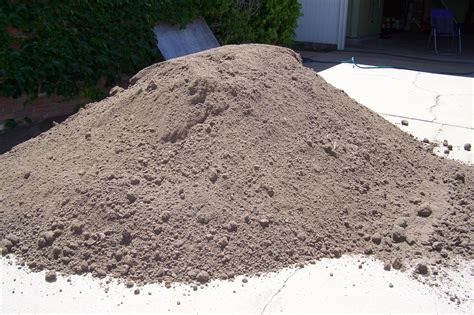
- 50% dirty compost
- 20 – 30% native soil
- 20 – 30% pine needle straw and pine cones
Why “pine needle straw and pine cones”? I learned the hard way that pine tree saplings (up to 3 years old) like a starter soil that the roots can grab onto and also drains really well. Young pine tree roots like a little room to grow, grab onto rough organic matter, and get enough water. But, the soil must drain well so the roots don’t stay wet and/or the soil doesn’t stay soggy. Enough water must stick around long enough to get absorbed by those new roots but that same soil needs to drain well. Pine needle straw and pine cones meet that challenge, and over time, they break down into a great soil that the trees love…mature trees, not saplings.
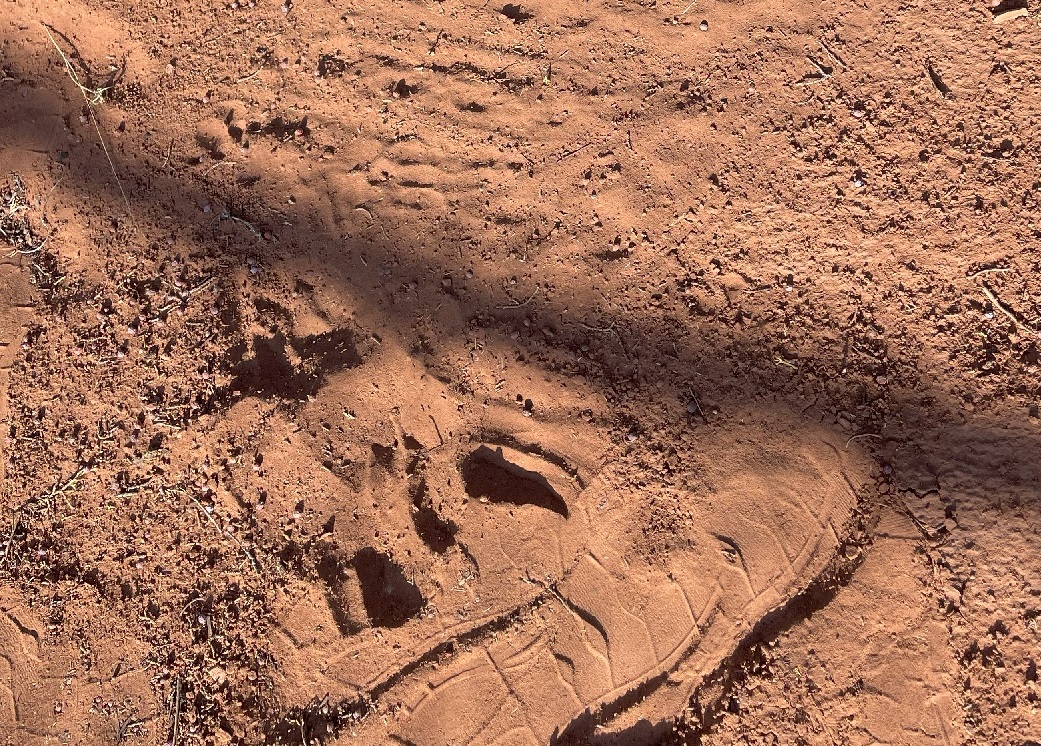
Now, in this particular case I have to add plenty of water to the soil prior to planting the tree. This will basically be the last time, only time, that I can get a really deep and widespread watering done. Once the hole is dug I water it repeatedly for at least 2 days. The scuff up the bottom of the hole, add the appropriate amount of fertilizer and mix it around. Then fill the  hole about ¼ full to allow the fertilizer to leach into the ground around the hole.
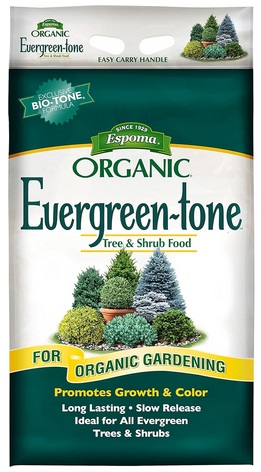
For fertilizer I use Espoma Organic Evergreen-Tone 4-3-4 Natural & Organic Fertilizer and Plant Food for Evergreen Trees & Shrubs or Osmocote Smart-Release Plant Food Plus (Outdoor & Indoor).
I don’t mix the soil mixture ahead of time, I mix it as I put the ingredients into the hole. I also am generous with water as I fill the hole with the soil mixture. Depending on the size of the tree I am planting I may or may not incorporate a watering ring. I always add 2 – 3” of wood chips on top of the soil after planting the tree. And after adding the chips I once again water it in until the chips float.
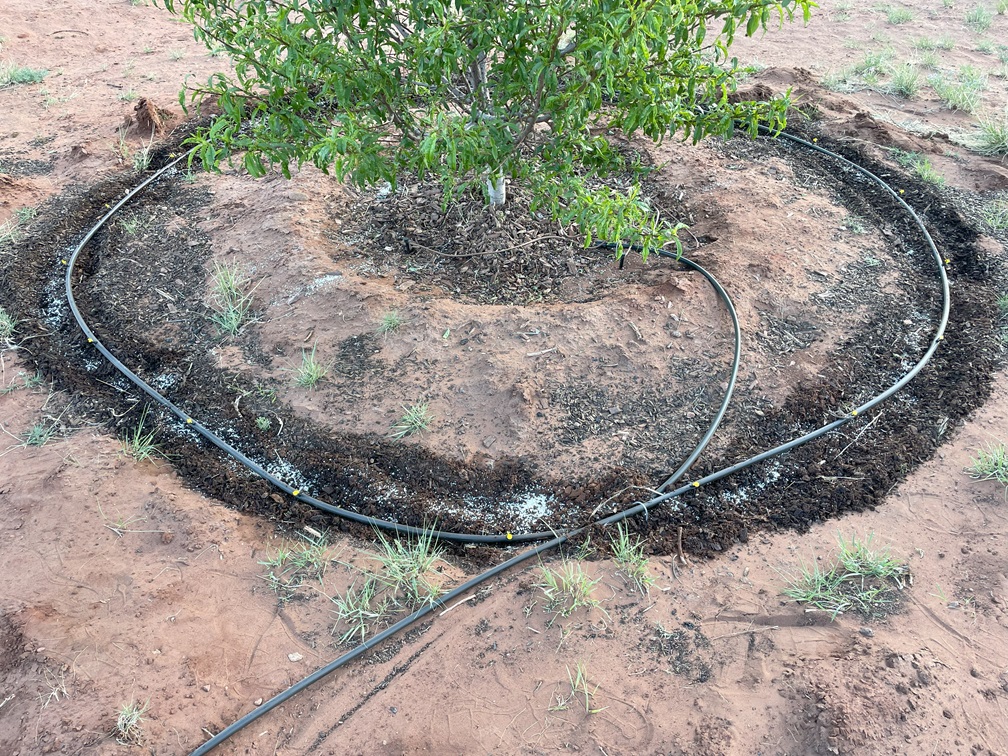
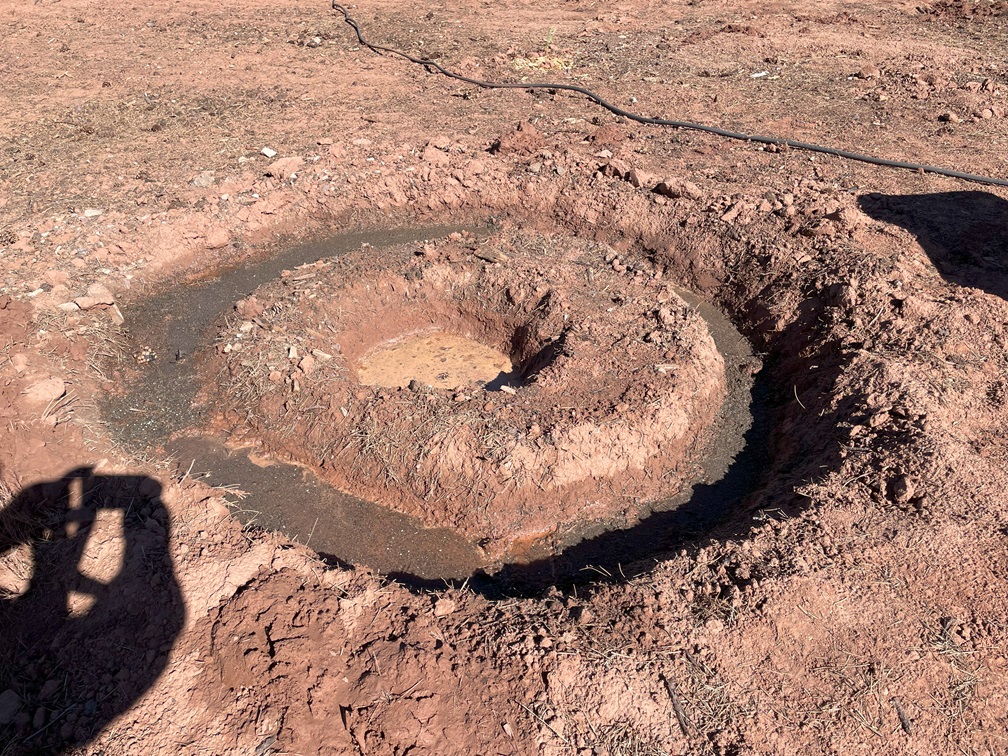 The center hole (planting hole) still has water in it that I want to leach into the soil, this is Day #2. I’ve also been watering the drip line ring. The drip line ring has rough compost in it. You can’t see it but the hole is more than 2′ deep.
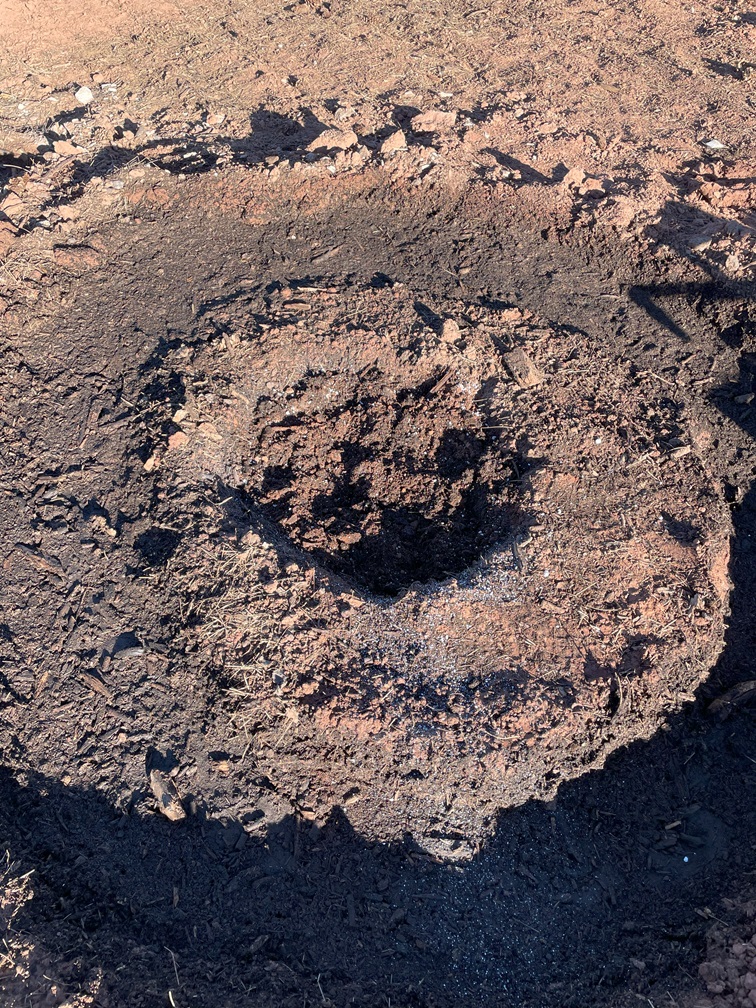 Here is what it all looks like just prior to planting the pine tree. It’s all been very well watered in and the soil was mixed as I went. In case you were wondering…yes, I threw in some perlite with the soil as well. Not much, just wanted to try it. I placed fertilizer in the planting hole and in the drip ring. The nutrients, along with the water, will leach into the soil to motivate and stimulate root growth.
 Here we are with the tree planted. Notice that the hole is about 3 times the drip line of the pine tree. And there is standing water in the planting hole and the drip ring. Again, I want to get as much moisture in the soil as possible. Yup, gives the tree’s roots plenty of motivation to spread out to suck up that water and the nutrients from the fertilizer.
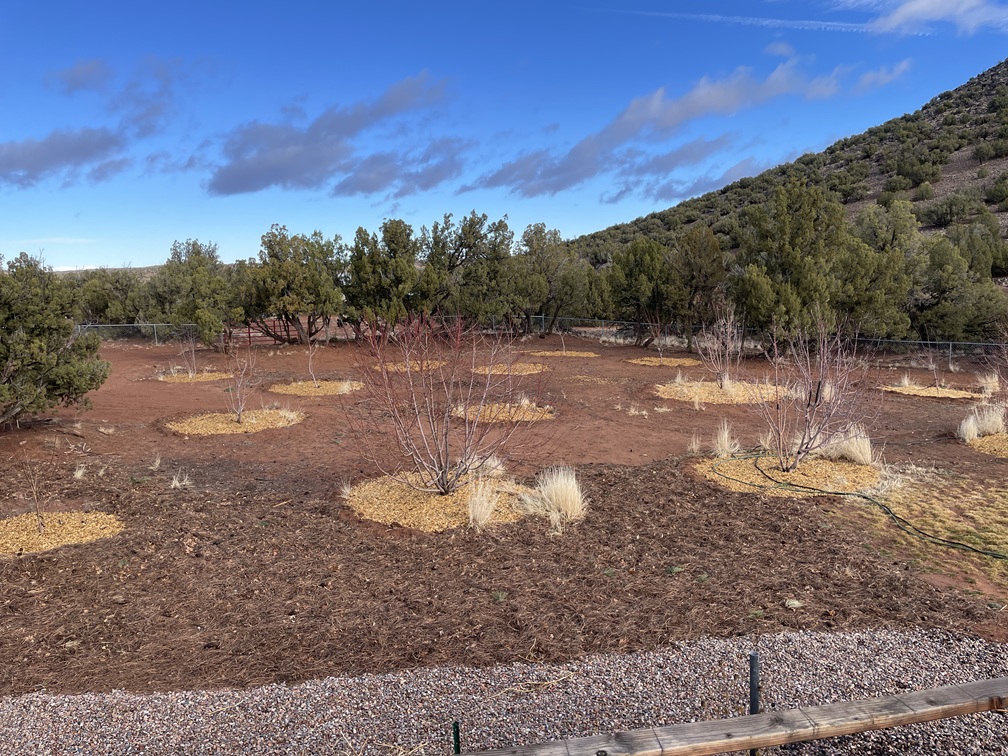
Now here is where it gets interesting…the woodlands grass soil. Remember this is not yard grass soil…this is wildland grass. A note at this point…I don’t broadcast spread grass seed here in the pine meadow. It would take WAY too much water, too much fertilizer, too much attention, and cost way to much for seed. That is why I am using Buffalo Grass.
So, that means there is two different kinds of soil I am building; 1) the immediate plug hole where the Buffalo Grass plug is planted, 2) all of the rest of the area that isn’t a plug hole or a pine tree hole.
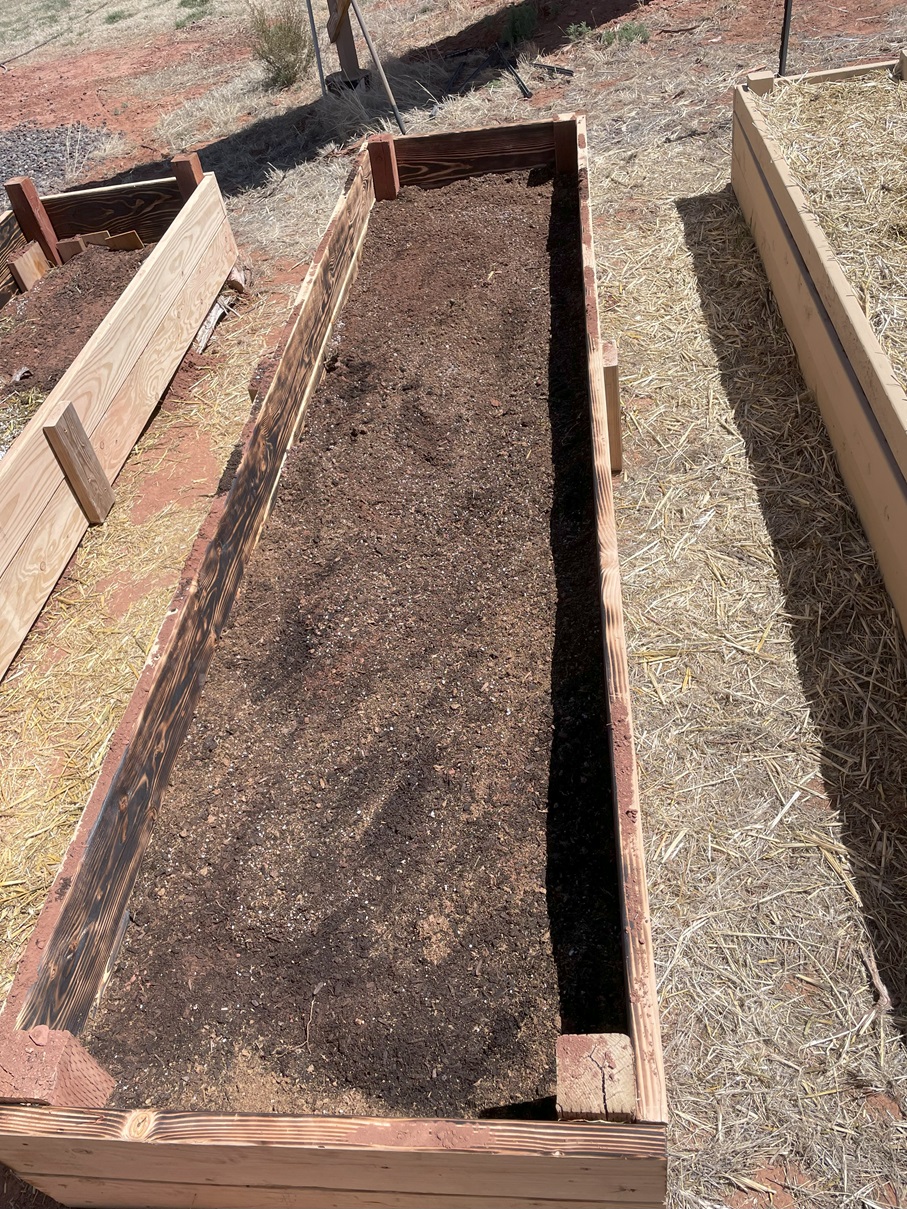
The plug hole soil is basically raised bed soil…maybe a touch less quality. The rest of the soil area, the wide open spaces, has to be improved…but within reason and budget. So here is how I did it:
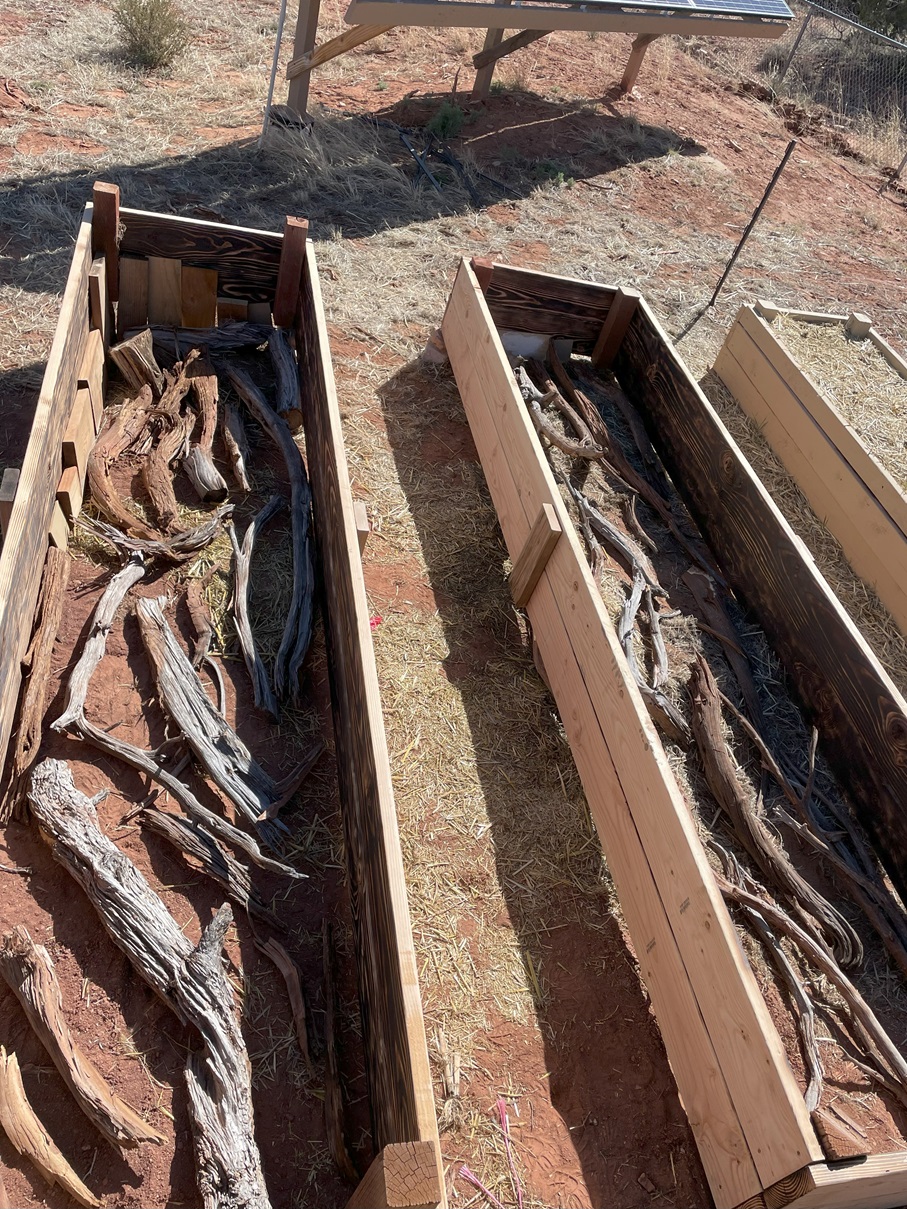
- Step #1 – I used the tractor with the rippers, ripping the entire area down 12”.
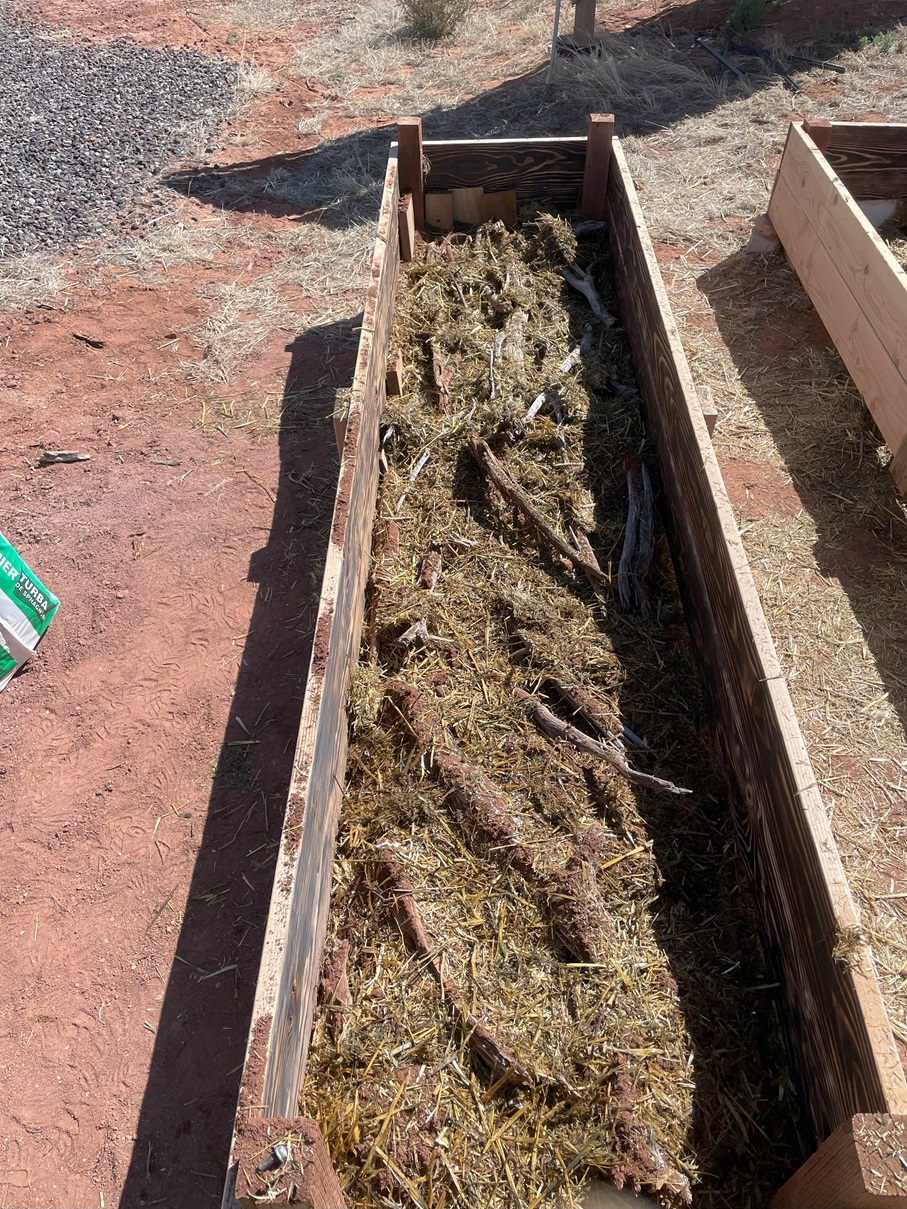
- Step #2 – I spread a generous amount of pine needle straw and pine cones over the entire area.
- Step #3 – I used the tractor and disc to work that material into the soil. It also helped break up some of the clods of hard soil left over from ripping the ground originally.
- Step #4 – I spread a decent amount of rough compost over the entire area.
- Step #5 – I used the tractor and disc to work that material into the soil. It also helped work the soil down to a pretty decent consistency. Not perfect but pretty dang nice.
The soil in this area now was pretty dang decent. I did a trial and watered it generously over a wide area. The water was absorbed really well to a very respectable depth.
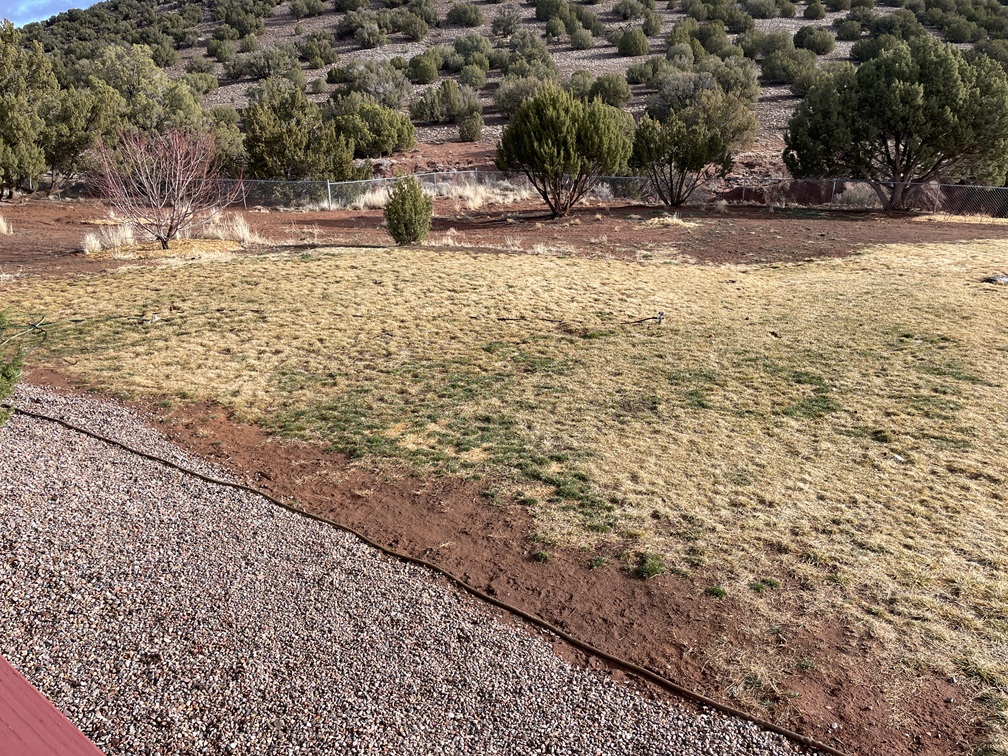
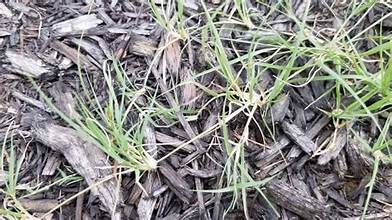
As the Buffalo Grass is a stolon grass. These are grasses whose stems produce nodes from which new plants form and set down roots. In essence, the grass plant sends out runners across the turf, and when these runners come into contact with soil, roots will grow and a new plant will develop and fill in that area. That being the case the entire area’s soil has to be good enough to sustain new Buffalo Grass roots. Also, Buffalo Grass is a very hardy, drought tolerant, cold tolerant, heat tolerant grass that is suitable for this area. Theoretically, the grass can survive, even thrive, with just normal annual rain fall for the area.
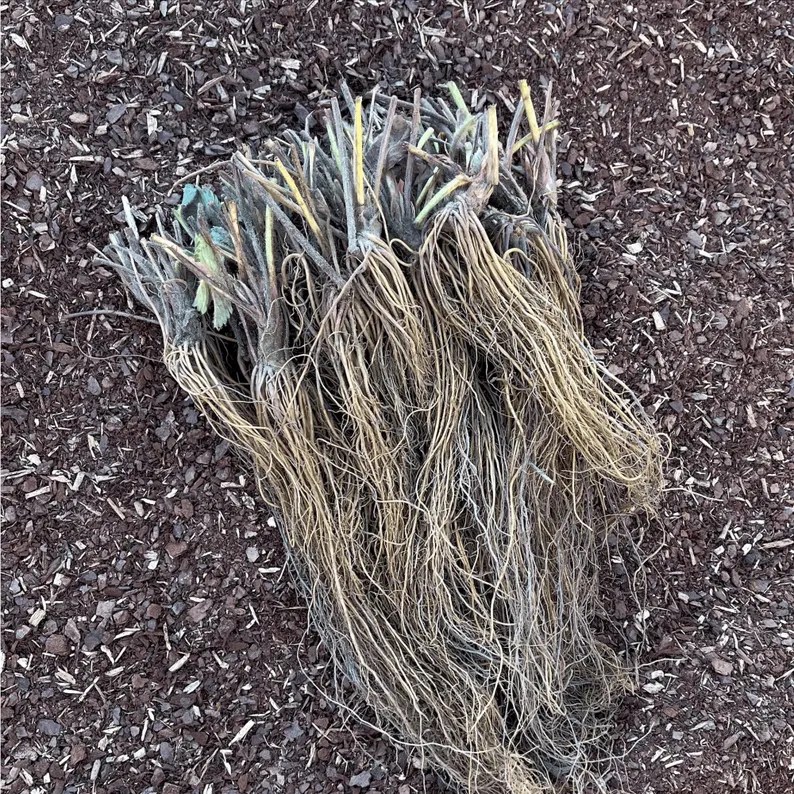
By planting Buffalo Grass plugs in high-quality starter holes it give the main plant a really healthy start. Then as the runners (stolons) spread they have a really healthy plant to draw nutrients and water from until the new roots can get properly started and a new plant grows. I planted the plugs about 10 – 15′ apart. I would have done them closer had I enough plugs, but I didn’t. However, this spring, once the weather turns decent, I will plant additional plugs that I have already started…plus new starts that I will begin in January.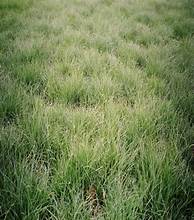
Why Buffalo Grass? If you remember back when I was writing about the regular lawn type grass in the yard, the roots penetrate 2 – 12” for most common yard grasses. Buffalo Grass on the other hand puts down 9 – 15’ of roots. Why? Because that grass has evolved to be one of the most drought tolerant grasses in North America. FWIW…the reason it is called Buffalo Grass is due to the fact that it was found throughout the western United States…even before it was the USA. It supported the huge numbers of buffalo (millions) found in North America. That grass could survive, even thrive, in virtually all conditions, including the heavy grazing of buffalo.
What do the deep roots do? Obviously the first thing is water. By putting down really deep roots it can reach moisture far below the surface. However, on our property there just isn’t any water there…at this point. So why choose that kind of grass if there isn’t a water component to consider?
As those roots make their way into the depths of our soil they add organic matter but more importantly, they break up the compaction of the soil. The benefit to that? When it does rain, or I irrigate, that water has a path to migrate into the soil much deeper than it would have without the roots to wick it.
That brings me all the back to my building of the dirt/soil for the Buffalo Grass. I need to add organic matter and nutrients to the top 12” or so of the soil. Additionally, I need to make sure that soil is loose enough to absorb any water that falls on it whether it be rain or irrigation. And the soil has to be receptive enough to allow the grass runners to be able to root in it.
The benefits to the surface covered in Buffalo Grass are numerous:
- The soil won’t bake in the sun since it has a covering of grass to shield the surface from the sun’s direct rays.
- The soil becomes less compacted since it isn’t baked and the roots allows improved water penetration.
- When it rains the grass prevents immediate runoff that baked soil would guarantee. Thus allowing the water to penetrate the soil vs ending up in the dry wash a mile away.
- It will also provide high-quality feed to the local deer…and if I am lucky, maybe an occasional elk as well.
- And finally it reestablishes an environment, along with the pine trees, that is far more conducive to, and aesthetically pleasing to, our family…along with improving the value of the property.
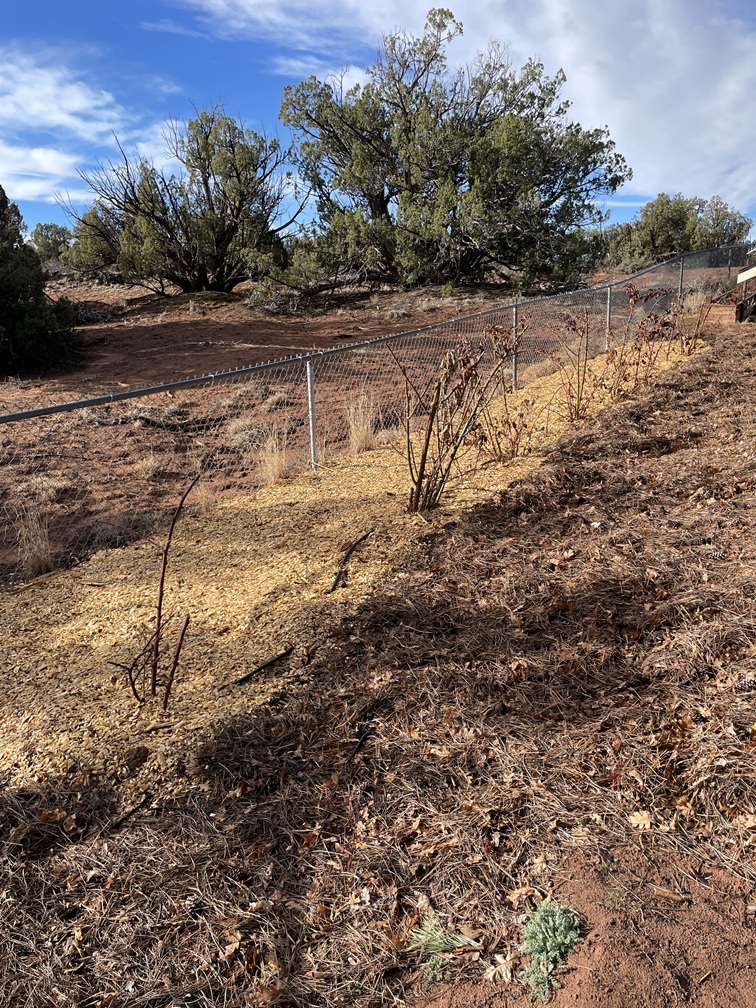
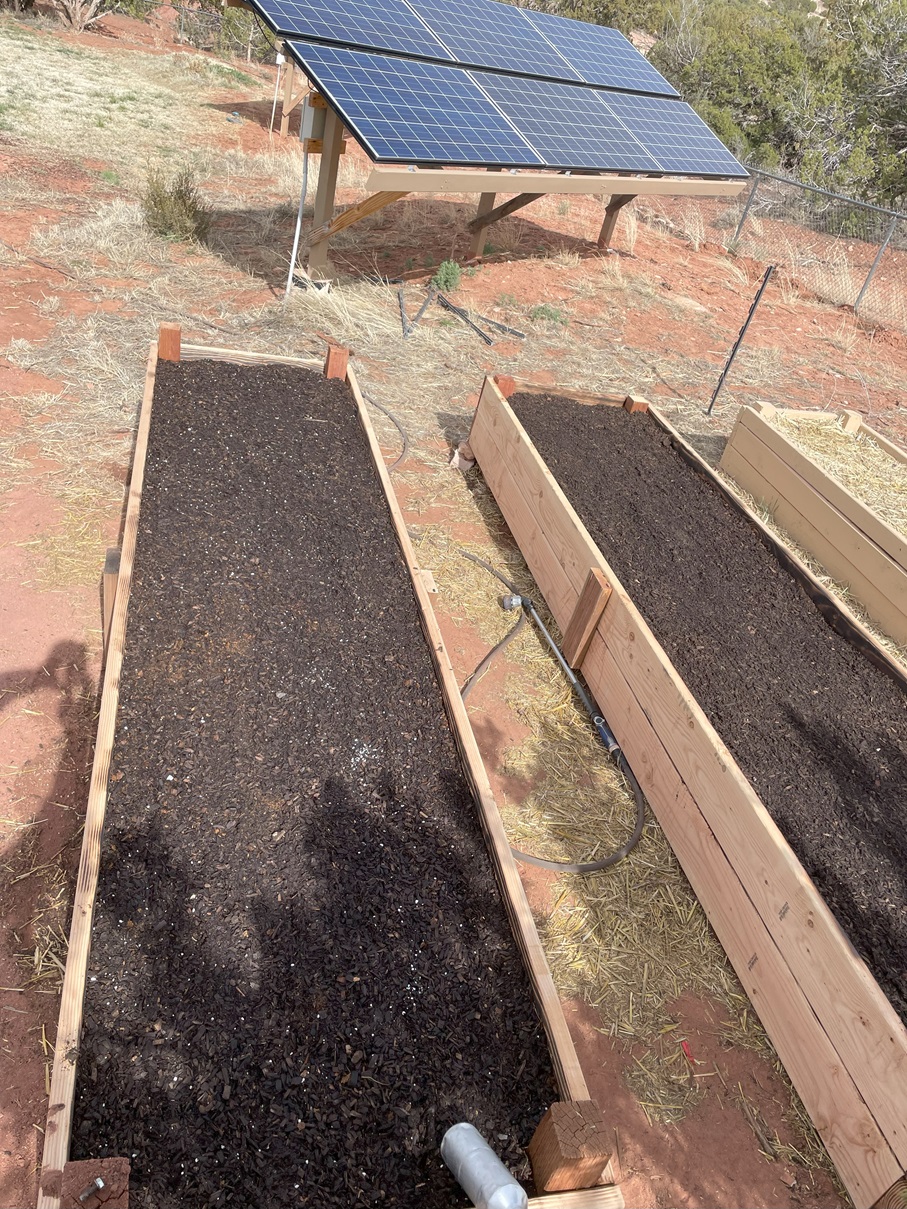
After Step #5 mentioned above, I then did the following:
- Step #6 – So I planted all the grass plugs and kept them well-watered for more than a month.
- Step #7 – Once a week I would do a deep irrigation over the entire area.
- Step #8 – Next came a thorough rototilling down to about 10″ or so over the entire area; careful not to till under the grass plugs.
- Step #9 – This week I will spread a mulch material over the area again and till it in to the top couple of inches.
The purpose of the rototilling is to keep the soil from getting hard and packed. It allows the water and air to penetrate the surface. The last application of mulch and tilling to get as much organic matter into the soil as possible and realistic. That will help ensure that any moisture (rain or irrigation) continues to get absorbed into the soil. And that will help the new grass plants to get established. 
Come this spring I plan on putting in enough plugs to have them spaced no more than 5′ apart, hopefully less. Prior to doing that I will apply a generous amount of Sta-Green Slow Release 16-0-10 Natural All-purpose Fertilizer. About a month later I will apply a standard application of a 10-10-10 fertilizer.
Depending on how the soil looks, I might do another tilling session to keep the surface nice and agreeable to both moisture and new grass starts. Once the grass runners are out I won’t do any more tilling.
One thing I did that I wasn’t expecting to was flowers. Yeah, you heard that right. You 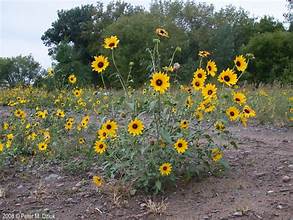 know those mini-sunflowers you see on the side of highways out west? They grow in abundance with only what rain falls and runs off the roadway. Well, we had one come up in our yard where it got a single drop of water other than the regular rainfall. I harvested a whole bunch…and I mean a bunch of those seeds. I planted them throughout the pine meadow early in the fall and watered them in really well. We’ll see what happens.
Two reasons for the flower planting; 1) my wife loves them, 2) if them come up and bloom they will add a bright splash of color to the pine meadow. Bonus…if they come up, i can mow them down once they die out and it will make great mulch/humus for the surface. It’s wait and see now.
Articles in this Series –
 2009 - 2024 Copyright © AHTrimble.com ~ All rights reserved
No reproduction or other use of this content
without expressed written permission from AHTrimble.com
No legal, economic, or financial advice is given, no expertise to be assumed.
See Content Use Policy for more information.

 So there I was Friday night…out to dinner with my wife celebrating 21 years together, wedded bliss. Yeah, hard to believe that someone would put up with me for 21 whole years. I guess she has weak points as well 😉
 And then there are the fruit trees in the orchard going nuts…even this newest peach tree in its second year…
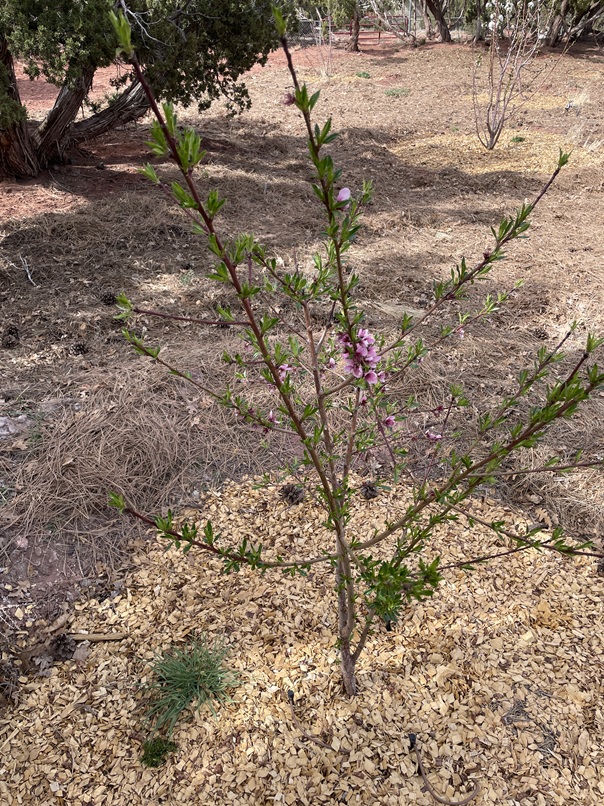 Then there is the oldest peach tree…it’s fourth year…
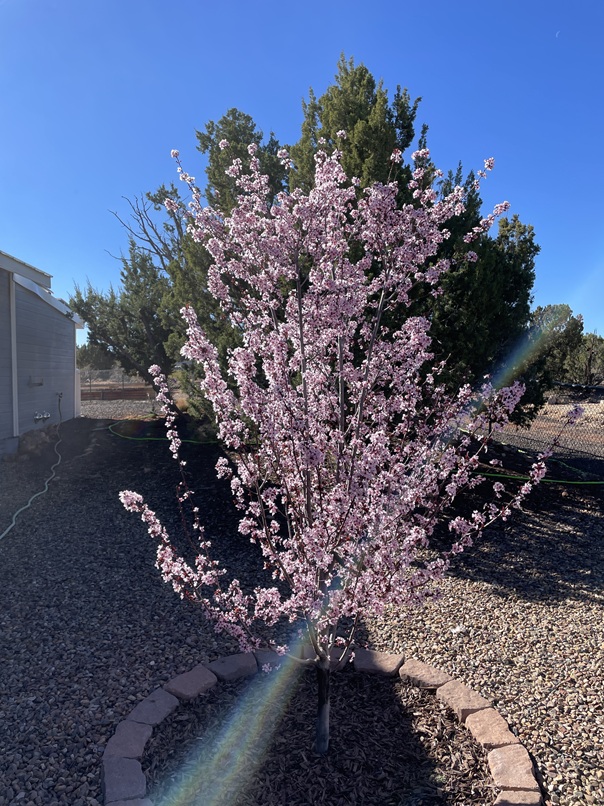
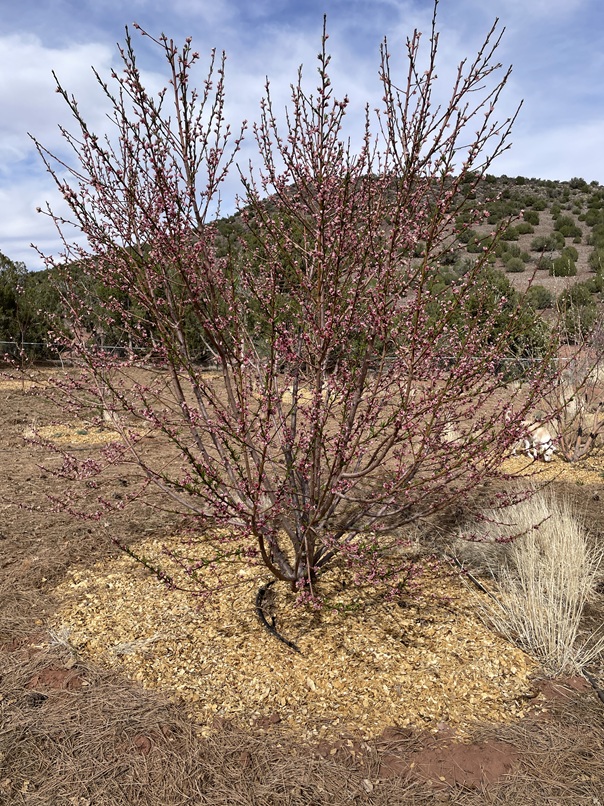 Here are the lilacs I mentioned that I transplanted from bushes I dug up that had been completely neglected for almost 25 years. Here is one of them…
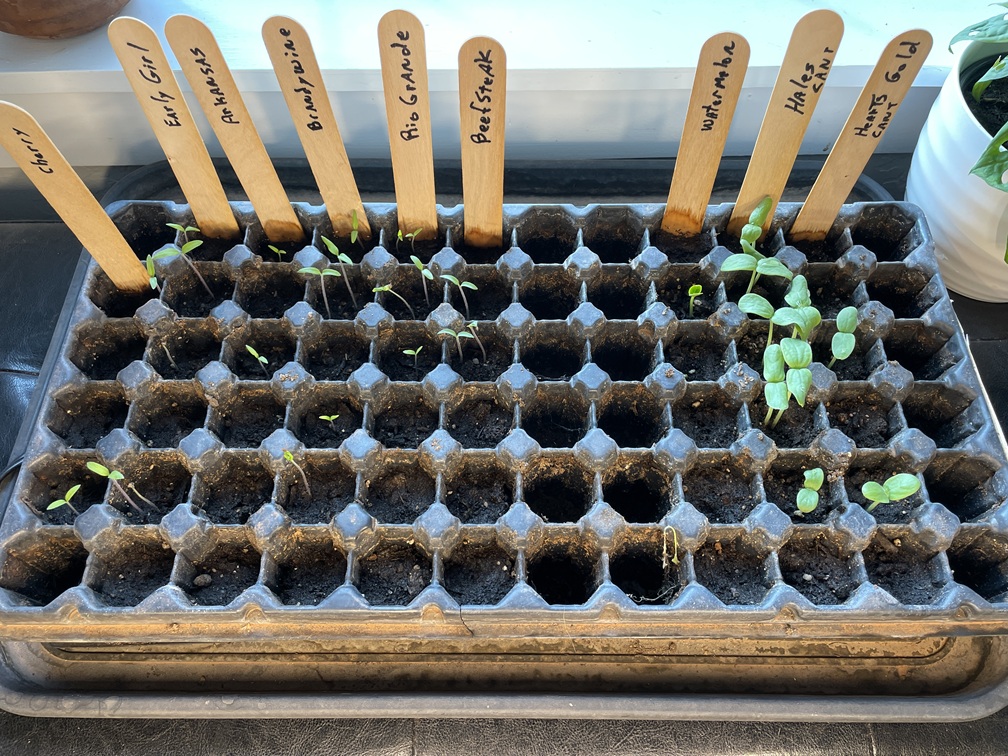
 And I am totally excited about all the seedlings coming along for the garden. Several varieties of tomatoes, butter nut squash, two varieties of cantaloupe, and watermelon. 60 pots of them, some 75 plants in total. Of course only about 1/3 for us, the rest are for others to enjoy in their own gardens growing their own food.
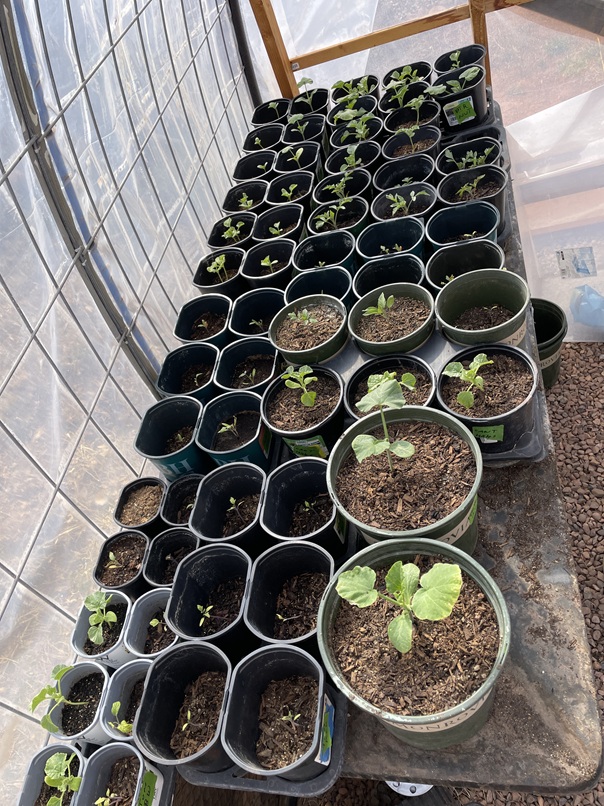 So yeah, I was excited Friday…and I am excited today walking around looking it all over and taking the pictures. I hope you too are excited about the new growing season that is upon us.


 < click here to see it on Amazon >