
 Day #8 come and gone!
Man, I’ve been busy trying to finish this upgrade…but the little details and finish work are killing me.
First thing I did was “load balance” the main breaker panel. Yeah, that means I did load testing on my baseboard heaters and kitchen counter outlets that handle the heavy hitters such as the microwave, Instapot, toast, and air fryer. Moved those 6 circuits around to draw equally off of L1 & L2 to evenly distribute the current draw between each inverter. That way I don’t overload either inverter with too much load.
Then came figuring out how to monitor my battery bank accurately. The inverters’ battery monitors are very unreliable/inaccurate. So I will be reintegrating my Victron BMV-712 battery monitor with shunt. But that made me one VE.Direct port short on the Color Control GX (central computer). But I figured that out and had to order an adapter cable to use one of the spare USB ports on the GX unit. That cable will be here on Monday.
While I wait on that cable I decided to start installing wire ducts (a.k.a. raceways). That will protect the wiring and make everything look much neater. But, while I was doing that I noticed that my array grouping was wrong. So I am redoing some wiring and group arrays #1 & #3 together and #2 will be stand-alone to get better charging from the two controllers. But it snowed this morning and it’s cold and windy this afternoon…so I will delay that work. But I did get some of the ductwork in.
And then of course as I was about to close up the inverter/genset transfer switch I realized I should have different circuit breakers doing the work inside the transfer switch. So I had to order two of those…they should be in shortly. The appropriate circuit breakers will be better overall…correct protection for the wiring.
And finally, I am looking into a top-of-the-line, best-in-class surge protector that is supposed to be about as close to the best EMP/CME protection as you can possibly get at this point in time. I am waiting on them to give me a price on an evaluation unit. I will keep you posted on how that goes.
Well, that is about it…this is what I am doing in my spare time.
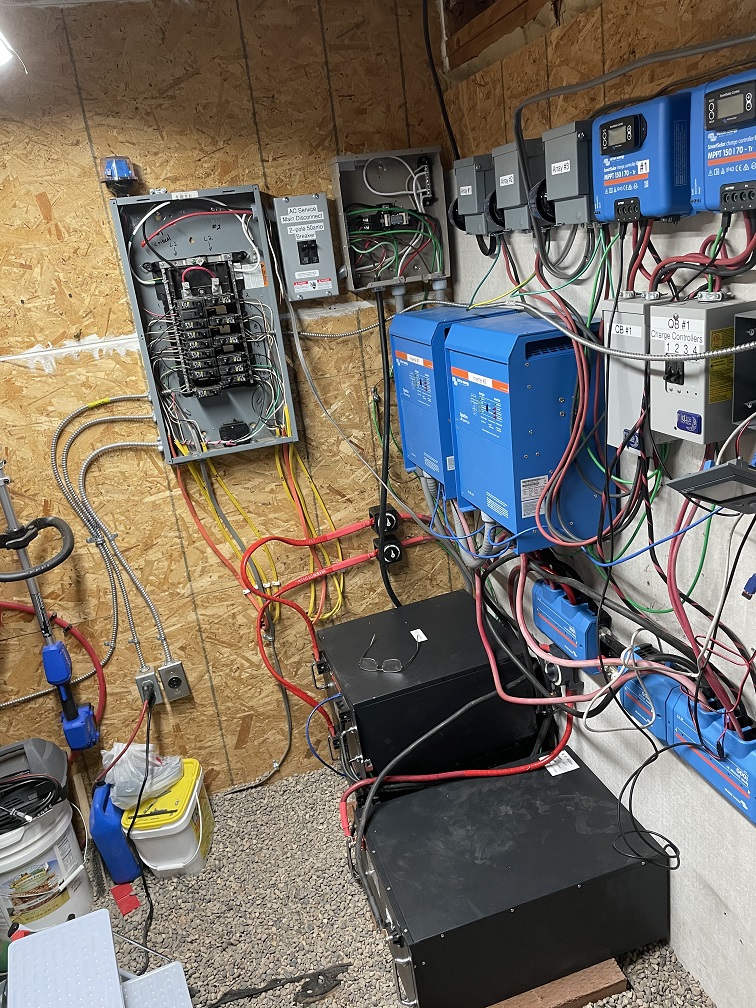
At the start of Day #8 –
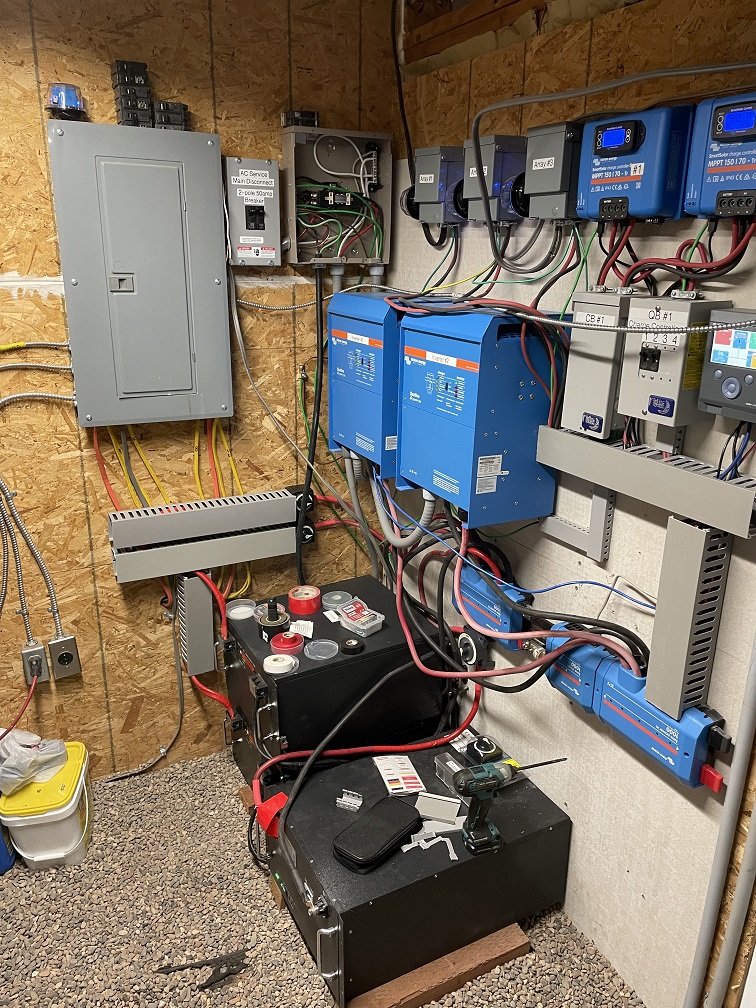
At the end of Day #8 –
Related Articles –
- Great Solar Upgrade – Day #1
- Great Solar Upgrade – Day #2
- Great Solar Upgrade – Day #3
- Great Solar Upgrade – Day #4
- Great Solar Upgrade – Day #5
- Great Solar Upgrade – Day #6
 2009 - 2023 Copyright © AHTrimble.com ~ All rights reserved
No reproduction or other use of this content
without expressed written permission from AHTrimble.com
See Content Use Policy for more information.

Pingback: Great Solar Upgrade – Day #1 | A.H. Trimble - Emergency preparedness information for disasters and grid-down
Pingback: Great Solar Upgrade – Day #2 | A.H. Trimble - Emergency preparedness information for disasters and grid-down
Pingback: Great Solar Upgrade – Day #3 | A.H. Trimble - Emergency preparedness information for disasters and grid-down
Pingback: Great Solar Upgrade – Day #5 | A.H. Trimble - Emergency preparedness information for disasters and grid-down
Pingback: Great Solar Upgrade – Day #6 | A.H. Trimble - Emergency preparedness information for disasters and grid-down
Pingback: Great Solar Upgrade – Day #7 – IT WORKS ! ! | A.H. Trimble - Emergency preparedness information for disasters and grid-down
it is amazing what raceways do for looks and safety
I built this in my “don’t have enough money to do it right” days
https://diysolarforum.com/threads/something-i-built-diy-back-in-2000-my-path-from-trace-to-xantrex-to-xw-pro-inverters.11/post-644525
then got some dollars, bought the correct equipment and got raceways in the next pic on that page
LikeLiked by 1 person
Looks like a great system going in!
LikeLike