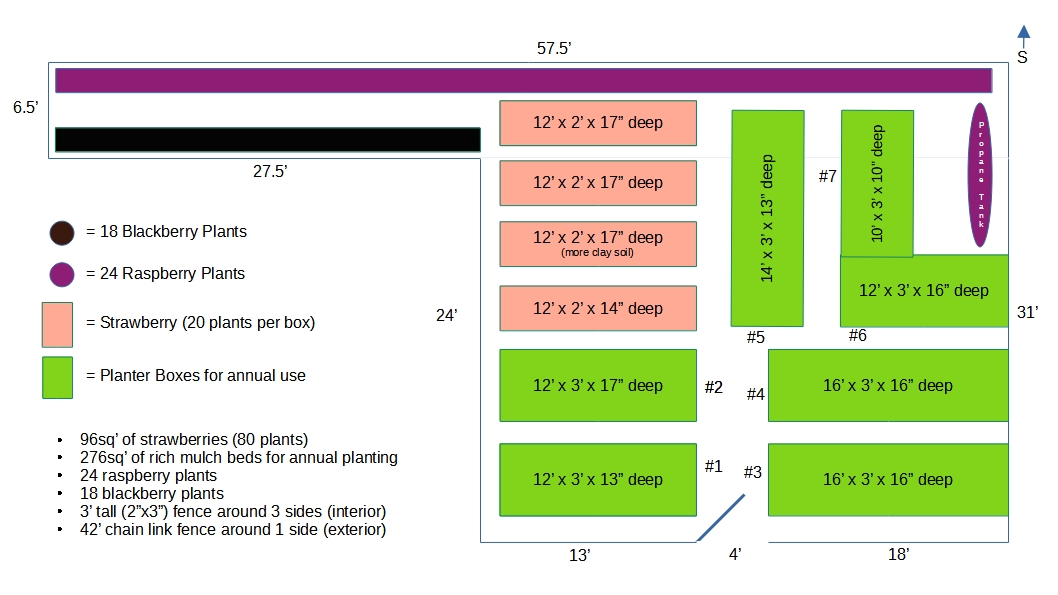
 I’ve been really working hard at expanding our garden this year. Our goal is to try and eat out of the garden as much as possible. A secondary goal was to become independent of buying plants from a store to go in the garden. And we also wanted to gain the last of sufficient knowledge to be able to grow as much food as possible in the event of a food chain disruption or grid-down.
So what is the big mistake? I was blindsided last night.
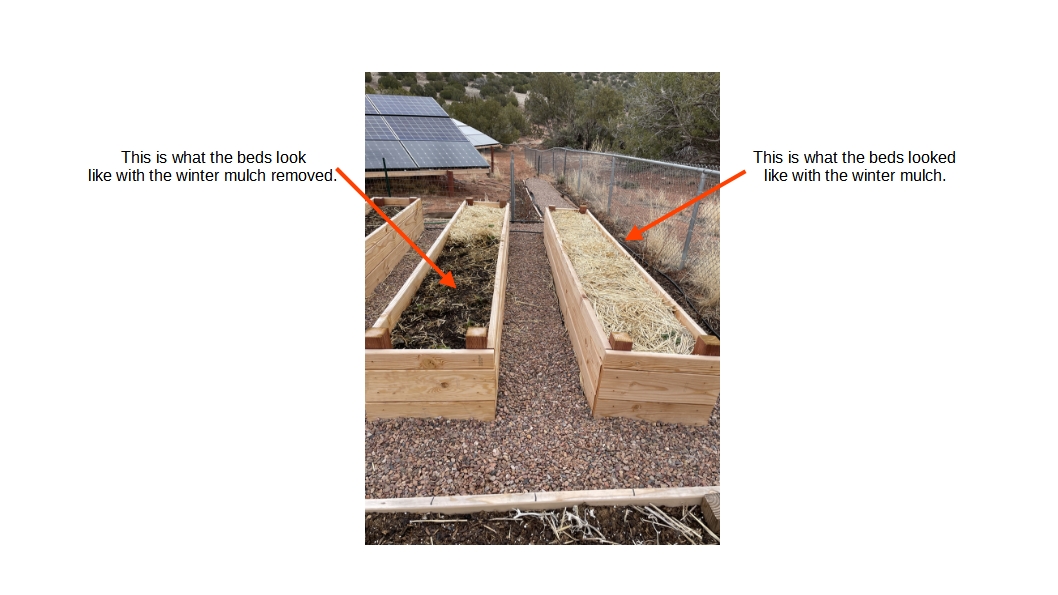
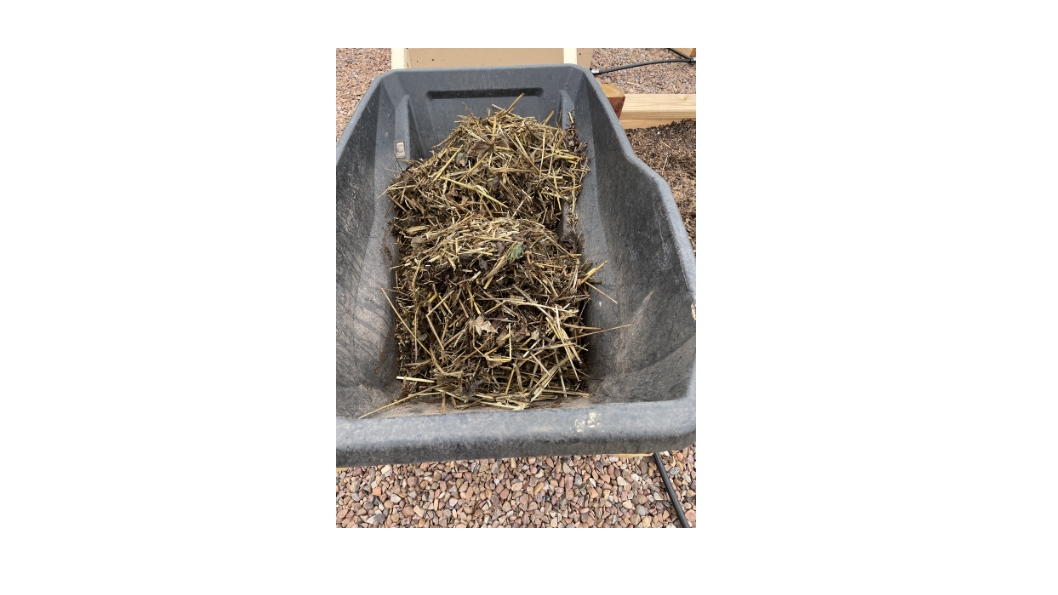
Two years in a row we’ve been hit with a hail storm in roughly mid-September. Both years it destroyed our garden with the exception of the strawberry plants. We now have a plan in-place to deal with that this year…more on that in a later post. Last night was different.
Background: We monitor two different nearby locations for our weather forecasts, there is not one for our immediate area…we live in the sticks. Both nearby locations are within 5 miles. For the most part the forecasts are pretty spot on. Last night was different.
I’ve been working really long and hard hours for several weeks lately…this morning I decided to sleep in way late…I got up about 5:45. I slept so well last night it was amazing! Cool night air coming in through the windows and just a perfect night for sleeping. Then I woke up.
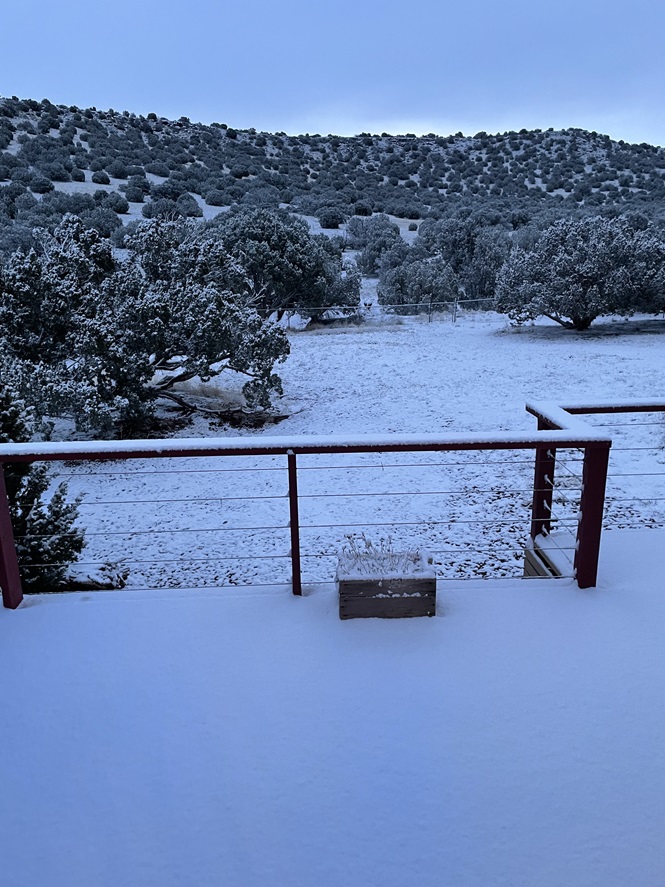
Problem: One of the first things I check when I get up each morning during the growing season is the outside temperature. And yes, the inside temp as well in case I have to turn on the electric baseboard heaters for my wife. I was stunned when I saw the outside temp was 32o outside!
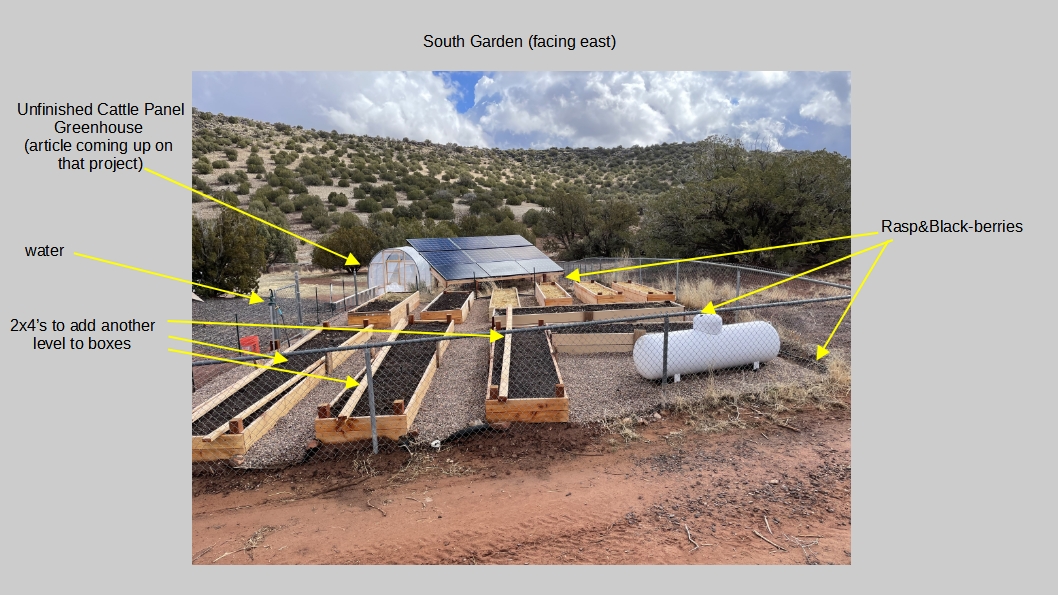
Besides my berries I have my potatoes in the ground and coming up beautifully. I am also experimenting with planting some plants early and prepared to protect them if a freeze will hit. Last night it was supposed to be 37o – 40o…no lower…so no protection steps taken.
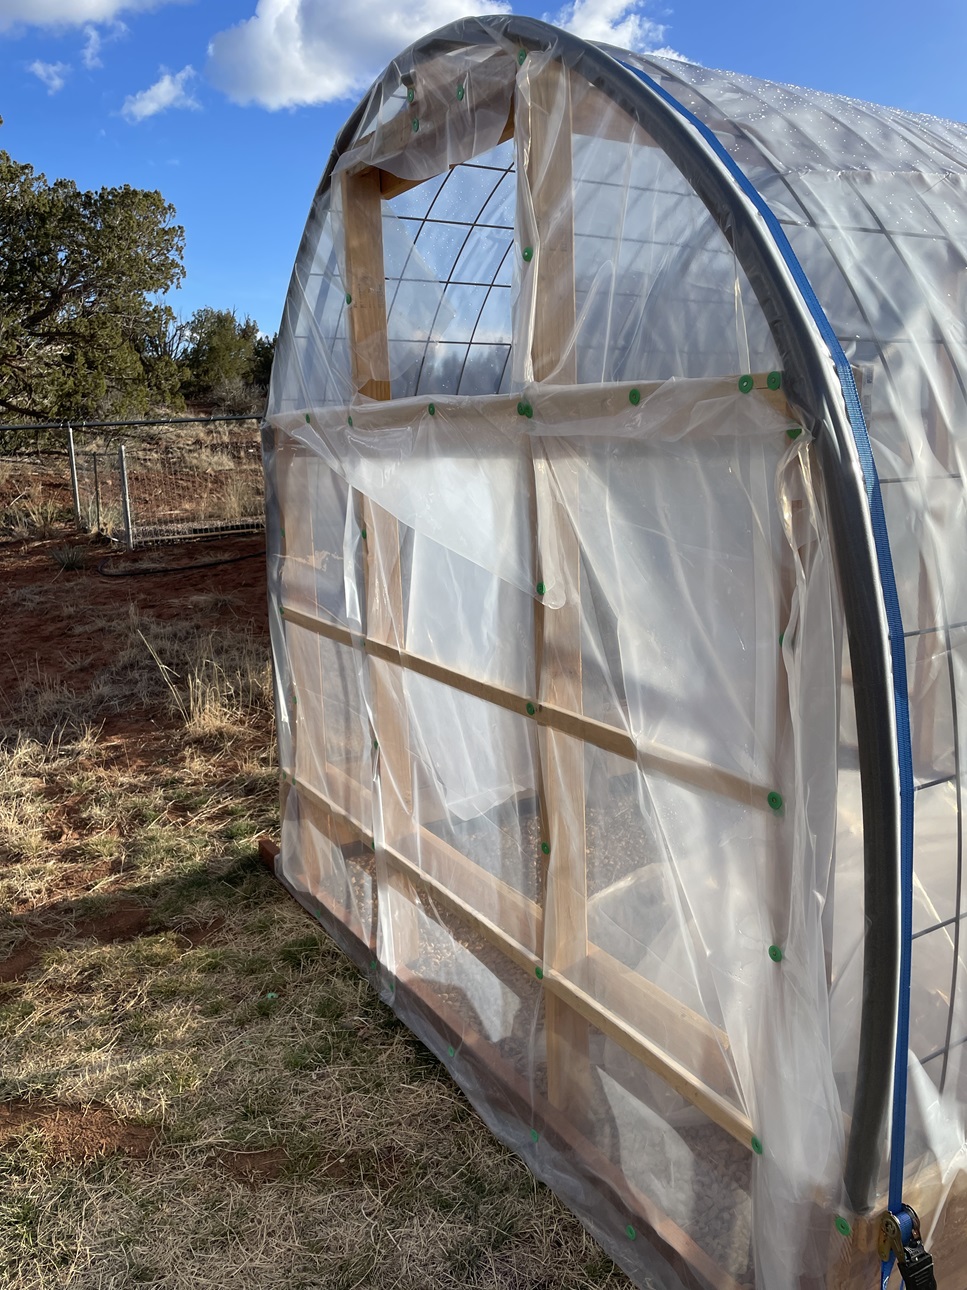
I have no idea what the damage will be yet. I know the berries can handle it and the potatoes should be fine as well. My experimental plants…who knows? But, I can afford to lose those since I have nearly 80 plants in my greenhouse that are my primary stock. And therein lies another problem.
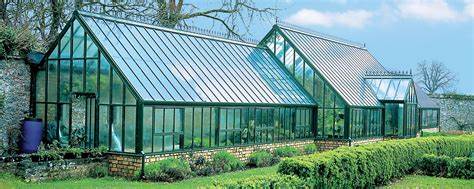
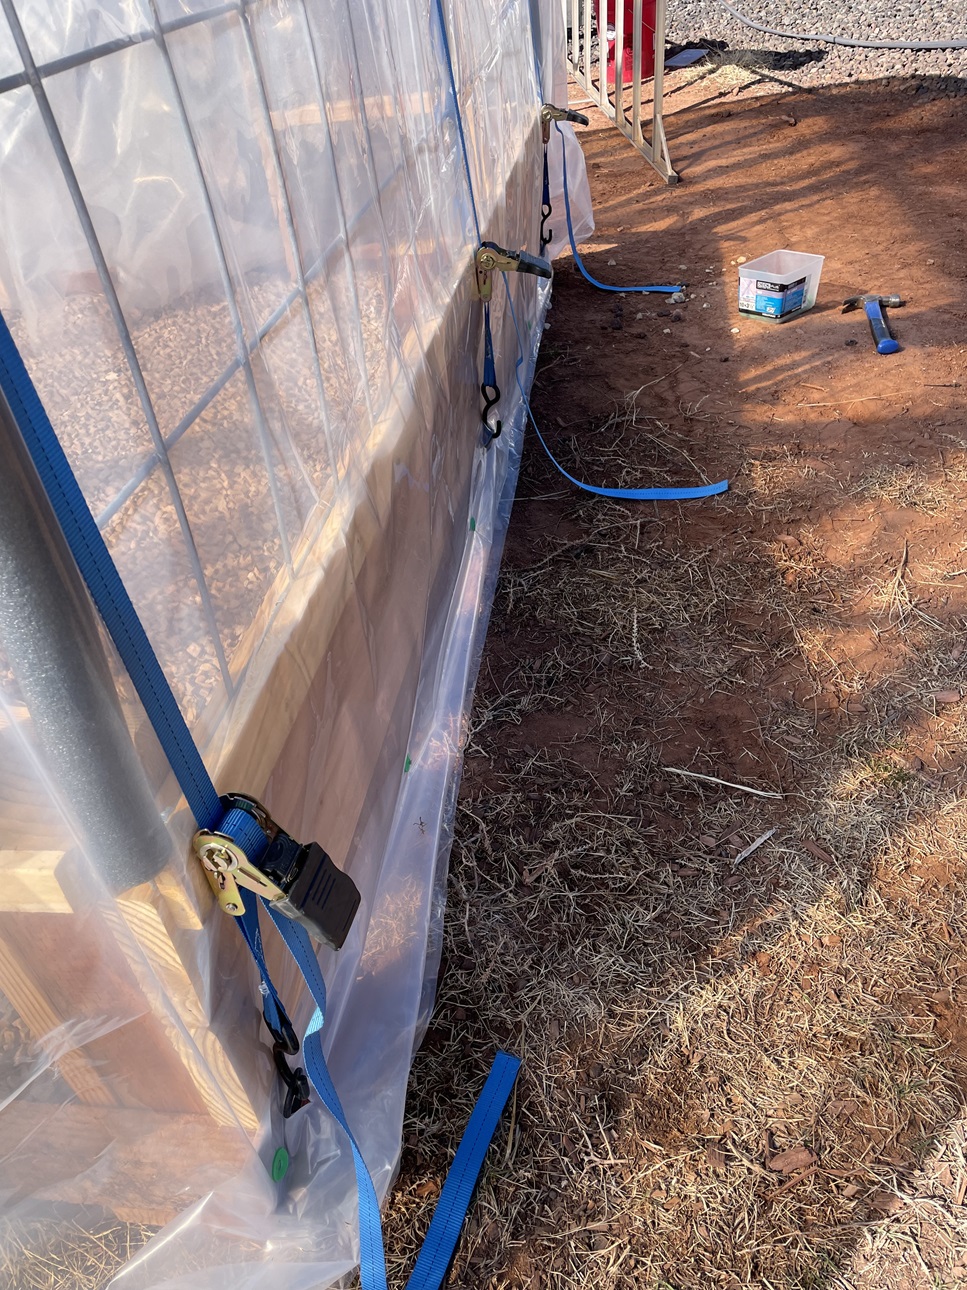
I have a routine in the evening…that includes closing the greenhouse door and window. Yesterday was kinda cool so I left the door closed all day but had the window open for air circulation.
Remember I mentioned the long and hard hours I’ve been working? Last night I was exhausted and kinda took a little time to just veg…and I neglected some of my evening routine. And one item of that “some” was neglecting to close the greenhouse window. BIG MISTAKE !
I don’t know yet what the damage may, or may not, be. I think the damage won’t manifest it self clearly until tomorrow at the earliest. I am hoping for the best…a tender mercy. There were almost 80 plants in the greenhouse last night, if we lose those we are hurting big time when it comes to our garden this year. Actually we will be mostly wiped out for this year.
There will still be time to plant seed directly in the ground for many plants but not for things like tomatoes, peppers, cucumbers, etc. that need to be started indoors and then transplanted. You see we took the money that we would normally pay for plants from the store and invested it in the greenhouse and plant starting equipment. There is simply no budget to replace all those plants that might be lost from, last night. We’ll see.
So why am I sharing this experience, this mistake?
Remember the last two years of hail in September that destroyed the garden? Well, this would be the third year in a row of a major catastrophe making a serious adverse impact on our garden.
Think about that for a minute. Let’s say we were living in a grid-down scenario right now and had to depend on our garden producing food to supplement our food storage. That is 3 years straight that we would have lost part of the garden production…that could spell disaster!
I think it was 4 years ago, maybe 3, that I shared with you a real strong encouragement to start gardening. I said maybe not to become some master gardener with 2 acres under cultivation to feed your family year-round. What I encouraged you to do was to learn…that’s it. Learn your soil, your weather, what plants would do well in your climate, etc.. Just learn to garden so “if” the time came…you would have the skill-set to do so.
The same goes for me.
I will be doing a “lessons learned” post soon on this event and I hope you get something out of this post and the upcoming one. I know I learned a valuable lesson.
Related Articles –
- Garden: Hail and Starvation
- Garden: Let’s Talk a Minute…
- Glenn Beck, Destination, Prepping, & Gardening
- Top 3 Apocalypse Vegetables
- Why garden at all?
- Garden – 2021: 3/8/2021
 2009 - 2024 Copyright © AHTrimble.com ~ All rights reserved
No reproduction or other use of this content
without expressed written permission from AHTrimble.com
No legal, economic, or financial advice is given, no expertise to be assumed.
See Content Use Policy for more information.